How to Make Scented Candles
Last year I decided to make Christmas presents for the grown-ups of our acquaintance (why should the kids get all the gifts?), so I bought some clay to make little tea light houses and Christmas tree ornaments, and wax, oils and wicks to make scented candles. Having a large supply of my own personalised candles has turned out to be a lovely treat - I made some more recently and even have three of them flickering away in front of me while I’m writing this post :-)

I bought my supplies here. There is a fairly large choice of wax - vegetable, paraffin, soy, and gel. Paraffin wax is derived from petroleum and therefore isn’t ‘natural’. Vegetable and soy are natural waxes but provide less of a scent throw than paraffin wax. They also have a creamier colour than paraffin waxes. I used KeraSoy container wax in 1kg bags - 1kg makes about ten small container candles.
You also need scented oils. Again, you can choose from natural essential oils, and artificial fragrance oils. Most fragrance oils again have a stronger scent throw than their natural counterparts, but personally I prefer something less scented with no chemicals. I used lavender, bergamot, rosemary and orange essential oils - I mixed the rosemary and orange together to create a lovely spicy Christmassy scent.
I also bought a digital thermometer, and a set of wicks. Choosing the right wick is a bit of an art. I use TCR series wicks, which are intended for use with soy and vegetable waxes. Supplies for Candles has a wick sizing guide on their website, which is based on the size of the container. The first set of wicks I tried didn’t burn evenly - they left a thick rim of wax all the way down the sides of the candle. Not too much of a problem when it’s your own candle, as you just need to remove the wick once it’s burned all the way down, melt in the microwave for about a minute, seat a new wick into the melted wax, and her presto, an instant new candle. Still a bit faffy though. For the next batch, I used a wick designed for the next size up container, and it burns much more evenly. I used fragrance oils this time as an experiment - jasmine and rose - and the jasmine burns more evenly then the rose, despite being in the same container with the same wick and wax. So it’s trial and error, which is part of the fun, really.

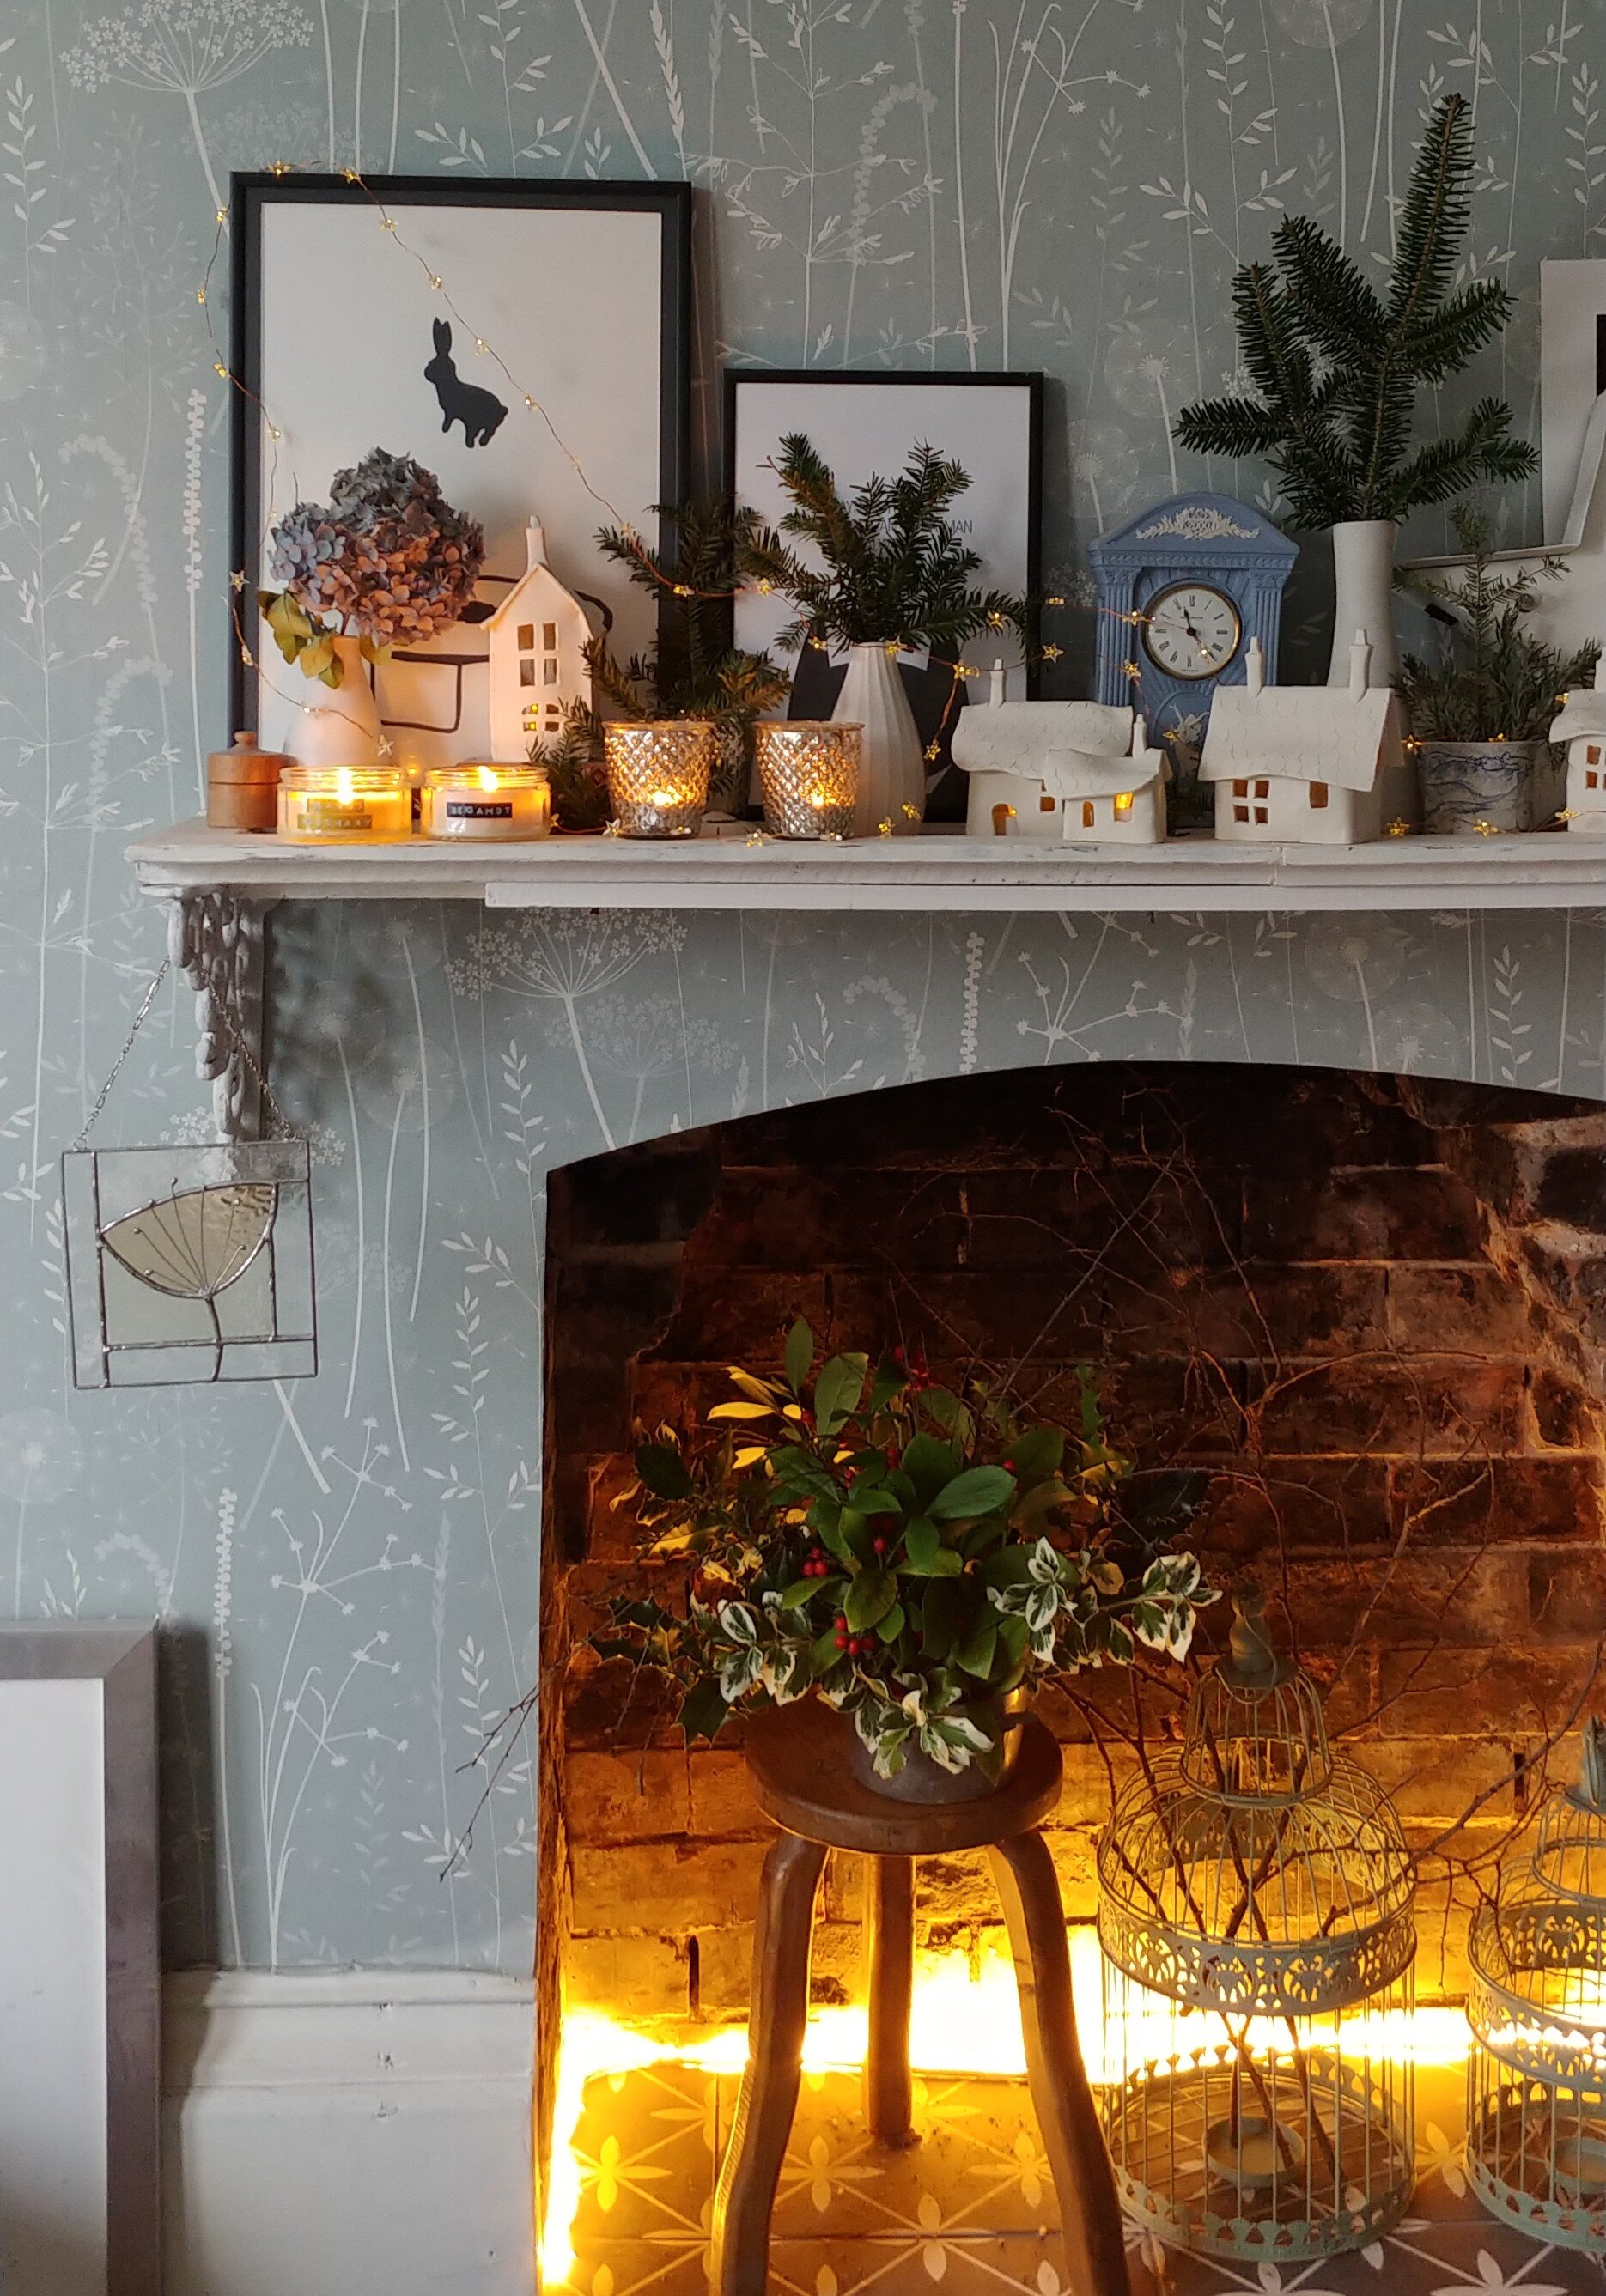
Homemade candles and clay houses.
You can make container candles in anything - tea cups, jam jars, little bowls. We have a massive collection of glass Gü pots (seemingly we eat a lot of pudding…!) which are the perfect size for candles, so that’s what I used.
I followed these instructions to make my candles. First I melted 500g of wax in a saucepan, having weighed it out with my baking scales. I just used one of our regular saucepans - the trick is to clean it immediately so the wax doesn’t stick. More on this below.
First of all, get your containers ready. Clean them out, dry them, and place them on a level surface. Then prepare the wicks - I used a couple of wood skewers taped together around each wick to hold them upright.

I would advise melting the wax slowly. The pellets don’t necessarily melt evenly, so you need to keep stirring on a low-medium heat. I used the digital thermometer as my stirrer. You need to heat the wax to 70 Celcius, and must not exceed 80 Celcius. How long this takes will depend on your stove and saucepan, so don’t leave it and wander off to make a brew, in case it suddenly heats up beyond 80 degrees.


You are supposed to use some of the melting wax to seat your wicks into your containers - I tried this the first time round and found that as soon as I poured the melted wax in, the wax used to secure the wick melted immediately and the wick toppled over.

When your wax has reached 70 Celcius, you can add candle dye. I skipped this step as I like the creamy natural colour of the wax.
Once you’re at 70 Celcius (and your dye is blended in, if you’re using it) then remove the pan from the heat and allow it to cool to 65 Celcius. Be aware that if your thermometer is touching the base of the pan, you may get a higher reading, so swirl it around without touching the base or sides to get a more accurate temperature. Once at 65 Celcius, then add your oil. A 10% ratio is recommended, so for 500g of wax you would use an entire 50ml bottle.
Here’s where it’s helpful to have a second pair of hands. Pour the scented wax into a jug. Then immediately wipe the saucepan with a piece of kitchen towel to remove all remaining melted wax (otherwise it’s a massive faff to scrape it off). Then pour your wax into your containers. Then clean your jug immediately, again with a piece of kitchen towel. The wax won’t set straight away in your containers, but it will in your saucepan and jug, so it’s best to prioritise cleaning those.

Next, set your wicks in place. You have a reasonable amount of leeway to wiggle them around as the wax cools - make sure to keep an eye on them in case one topples over and sets at an angle. They’re attention-seeking little monkeys, candles are.
My Gü containers are shallow, so I only poured one layer per container. If your container is larger, you may need to pour a layer, leave it to cool for 30 minutes, then pour another layer.
I labelled my candles with my old-fashioned label maker because why not.

Let me know if you make them, or have any questions x