How to Make a Simple Fabric Garland
I made a lovely fabric garland for our bell tent this weekend, and it turned out really well, so I thought I’d share to some pictures to show how I did it.

First of all, I cut up lots of different fabrics into strips. I wanted to use up all my random leftover bits of fabric that were too small for any other purpose and have been sitting in a box in the wardrobe. I cut up some old baby clothes that had no sentimental value, on the basis that they might as well have a second lease of life as a pretty fabric garland, instead of languishing in a bin bag in the back of a charity shop. I also cut up an old adult-sized shirt that I bought second-hand for a few quid.
I used my Grandma’s pinking shears to cut the fabric so it wouldn’t fray too much (although if you like the frayed look you could just use regular fabric scissors). I cut pieces that were roughly 4cm wide and 40cm long, but wasn’t too fussy about sizes as I wanted a rustic look - fortunately it’s always easier to achieve a rustic look :-)

It took about five hours to cut up 80 strips, which I did while sitting outside in the sun chatting to a friend, in between fetching various snacks and beverages for us and our collection of children. My hand was basically claw-shaped once I was done.
I cut the fabric in whatever form it took - ribbons, ruffles, buttons, pockets and all. For the clothes, I snipped up one side seam and then cut strips all the way round - there’s a surprising amount of material in a small child’s dress. For the shirt, I cut vertically up the sides. If you have smaller pieces of fabric, you could easily sew them together with a machine to make one longer piece, and then cut that into strips, which would obviously take a bit longer.

The ruffle strip came from the bottom of a 12-18 month old baby top.

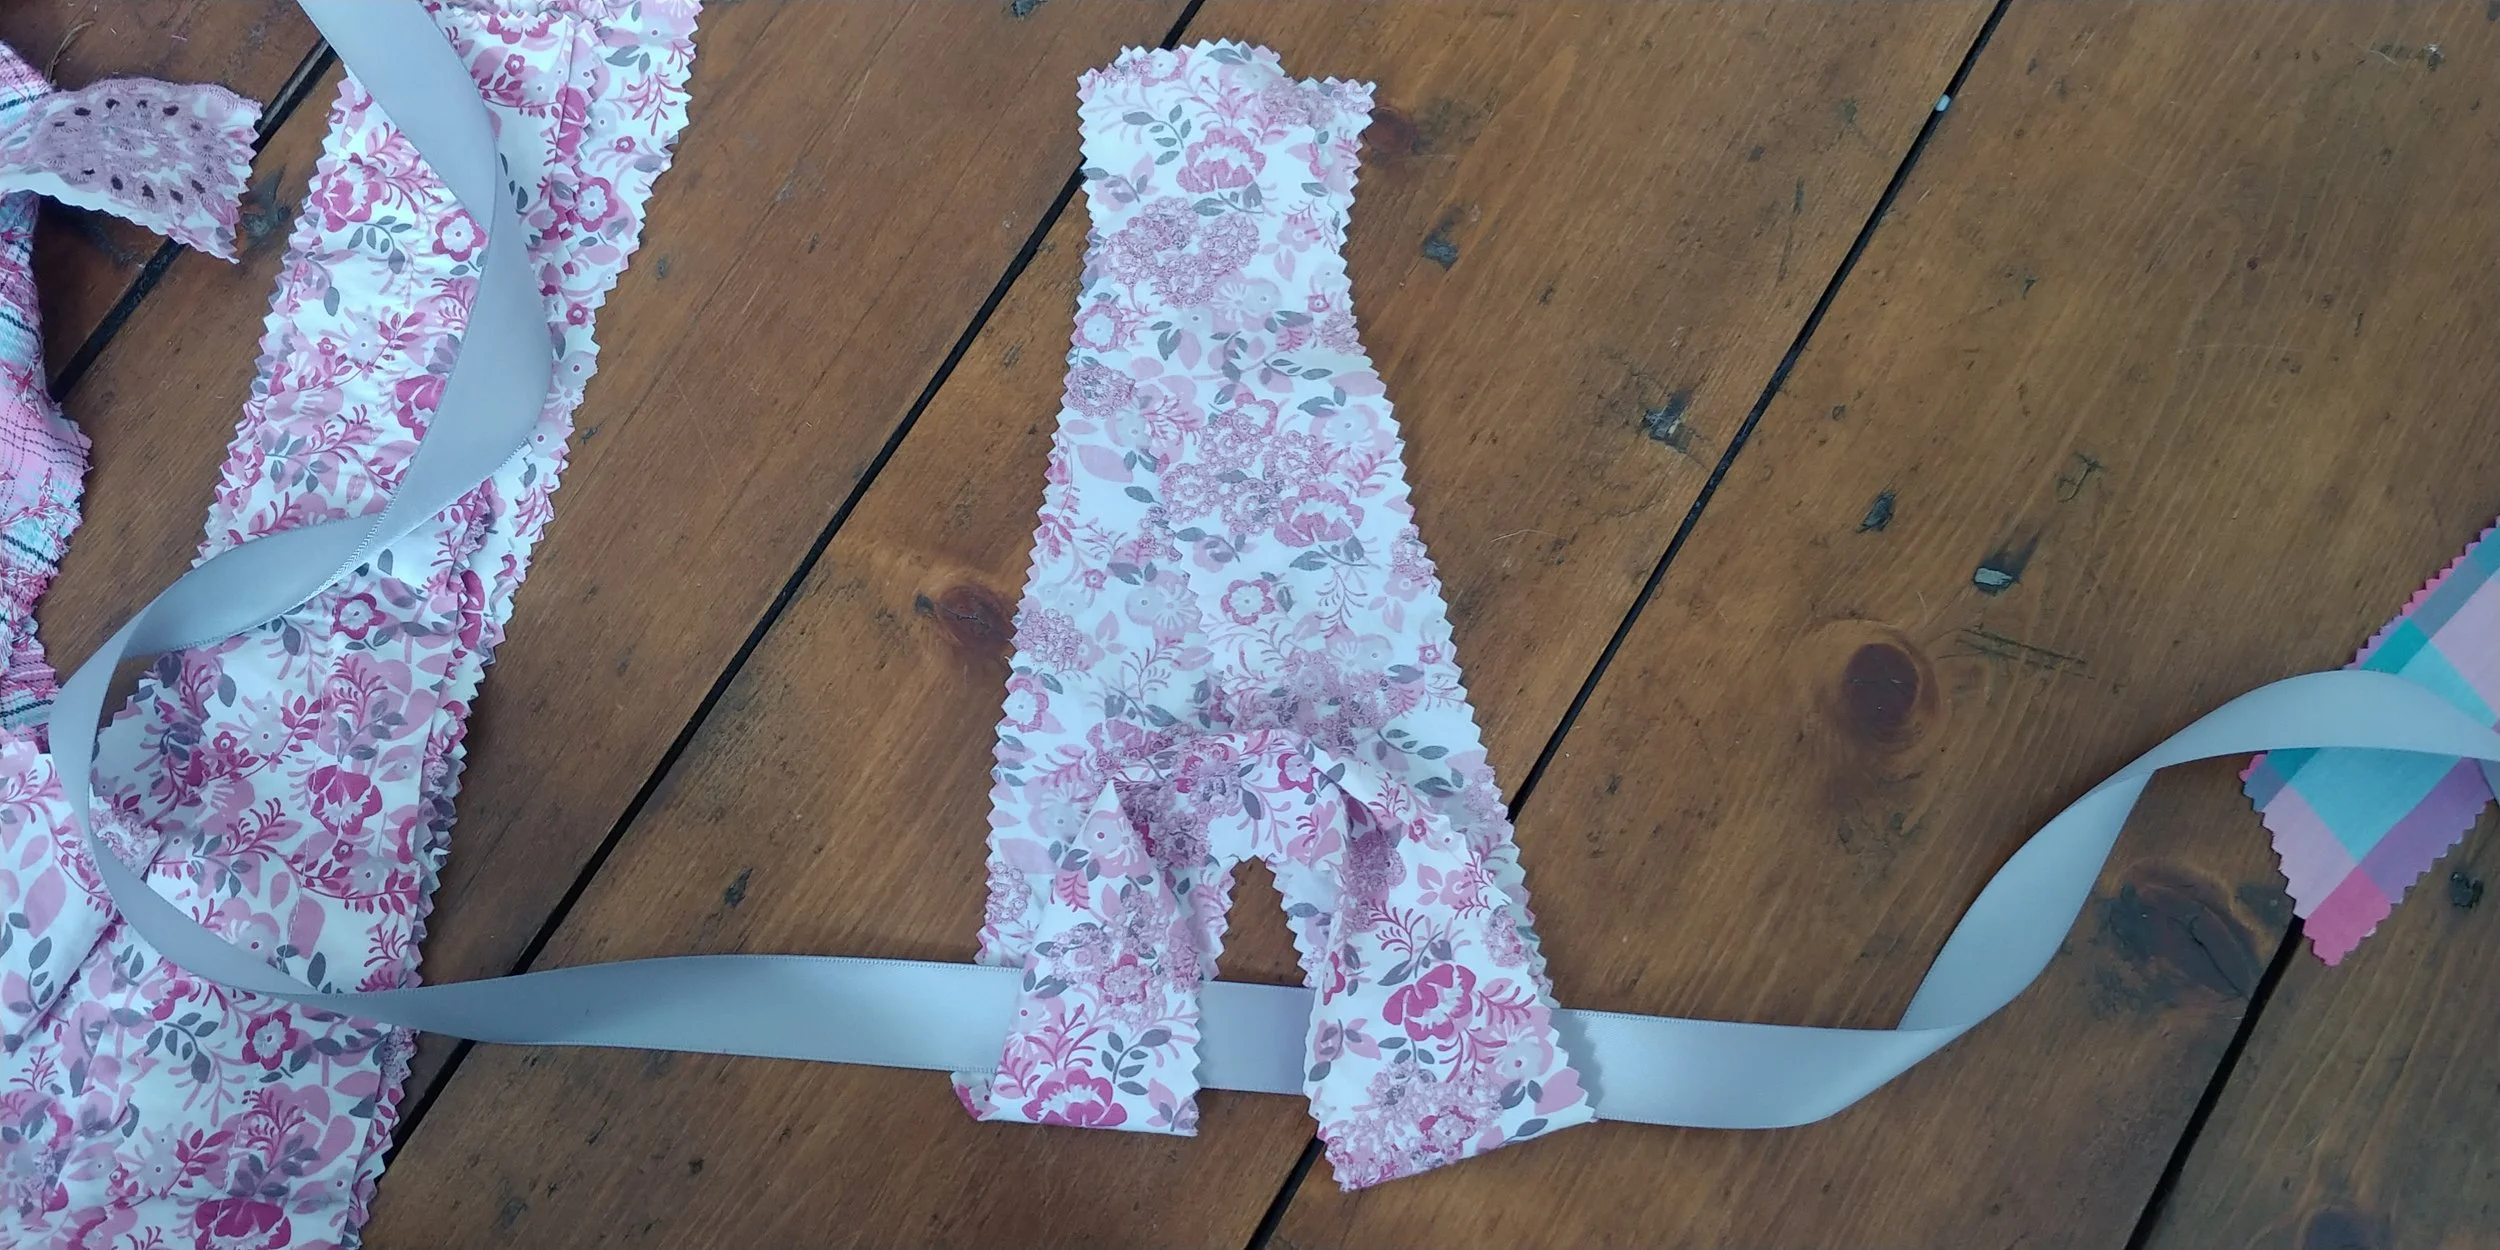
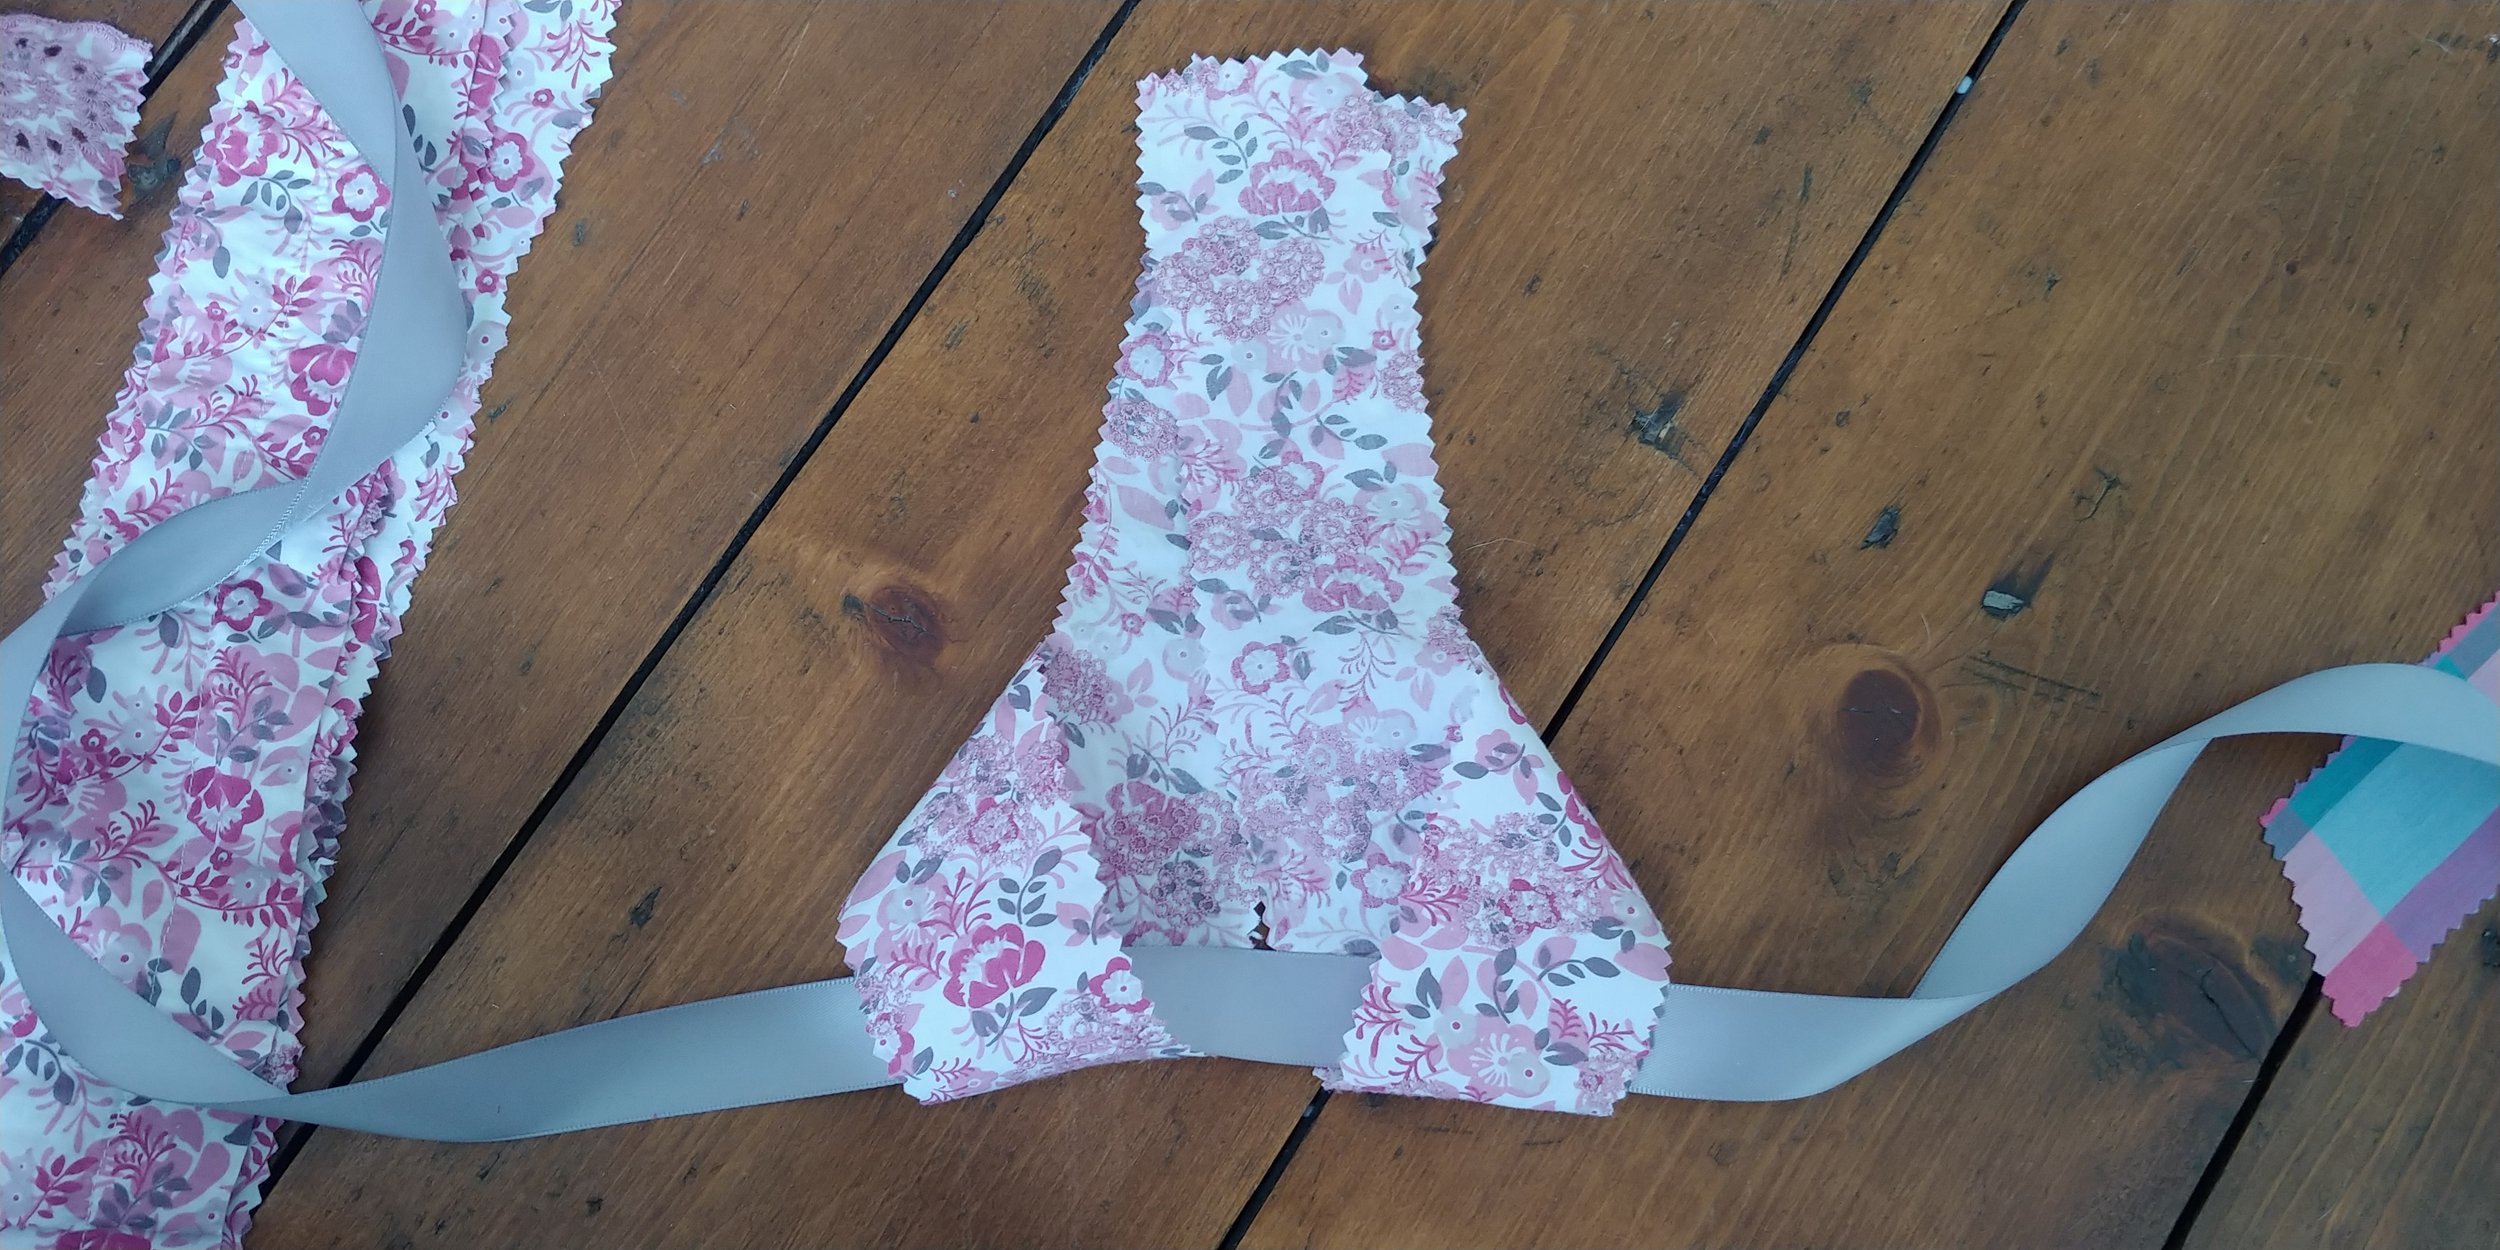
This pink strip came from a 2-3 year old top - the piece on the left is the sleeve, and the bit on the right is the back of the neck piece.
I used a long piece of ribbon to tie the strips on to. You can push them close together so you can’t see the colour of the ribbon, or space them out a bit more. It helps a lot to fasten one end on to something while you’re tying the strips on - I used our wardrobe doors.


Tying the strips on is really simple. You fold it in half, place it over the ribbon, and then pass the long ends through the loop, creating a tie-effect. In the pictures below I’ve shown this with the ribbon on the ground, but in reality you would just knot them on while holding the ribbon taut. I soon got into the rhythm - it took about half an hour to knot 80 pieces, which as usual involved pausing to fetch snacks and drinks.
Create a loop around the ribbon.
Pull the two lengths through the ribbon.

And pull it tight.

Lots of knots in a row. They look like little cravats.
And voila!

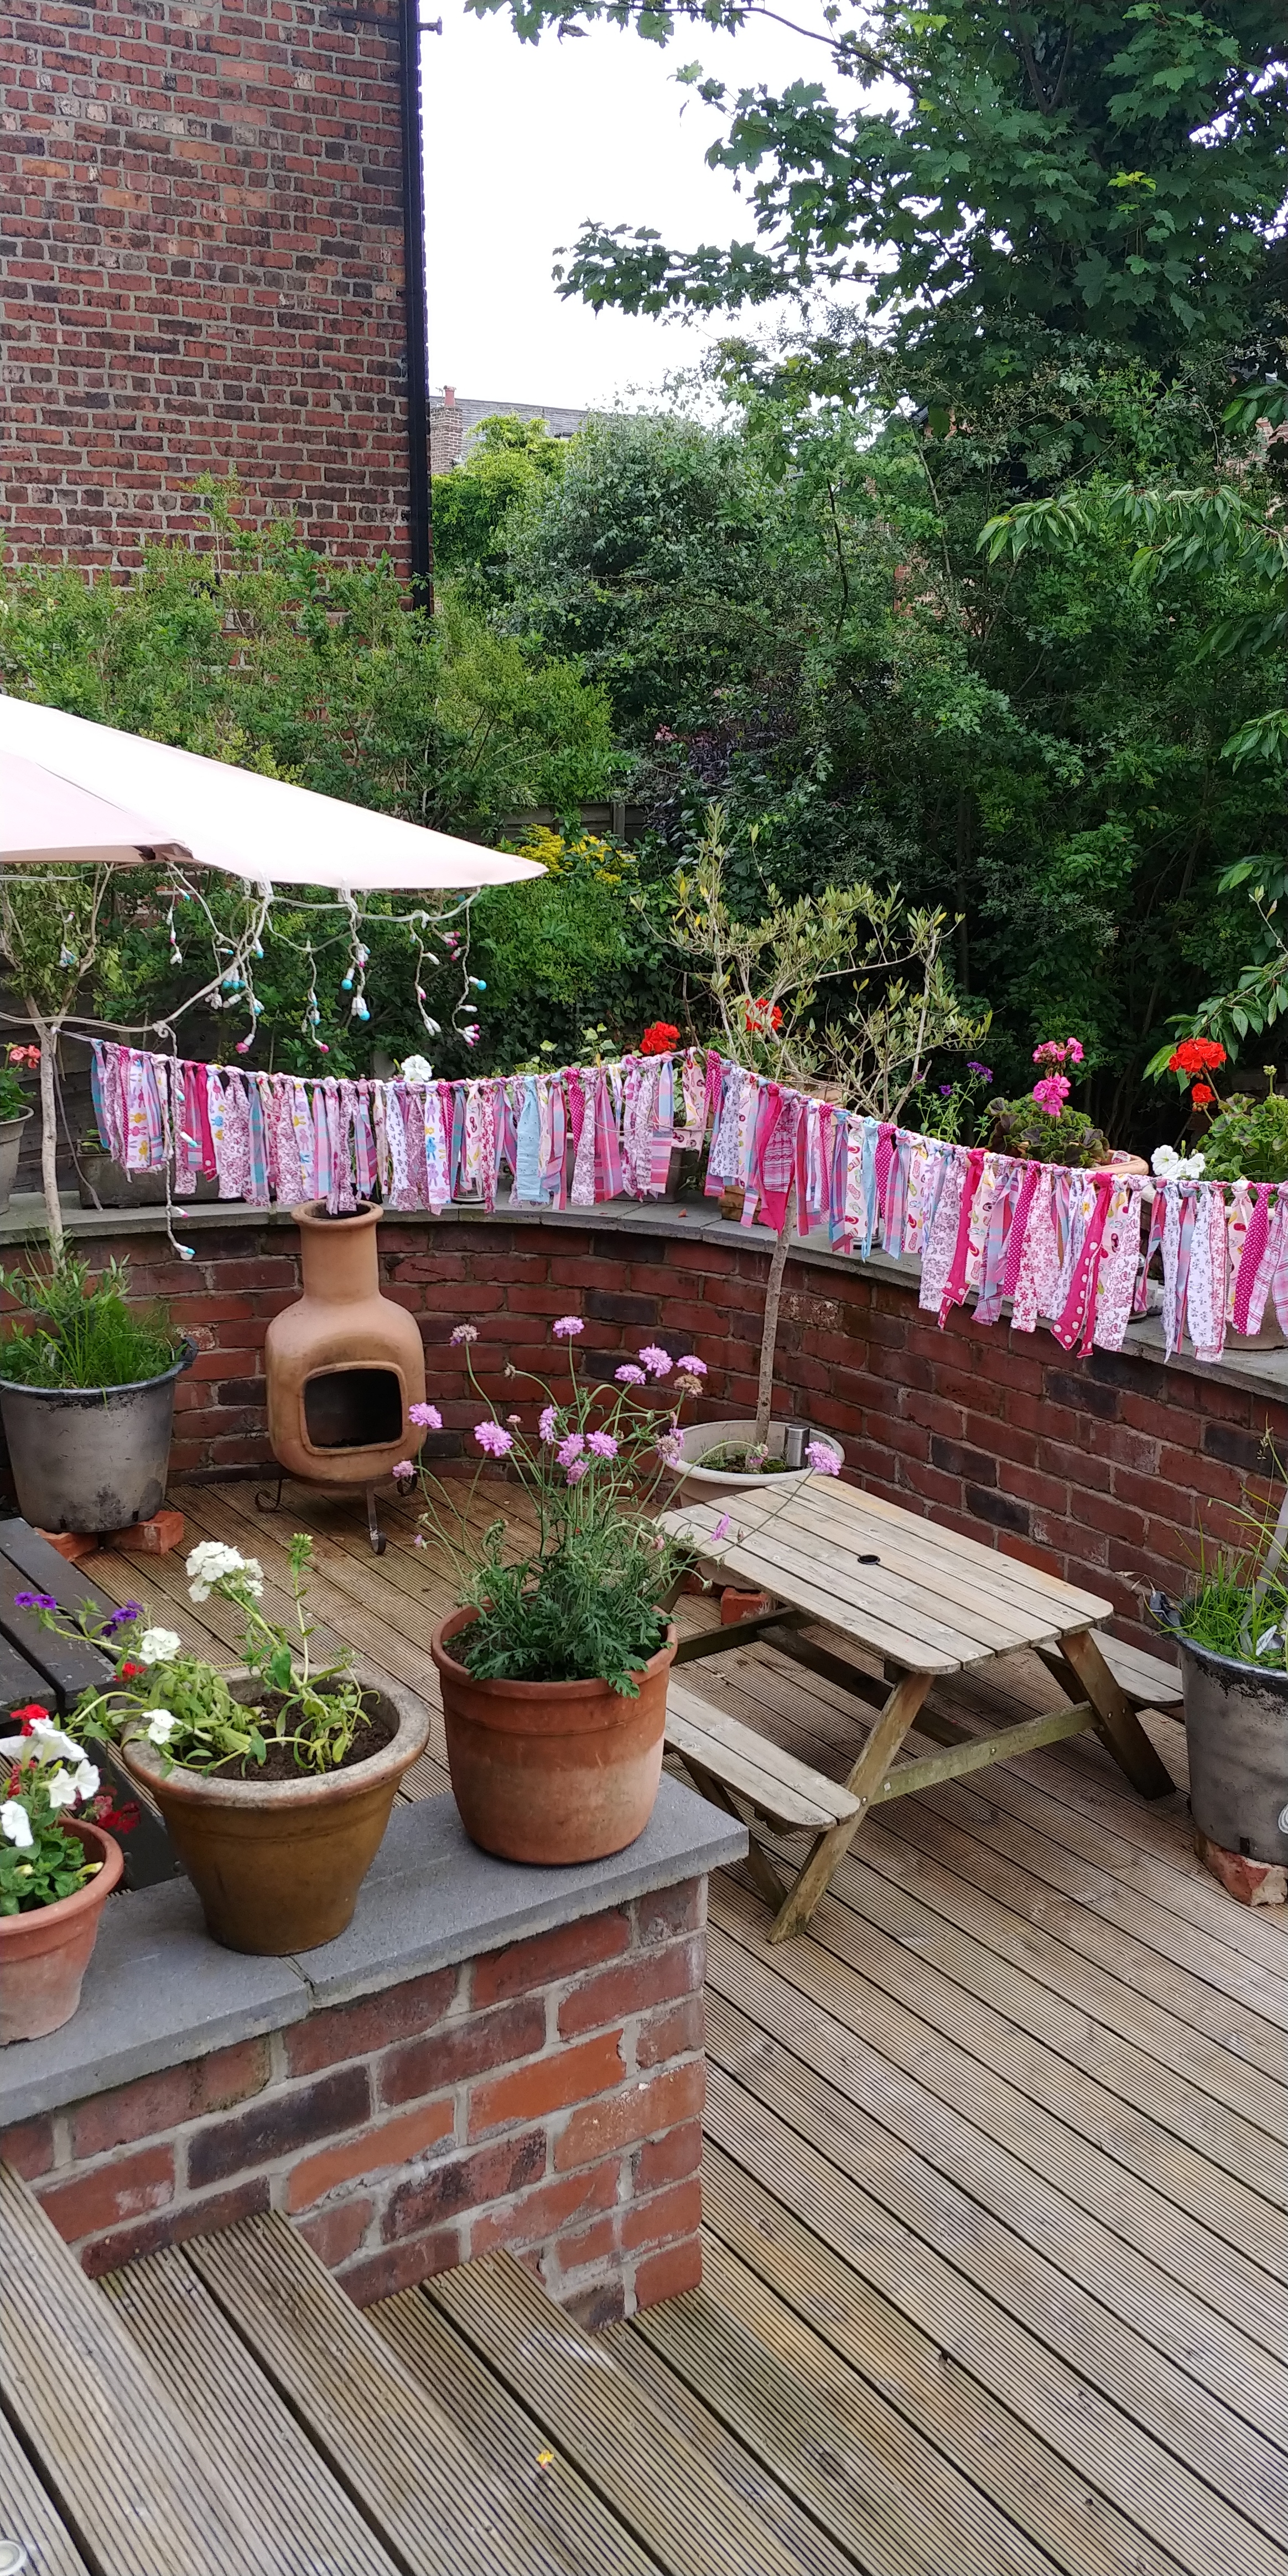
I took it outside to hang it from our olive trees in order to admire my handiwork rustling gently in the breeze. 80 strips made a garland about 3.5m long, but I could easily space them out a bit more or squeeze them together to alter the length.


Very pleasing, and definitely worth a temporary claw hand. I can’t wait to take this beauty camping.

Edit - I took it camping :-)