The Big DIY Kitchen Renovation
Let's kick things off with a sneak peek at our DIY kitchen transformation. The whole process took two months, during which time we lived almost exclusively on shepherd's pie, because before we ripped out the hideous old cooker, I'd fortunately had the foresight to make a couple of huge shepherd's pies and freeze them, and unfortunately hadn't had the foresight to make anything else.
For those of you who are worrying about whether we came down with scurvy due to lack of vegetables, let me hasten to add that I supplemented the shepherd's pie with bags of fresh spinach from the local grocer. We also became deeply familiar with the menu of local pizza takeway (which has now sadly closed, maybe we were their only customers?) and the humble microwaved jacket potato. Delectable.
Anyway, that's enough about our eating habits (although I am thinking that How To Survive a DIY Kitchen Installation and Not Get Scurvy would be an interesting future post) - let's move onto what you've all been waiting for, the great Before and After photos!
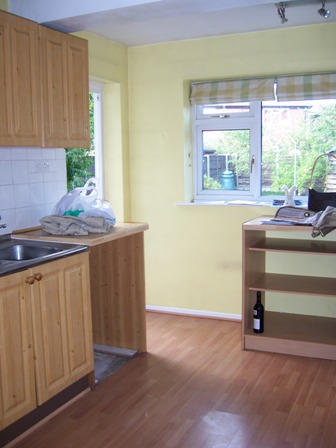
So here's the first before photo. Not that bad, really - at least it's nice and light, despite the elderly wooden cabinets, boring white splashback tiles, and the came-with-the-house-and-hasn't-been-replaced-in-twenty-years kitchen sink:
Here's how it looks now:
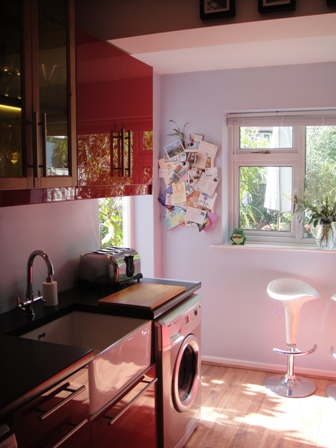
Right now you're looking at this photo thinking either 'wow, red!' or 'eww, red!'. Naturally we think it's gorgeous - we love how the sleek lines of the modern cabinets and mixer tap contrast with the rustic-look wooden floors and traditional ceramic belfast sink, how the glossy red works with the pale blue walls, the black worktops, and the warm golden-brown floors - and how we've created a room that perfectly suits our quirky style, rather than trying to cater for the tastes of the people who will live in the house at some unspecified period of time in the future, particular when after the mammoth 'carrying all our furniture down three flights of stairs when we moved out of our old flat because the building didn't have an elevator' extravaganza that was our big house move, we decided we are Never Moving Again. This is it. We are Done. If ever we need more space, we'll get planning permission to put up a teepee in the back garden.
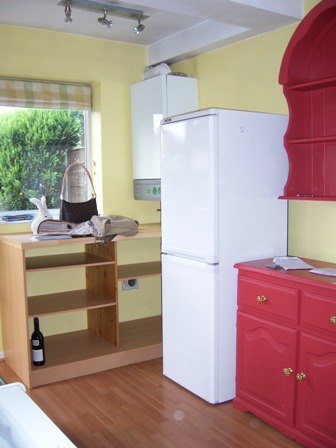
So here's the second before photo. Again, not too bad, if you like the whole 'let's place random pieces of furniture next to each other and call it a kitchen' thing:
And here's how it looks now:
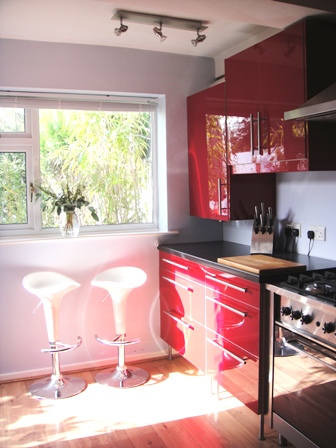
Yay, more red! And a sneak peek at our beautiful range cooker. This photo was taken quite early in the day, when the light is just starting to pour into the kitchen. Truly, the best thing about DIY'ing your own kitchen installation (apart from the huge cost saving, natch) is that every time I sit on one of those kitchen bar stools with my morning espresso, looking out over the garden (which we also landscaped from scratch ourselves during one classic Manchester summer when it rained so much I thought we should probably stop building a deck and start building an ark - to be covered in a future post!), and I'm not covered in dust/paint/wearing dirty old overalls/peeling off endless layers of wallpaper/wielding a hammer - I think 'man, I really deserve this'.
Here's a few things to look out for in the photos:
-
The bottle of wine that the previous owners left for us (the before photos were literally taken the day we moved in)
-
What we did with the boiler
-
The one thing that we kept from the original kitchen.
I'll be back later with more details including the price breakdown, specific projects, and the mood board that inspired the renovation.