How To Create A Miniature Vegetable Patch

When my parents were visiting one weekend last summer, my Dad eyed up the triangular flower weed bed we inherited with the house, and stated confidently with the ease of one relaxing under a parasol with a Peroni in hand: "That would be the perfect place for a vegetable patch, you know. It's the only part of the garden that gets the sun all day long."

Yeah. Thanks, Dad. Turns out the raised bed was chock full of tiny pieces of gravel. And had a flagstone base where the patio had been extended underneath it. A base that that was laid on soil full of - you've guessed it - tiny pieces of gravel. Along with, naturally, huge chunks of brick and assorted rubble. A few curse words and a quick trip to B&Q later, and we were equipped with a gardening sieve.
So we dug. And sieved. And dug. And sieved. By this stage it had gotten personal - sweaty, filthy and exhausted as we were, there was just no way we were going to be beaten by a freaking vegetable patch. Fortunately we had the able assistance of Enrique, who had his beard stuck into the soil at all times, opportune or otherwise.

I'd forgotten how much this dog loves to dig.

One tonne of stones later (literally - we emptied as many wheelbarrow loads into the pond as we did when we were in the process of filling it last year) and we now have a very simple toddler-tastic vegetable patch, with wooden plank walkways and soil as delectable as crumbled chocolate cake. We're growing salad leaves, rocket, dwarf green beans, strawberries, herbs (oregano, chives, rosemary, mint and thyme) cherry tomatoes and sweet peas.

Our two little assistant gardeners seem to approve - Natalia literally rolled in it the other day. She was very pleased with herself.
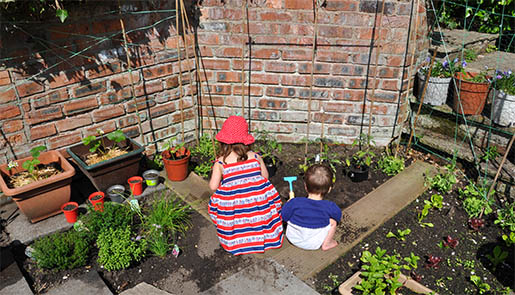
Now I just need to dissuade the head gardener from digging the seeds up too frequently to check on their progress...

And Dad was right. It is the perfect spot for a vegetable patch.