Master Bedroom Fitted Wardrobe Progress

"Mummy, it's a tower!". So said nearly-three year old Natalia after first clapping eye on the new addition to our master bedroom, before attempting to play hide and seek in it.

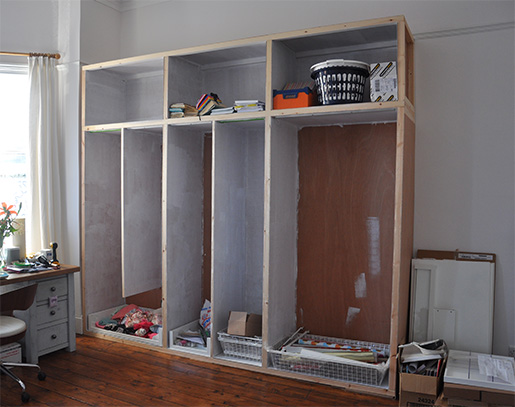
We've been working on this project on and off for a couple of months, and it's finally starting to look like an actual wardrobe. It's taken a long time because designing and installing a completely custom fitted wardrobe with two kids and two dogs and two full-time jobs isn't exactly the most simple task we could have taken on, especially when it's enormous (2.7m x 3m), constructed to our own precise specification from a pile of timber and an assortment of random fittings from various suppliers, and we've had to work out how to build it as we've gone along.

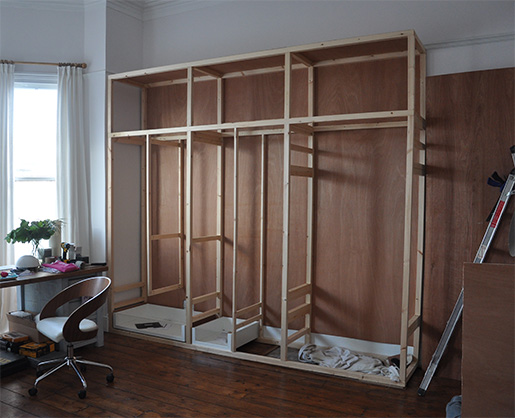
First of all we built the frame from planed timber 2x2" wood. We installed the base first and levelled it, and then built the verticals on top. We initially tried to install the verticals in situ and screw them in against the wall, but the wall was so wonky that to get everything level we were having to chop into the wood to accommodate the curve of the wall, which was a huge pain. So we gave up and went with Plan B, which was to pull the whole thing away from the wall, build it, and let the vertical levelling take care of itself (which it did). An additional challenge was making sure it was square - no good having a compartment that's exactly the width and depth of your drawer if it's slightly parallelogram-shaped as the drawer won't fit in.
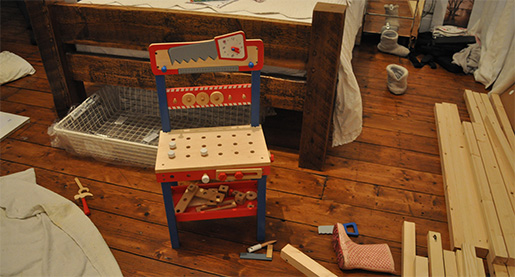
Keeping the girls entertained with their own tools while we cracked on with our tools.
We then hammered a few sheets of 3.6mm plywood onto the back with panel pins, and installed it in place against the wall. We accommodated the huge skirting board by stopping the plywood just above it. We screwed into the wall for added security using pilot holes we drilled through the wood before we pulled it away from the wall to add the backing board.
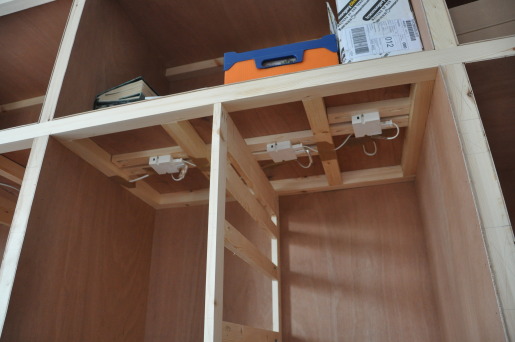
Here's where things started to get tricky. We have multiple combinations of drawers and shelves to install in each section of the wardrobe, and obviously these need to be screwed into something. So I had to do approximately one million measurements to figure out where to install the horizontal bars so that when we screwed the drawer into place, it would hit solid wood.
For example: "if the drawer is 16cm high visually but 17.8cm high including the rails and the screw is 14cm from the top of the drawer and we need a 1cm gap from the bottom of the wardrobe plus the 3.6mm for the ply and then we have two more drawers to install before the shelf which is 18mm and then above this we need minimum 160cm of hanging space with 3.6mm ply at the top, then how much space can we have between the three drawers so they're evenly spaced and where therefore will the three sets of screws go?". And breathe....
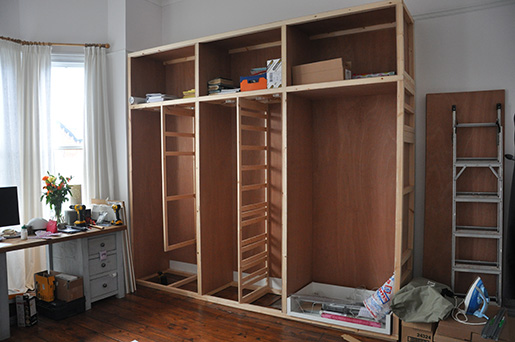
We did think part way through that installing a few verticals inside each compartment might have been easier, but given each compartment has various combinations of rails, shelves and drawers, all of which need to be screwed in at different places along the depth of the compartment, I'm not sure if it would have been any easier.
Next up, we hammered in the remaining plywood to frame out the compartments. It was at this stage that I wished we had invested in a nail gun.
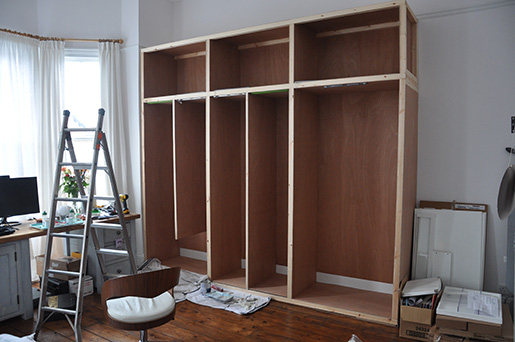
We also installed lights that switch on when you open the door - fancy. Andre and Andre's friend Ian (who was present during our heated debate over adding yet more expense to the project by including lighting) insisted that it would make all the difference and they were right, it looks fantastic. Well, the photo below doesn't look fantastic, but the actual lights do :-)
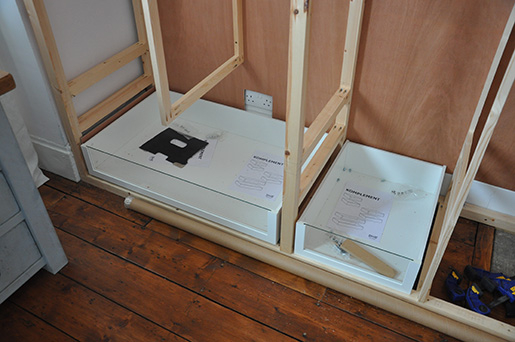
Testing that the drawers fit - they do! To the millimetre! Hallelujah :-)
Finally, priming with oil-based primer - and Andre is lathering on the first coat of fresh white wood paint even as I type.
The most useful tip I can pass on to someone taking on a project like this is to invest in a laser measure - we have a Makita one and it's incredible, accurate to the millimetre. I can't even imagine taking on something like this involving SO MUCH MEASURING with a manual tape measure. It wasn't cheap, but it was worth every penny.
Next steps:
- Finish painting it white.
- Wallpaper the back of each compartment.
- Fit all the drawers, baskets, shelves, rails and pullouts.
- Figure out how to turn our specially imported carved Indian screens into doors.
- Install the doors with our specially selected hinges (who knew there were so many different varieties of hinge in existence?!)
- Fit handles.
- Lovingly hang clothes, place sweaters in drawers and shoes on shelves, and exult in the fact that we won't need to build another wardrobe for about twenty years.
Easy as pie...!