Simply The Nest Victorian House Renovation #3 - Walls

And just like that, the shape of our new extension arose majestically from the mud like a phoenix. Actually I don't think it felt "just like that" for the builders if the swearing from the brickie as he wrestled with a pallet of unevenly sized 100+ year old reclaimed bricks is anything to go by, but from our perspective the walls materialised with the most exciting speed.
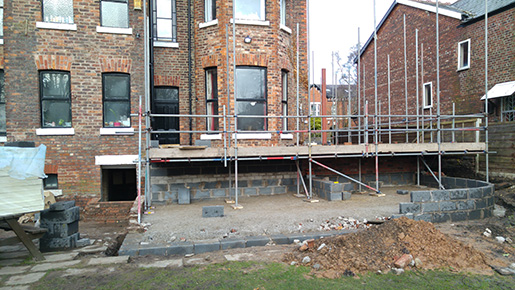
The first level of scaffolding in place...
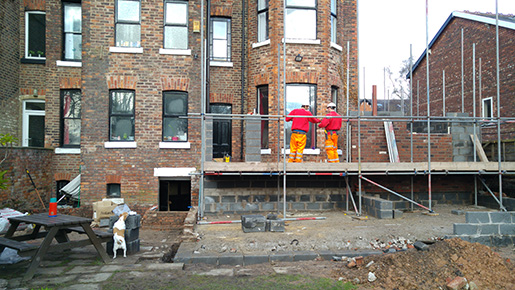
The reclaimed brick kitchen wall, breeze block pillars for the bifold doors and back door (to be covered in white render), and more scaffolding - and a cheeky Jack Russell attempting to steal the builders' lunch!
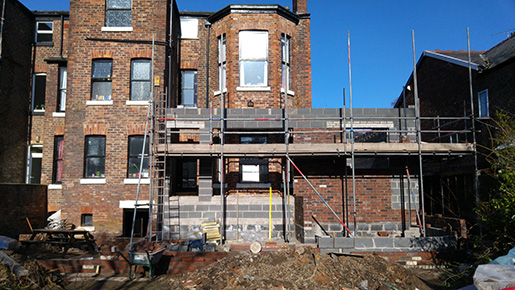
Beautiful blue sky and the steel in place across the openings.
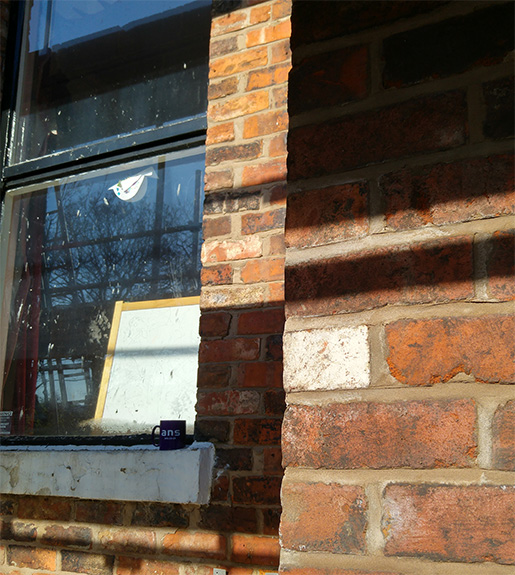
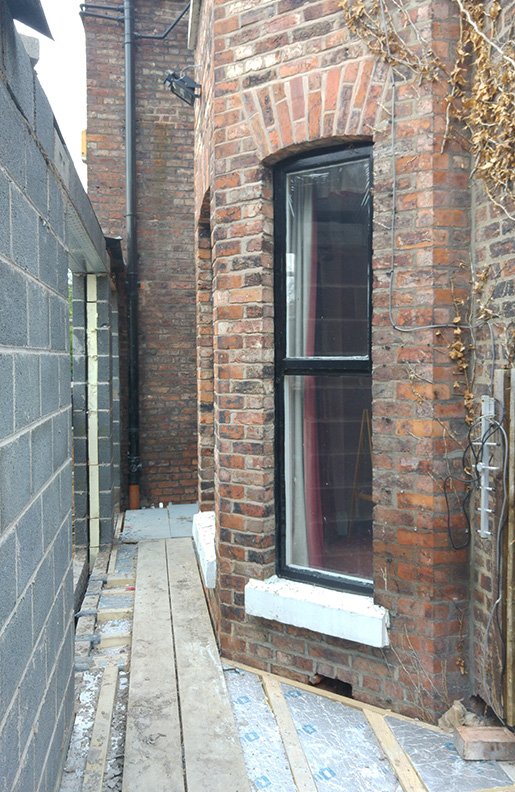
Original bricks on the left, 'new' reclaimed bricks on the right. Not a bad match.
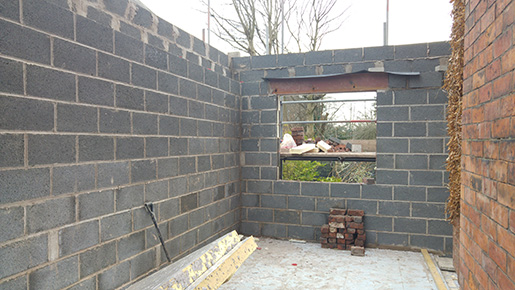
You can bet I hopped up the scaffolding into the new extension as soon as Tom the builder said the steel was firmly in place. This is our new kitchen window - for scale, it's 1500mm wide. The induction hob will sit below it with a ceiling extractor fan to remove the smoke that naturally comes from being a family that likes to eat a lot of bacon.
The next step will be to remove the bay window, knocking through into the current playroom. We'll have a giant hole in the back of the house and it will be freezing but it will also be AWESOME.
Click here to leave a comment, if you like.