Installing StopGap To Prevent Draughts

This post is a product review.
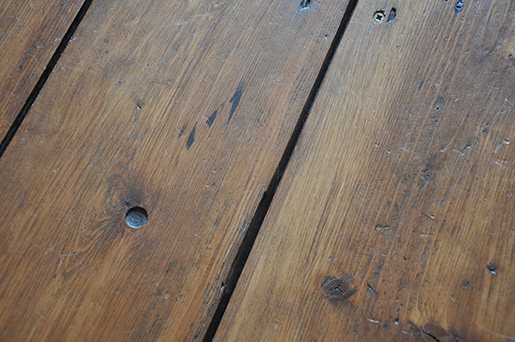
Something every Victorian homeowner will have experienced is the sheer exhilaration of pulling up a piece of ancient carpet for the first time and discovering the original floorboards underneath. Something every Victorian homeowner will also have experienced once said floorboards have been sanded is the chilly sensation of the cold air from the cellar rushing up through the gaps between the floorboards, and the subsequent increase in the gas bill.
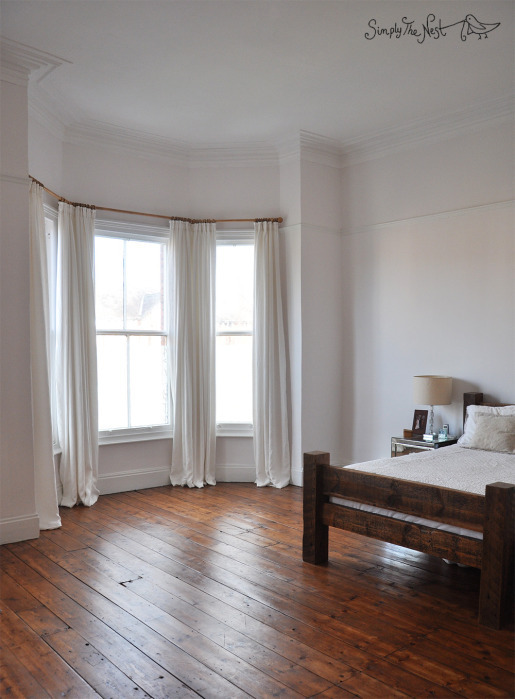
The refinished floorboards in our bedroom.
It's for this reason that while we have refinished the floorboards in all the bedrooms, we haven't touched the ones on the ground floor so far, as we need to insulate the cellar ceiling first to prevent uncomfortable and expensive draughts. So far we have insulated one cellar ceiling with rigid pieces of Celotex, and have seen the room temperature in the living room above increase by 2-3 degrees compared to the same-sized play room at the back of the house, despite the latter being south-facing. However, while using Celotex works extremely well, it is an expensive investment and is also tricky to install.
Something that I hadn't really anticipated as a side-effect of our current building work is how cold (and dusty) the rooms above would be. I had fondly imagined that the new structure would be built in its entirety - walls, windows and ceiling - before the old part of the house was knocked through. Naturally this wasn't possible, because inserting the steel required to support the old house would have been impossible if the new part of the house had been finished, so we've been living with the house being open at the back for several weeks now.
Not only has this meant that cold air is now rushing up through the gaps between Eva's bedroom floorboards, but we're also getting clouds of brick dust coming through the gaps too.
Enter StopGap - a simple and very clever product made by a UK-based family-run business that I had considered for our ground floor but had eventually decided against in favour of installing Celetox insulation boards. StopGap kindly sent us a number of rolls that we could use on Eva's bedroom floorboards to prevent draughts coming up from the exposed room below, and also, I hoped, to prevent the dust coming through.
StopGap will seal 1-8mm gaps between plank floorboards (it doesn't work on tongue-and-groove), and is so easy to install that a child of five could do it.
Literally - here is a picture of my five year old installing StopGap.

Basically it's a roll of rubber-like tape that you push into the floorboard gaps with a credit card. It folds itself neatly into the gap, clings in place with no need for glue of any kind, and is completely invisible.
Here's our equipment. The roll of StopGap, scissors for cutting it to size, and a credit-card (actually this is a building access card but you get the idea, any credit card-sized piece of plastic will do), paperclip and hairpin for pushing it into the gaps. The credit card worked best so that's what I'd recommend to use.

The credit card in action (Andre had taken over by this stage as it seemed a little harsh to expect Eva to install StopGap in the *entirety* of her bedroom floor):

And here's what it looks like once installed. You genuinely can't see it, even when you look closely.
It took us about an hour to do Eva's 6x4m bedroom, including moving the furniture out of the way. And the results? Her room is now noticeably warmer, and we no longer get dust coming through the floorboards. As an added bonus, she's no longer losing crayons, sequins, Squinkies, buttons, Important Pieces of Paper, jigsaw pieces, Lego pieces and so on through the gaps as they sit on top of the StopGap instead, so it's almost worth doing it for that reason alone.
For more how-tos and FAQs, you can look at the StopGap blog.
StopGap is not a particularly cheap product, with a roll retailing around £25 (discounts are available for bulk-purchasing), but it's a lot more cost-effective than using rigid insulation boards, and certainly significantly easier to install. As a comparison, insulating our cellar room with Celotex cost around £500 and took about 20 hours, while using StopGap to do a room of the same size took an hour and would have cost about £80. Naturally Celotex has higher thermal insulation values, but if you're looking for a quick and cost-effective fix that works well, then StopGap is what you need, especially if you're not intending to live in the property for long enough to recoup the cost of the Celotex through a reduction in your energy bills.
Thank you to StopGap for helping to keep the Simply The Nest family warm and dust-free since 2016. It's a fantastic product and I'd recommend it to anyone living in a period property.
Disclaimer: StopGap gave me a number of rolls for free in order that I could review them. All words, pictures and opinions are my own.
Click here to leave a comment, if you like.