Living Room Renovation Featuring Hannah Nunn Wallpaper

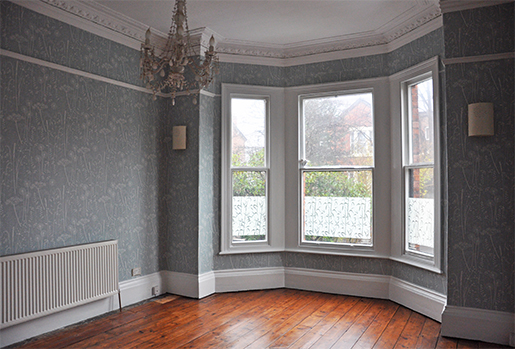
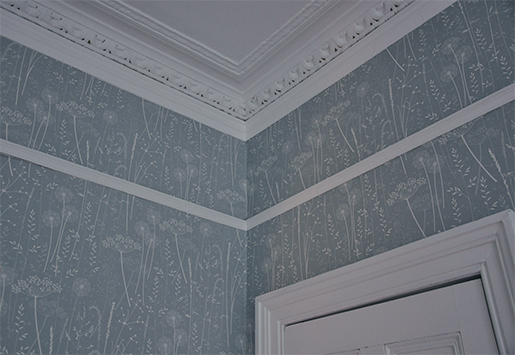
Holy moly, we did it. In just over a month we completely renovated our living room. It now looks like this:
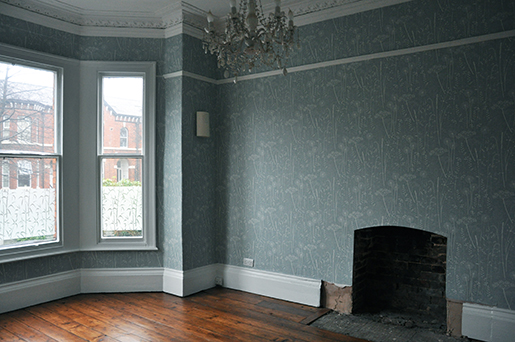
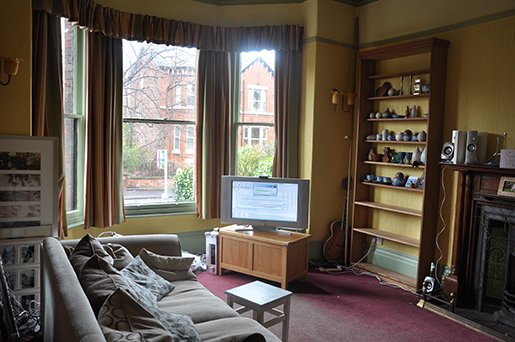
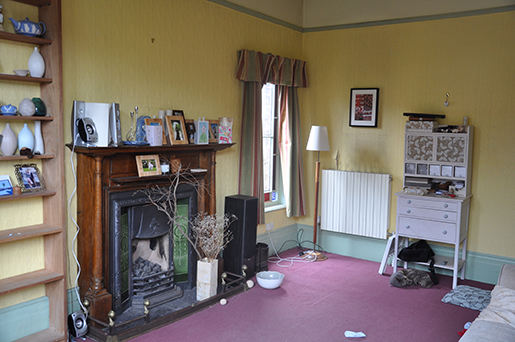
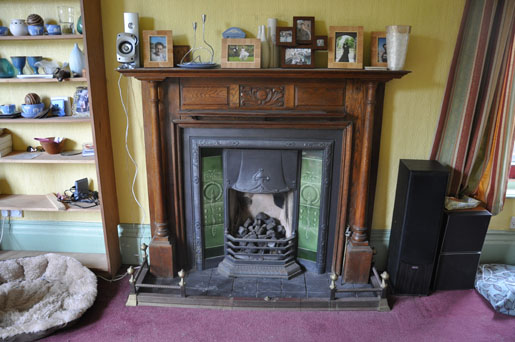
When only last month it looked like this:
We have three kids, three dogs and full-time jobs, so renovation is something that usually has to be done after hours once the girls have all gone to sleep. We both worked from 8pm to midnight nearly every night for a month, and I also cleared out with the kids for 8 hours on a couple of Saturdays while Andre cracked on with sanding the floors (which took ages courtesy of the usual black sticky stuff that those blasted Victorians loved to coat the exposed parts of their floorboards in). Normally a room renovation in our house takes us months of working on it on and off, so getting it done so quickly was fantastic, albeit completely exhausting!
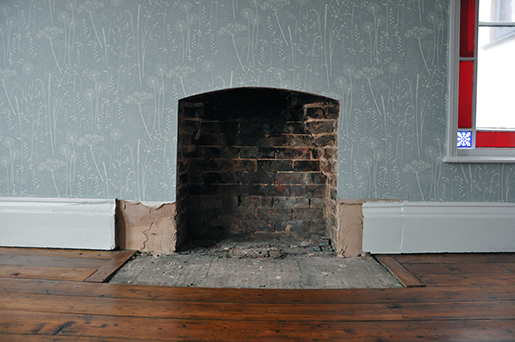
We had installed insulation from the cellar room before a couple of winters previously, so at least that job was taken care of. So all we had to do was rip the wallpaper off and replaster the dodgy patches, demo the old 80s fireplace out to reveal the soot-blackened original Victorian opening, replaster around the curve of the fireplace, rip the carpet up and repair, sand and oil the floor, rip the 80s curtains down, prime and paint 20m of skirting, 20m of picture rail, a massive bay window and a multi-panelled stained glass side window, paint the cornice and ceiling, and finally wallpaper the entire room from floor to ceiling. Phew.
We used the incredibly gorgeous Paper Meadow wallpaper from UK designer Hannah Nunn that I have been dreaming of ever since I picked up a sample from Hannah at a design show in Manchester over three years ago. I knew that using a paper this lovely for a feature wall only would be doing it an injustice. No, the entire room had to be papered on all four walls, above and below the picture rail, in order to truly experience the sensation of lying in a meadow on a warm summer's day surrounded by waving cow parsley and grasses.
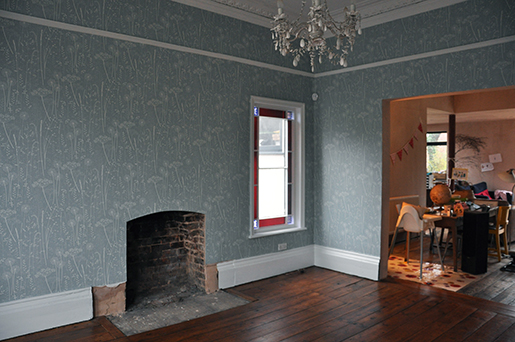
A couple more after (and before) pictures:
Some tips on wallpapering. I am no expert in wallpaper so these well may only apply to Hannah's paper, which is of a particularly thick and luxurious quality.
Don't worry about getting paste on the front of the paper - it wipes off without a trace with a damp cloth.
If you are papering a wonky Victorian room, don't rely on a tape measure to take a measurement and then transfer it to the paper. Our picture rail and skirting are all uneven, meaning a piece of wallpaper sometimes had to be 2cm longer on the left than the right. We found that the easiest way to avoid mistakes was to physically hold the roll in place against the wall, match the pattern, press the end against the picture rail or whatever we were cutting against, mark with a pencil, lay the roll on the floor, and then rule a line in pencil about 1cm above the mark.
We initially tried to make all our pencil marks on the reverse of the paper so the front didn't get damaged, but quickly realised this was leading to errors and that the pencil rubbed off with an eraser very easily, so we switched to marking up on the front.
I initially tried making paper templates from a roll of brown paper for the fireplace, window, power sockets and so on. Having got the template right, we then transferred it to the wallpaper. This didn't work - because we had a long drop of paper the top would be right but the bottom wouldn't. So we just used the actual roll of wallpaper, pressed it against the opening, marked it up with pencil, cut to roughly the right size, pressed it against the opening again, cut it to 1cm, and then pasted.
To accommodate corners like the top of window frames or the side of a windowsill, I used a pair of fine nail scissors and made lots of tiny cuts into the wallpaper that feathered round the corner or angle. These were then very easy to press into place and any overlaps were so small they couldn't be seen.
We left about 1cm of overhang at the top and bottom of the walls. Any more and we found the paper didn't stick properly at the top. I then waited until we'd papered the entire room and the paste had dried, and then went round with a stanley knife and a steel ruler cutting a precise line above the skirting and below the picture rail and cornice. I've tried cutting wallpaper before when it is still damp and it tends to tear - waiting until it's completely dry seems to work better.
By our standards, this room is now 'done'. Yes we still need to add the last couple of bits of skirting, tile the hearth, make and hang curtains, install a new fire surround or beam, buy sofas, side tables, cabinets and cushions, hang pictures and mirrors... and so on. But those things are all details that can come later - the room is definitely 'finished' enough to live with for a good while.
I was not sorry to see the back of the fireplace, let me tell you.
Click here to leave a comment, if you like.