Dust, Dust, Dust And More Dust

It would be great to be able to say: Ta Da! Natalia's room is done! Or even: Ta Da! Natalia's room has been replastered! Or even (scraping the expectation barrel here): Ta Da! We've stripped all the wallpaper from Natalia's room!
In reality, we've stripped some of the wallpaper, and put the first layer of plaster on some of the walls. As with the spare bedroom, the walls are in such horrible condition (much of the original plaster had a dubious sponge-like texture) that in many places we've (yes, the royal we!) had to strip the plaster back to the brickwork and redo it completely.
Anyway, here's a look at progress thus far.
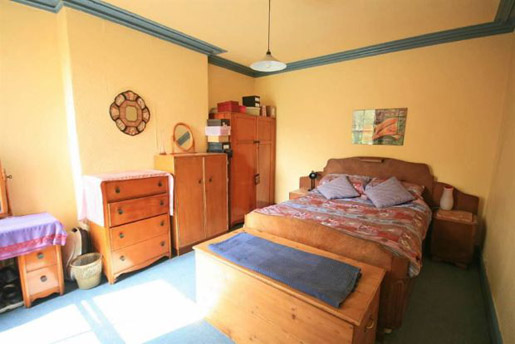
The original estate agent picture - the room is south-facing so it's nice and bright.
First we stripped the wallpaper from around the window:
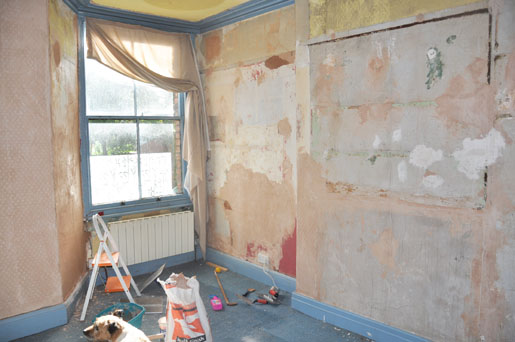
And plastered the walls to the left of the window (the corner still needs sanding).

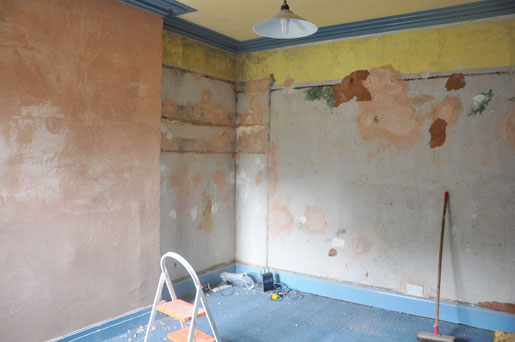
Then we replastered the chimney-breast.

Most recently we've taken the wallpaper off the wall facing the window, revealing a patchwork of DIY plaster efforts below.
Here's the overall plan.
- Strip wallpaper
- Replaster walls
- Repair and sand window frame, cornice, skirting board and door
- Prime and paint all walls
- Prime and paint all woodwork
- Remove carpet
- Prepare and sand floor
- Repair flooring and lay any new planks as required
- Final floor sanding
- Touch up skirting boards (if required)
- Oil the floor
- Ta Da!
While Andre has been working on Natalia's room, I've been going to town on the front garden with a pair of loppers and a saw. It was ace. On the other end of the renovation spectrum, I've made some pretty cushions for Eva's bedroom, and covered a lampshade in fabric for the nursery of a lovely friend. Pictures to follow!