How To Restore And Paint An Antique Chest Of Drawers

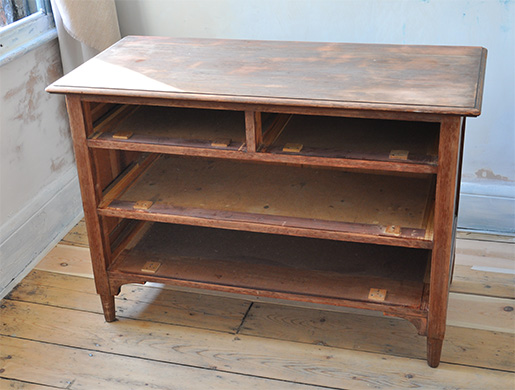
Do you remember the Edwardian chest of drawers I bought on eBay for £50 for Natalia's bedroom? It used to look like this:

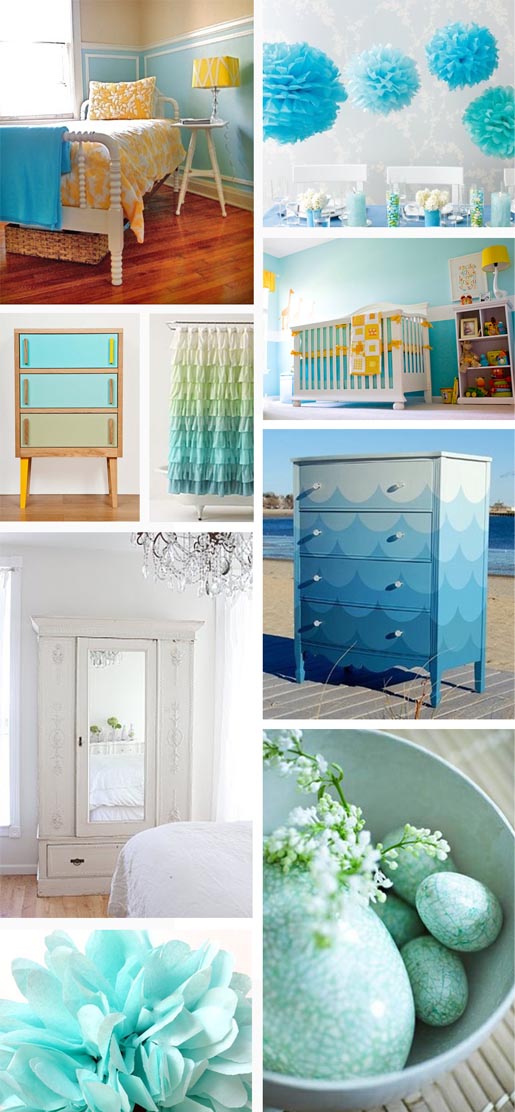
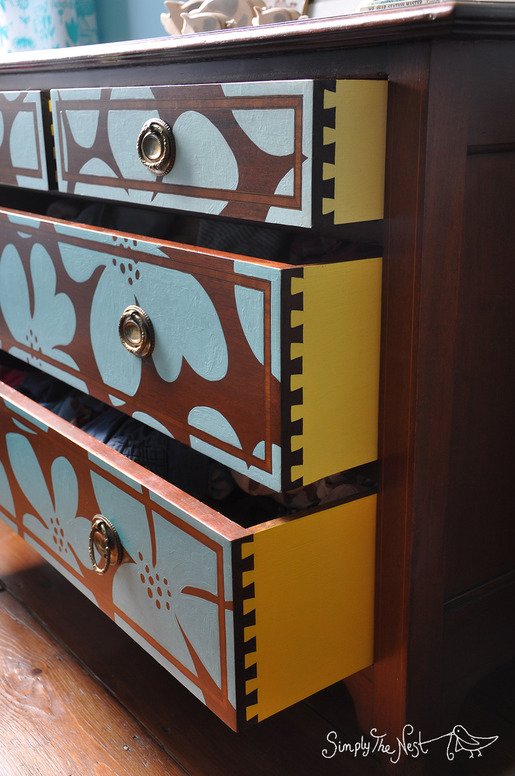
And now it looks like this. Well hello there, beautiful:


I'd originally planned to buy a set of cheap, pine drawers that I wouldn't feel bad about painting or covering in fabric, as per the images in her bedroom inspiration board.
Instead, I came across a gorgeous antique chest of drawers being sold by someone a couple of miles away for a really low price, so I loaded the kids into the car (Natalia was only a teeny tiny couple of months old at the time, bless her) and drove over to throw some cash at the sellers before they realised they could legitimately get away with charging a lot more.
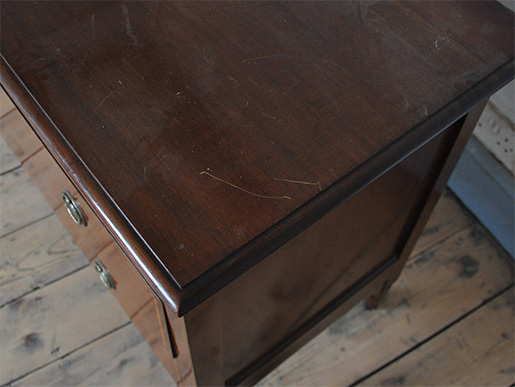
The chest of drawers is solid mahogany with a fruitwood inlay. I don't know what kind of fruitwood it is - apple or cherry, I guess - but it certainly adds a very pretty and delicate detail. Edwardian furniture is dated from 1901-1910, so it's around 100 years old.
As you'd expect, the wood wasn't in brilliant condition, with quite a few scratches and scuffs. But could I continue with my plan to lather a load of colour-blocked paint on this baby? Hell, no. There are some types of wood that you can go right ahead and slap the Annie Sloan on - the flaky veneered art deco-style wardrobe in our cellar, also destined for Natalia's bedroom, being a prime example - but a one-hundred year old antique? There's just no way.
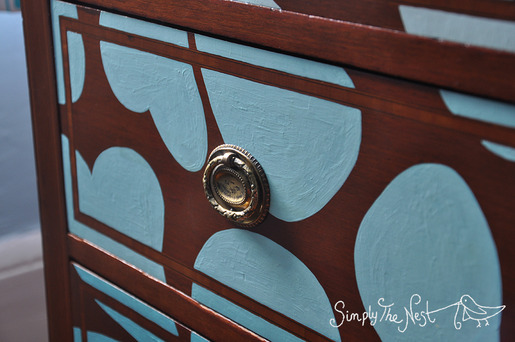
I also decided to keep the original drawer pulls instead of replacing them with Anthropologie-style knobs, although I don't rule out changing the hardware one day if I can find some with a wide enough footprint to cover up the original screw holes.
Having said that - I still wanted to personalise the chest of drawers. I wanted it to be fun, whimsical, colourful, and attractive to a child's eyes. But I just couldn't bring myself to paint it. After several months of thought (yes, months! I'm a card-carrying member of the Slow DIY movement), I eventually hit on the idea of painting part of it, and letting the rest of the wood shine through. If I ever get tired of it (or Natalia gets tired of it, of course), then it would be a simple job to lather it with some Home Strip and scrape the paint straight off again.
So, here's what I did. First of all, I had to get rid of the smell. Old furniture is often a bit whiffy, and good grief, this piece was no exception. First I tried coating the insides of the drawers with bicarbonate of soda, leaving it for several days, and then vacuuming it up - no difference. Then I tried wiping it down with neat vinegar. I left the drawers outside in the sun to dry, and then applied more vinegar. I was fully prepared to go big or go home, and try spraying the drawers with vodka, which I'd heard was brilliant at getting rid of smells in old furniture, but fortunately the vinegar worked fine, so our Absolut Vanilla lives on another day to be mixed into delicious Appletinis.
Power sanding time! Smells banished, I removed the hardware and sanded the chest of drawers with my DeWalt detail sander, while sporting a dust mask, goggles and ear defenders. I started off with 80 grit, then 120, and finally used 320 by hand.
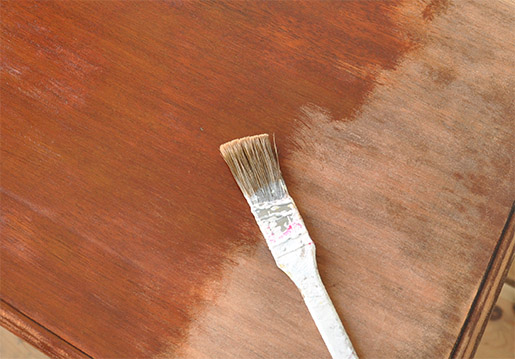
Next, I cleaned the unit with a damp towel and left it to dry. Then I gave it a coat of - shocker! - Osmo Polyx Oil. As usual, I used the tinted Amber 3072 oil first - it has a lovely reddish tint, so I thought it would look great on the mahogany. I waited for 24 hours, and sanded it down very, very gently using glasspaper. Then I gave the entire piece a coat of Osmo Polyx Oil 3032 in clear satin-matt.
Painting time! I did a large-scale floral design (based on one of the fabrics from Eva's room) using PhotoShop to give me an rough idea of what to paint where (you can read more about that process here), but as per the murals I hand-painted for Eva and Natalia, I prefer to use the design as a guideline only and just go for it free-handed instead.
It was very peaceful, painting that chest of drawers, sitting on the floor of my baby girl's sunlit bedroom with a tiny brush in my hand. I did the outlines first, and then carefully filled them in. A little voice in my head had said earlier: "Ooh - wouldn't it look great if you did a gradient?". So that's what I did.
I used the same paint that we used on her walls - Dulux Javan Dawn 5 on the top drawers, and Javan Dawn 2 at the bottom. I tried to create an exact balance between the two by mixing precise amounts of each together using a weighing scale, but apparently paint doesn't work like that and I ended up with a colour that was much darker than I wanted, so I eventually mixed it by eye.
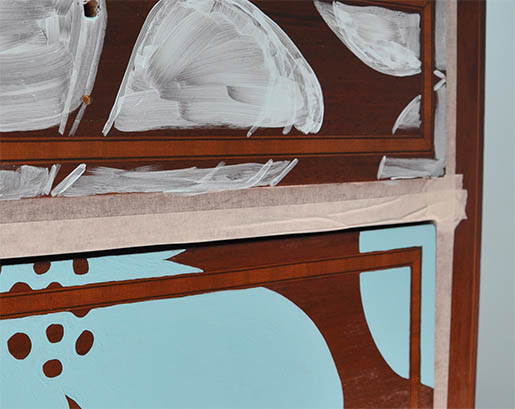
Then the little voice said: "Ooh - I think you should pick out the inlay". The voice was right - the inlay was way too pretty to cover up, so I painted round it. I could have used frog tape to make this easier for myself, but it was one of those situations where the frog tape was two floors below me in the cellar and I couldn't be bothered to get it, so I took an extra four hours painting numerous straight lines by hand instead. I wanted the chest of drawers to look handpainted though, so that's OK. I know I could have just bought a stencil and blasted it with a can of spraypaint, but it somehow felt important to me that you could see the love and care that went into painting it. Up close, you can see the texture of the paint as I layered it up over three coats - that's OK, too. In fact, it's kind of the point.
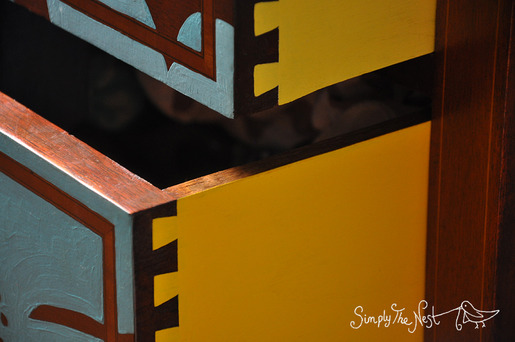
Then, the little voice said: "Ooh - I think you should paint the outside of the drawers to give a flash of colour when you open them". Cool, I thought. And then the voice added: "You should do that in a gradient, too". Sure, I thought. And then the voice said: "Hey, why not pick out those gorgeous dovetailed joints?". So I did that too. And then the little voice said: "Ooh, I know - why don't you paint a pretty design inside the drawers, too?". So I told the little voice to shut up and I oiled them instead.
Obviously I could have just left the inside of the drawers in their natural state, but if I'm going to do a job then I'm sodding well going to Do It Properly. I will, however, admit to using frog tape along the edges of each drawer to get a really crisp, yellow line - my goodness, that stuff really works. Once I peeled the tape off it revealed an absolutely pristine line, even though I'd used three layers of yellow paint with 24 hours of drying time between each.
I coated the entire piece in a second coat of clear satin-matt Osmo oil, after doing a test on another piece of wood to see what happened when you put oil on top of paint (answer: nothing). The oil did darken the paint ever so slightly, but not so it looks any different overall. I can confirm that the finish is tough as old boots - the chest of drawers has taken a proper beating from Natalia-I-like-to-whack-things, and it still looks amazing. There are also no scratches or chips on the yellow drawer sides even though they've been yanked in and out numerous times. Finally, I re-attached the hardware.
I don't mind saying that I'm dead proud of how it's turned out.

You can read about how I made the curtains here, and how we made the lamp from a branch from our acer tree here. We bought the picture on holiday in Provence, and most of the books and toys were mine as a child.
Timewise, I reckon it took about three days in total, albeit spread out over about a month due to drying time and two small typhoons known as Eva and Natalia. In terms of the cost - apart from the £50 chest of drawers, we already owned all the materials, so the cost of the upgrade for us was zero.
However, if you needed to buy materials, this is what I'd estimate:
- Paint: 2 x turquoise sample pots, 1 x yellow sample pot, 1 x white sample pot (to lighten the yellow). £12 approx, if you buy Dulux from B&Q, but they sometimes have deals on.
- Sandpaper (it would be completely feasible to do the whole thing by hand, in which case you could dodge the cost of the power sander, protective gear, and special DeWalt sandpapers): One pack of Oakey multigrade for £8 approx.
- Oil: The smallest size of Osmo oil you can buy is 250ml. One tin of colour and one tin of clear would do the trick at £20 each.
- Frog tape (delicate): £4
- Purdy paint brush for oiling: £10
- White spirit for cleaning the oily paint brush: £1.50
- Fine artist brush set (I use Royal and Langnickel Gold Taklon): £5
Total for materials: £80.50, assuming you had to buy everything from scratch. But of course you could then re-use everything for other projects.
Go on then, what's your take on painting old wood? Yay or nay?