Osmo Polyx Oil Before And After - Natalia's Bedroom

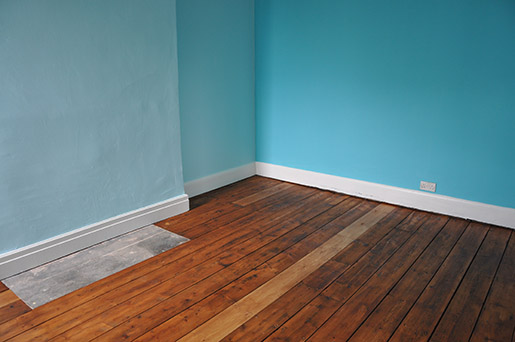
Natalia's room finally has a beautiful oiled floor! One large Purdy brush + 1 inch of Osmo Polyx Oil in Amber + 4 hours of hard labour = well, one coat down and two more to go. Still, it's looking very lovely indeed.
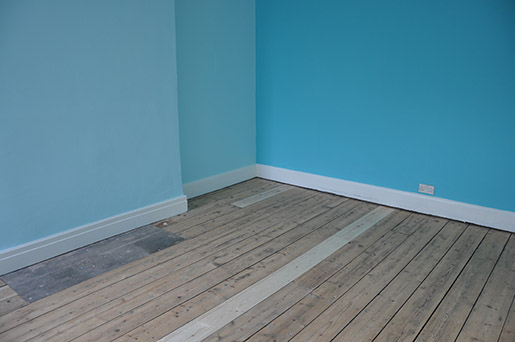
From this:
To this:
And in animated form:

The lighter planks are the ones we had to replace with new redwood pine planks because the original ones were too damaged. The oil works completely differently on the new wood - it sinks straight into the 130 year old wood (probably because the older wood's so thirsty) but sits more on the surface of the new.
There is also significantly more colour variation when using oil on old wood rather than new (which of course adds to the charm). I've subsequently given the new planks a second coat of the tinted oil so they're now the same colour as the rest of the floor.
You can read more about using Osmo Polyx Oil to finish Victorian wooden plank flooring in this post about Eva's bedroom floor.
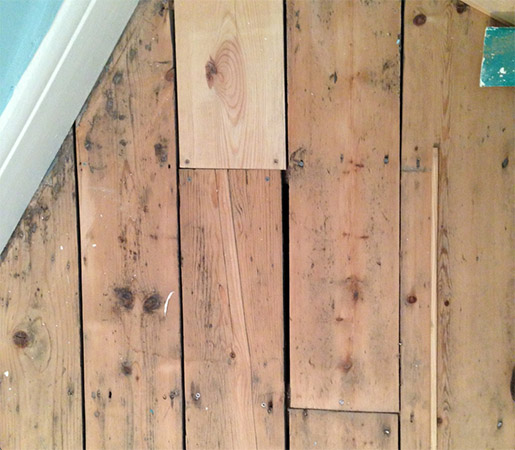
In addition to replacing a few planks, we filled a few gaps using thin cuts of wood. We glued these in place, pushed sawdust into the tiny glue-filled gap between old and new, and then sanded the whole lot. We did this partly for aesthetic reasons, and partly because of Natalia grows up to be anything like her big sister, a near-1cm gap in the floor will prove to be a very tempting receptacle for all sorts of items that we'd really prefer not to store underneath the floorboards. However, it would also be a very effective (albeit fiddly and time-consuming) method for removing gaps between floorboards to improve noise and thermal insulation.
From this:
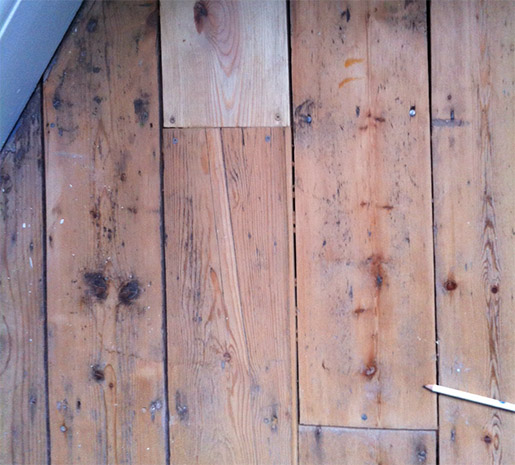
To this:
Next up - two coats of clear satin-matte, followed by sanding and sealing the hearthstone. I'm also busy working on the upholstery for this chair using leftover fabric from these curtains. Baby steps, baby steps.