How To Make A Bookshelf For A Baby's Nursery

When a typical evening at home involves breathing heavily through a dust mask like Darth Vader while painstakingly scraping slices of toxic lead paint from your stairs, it makes a refreshing change to spend 15 minutes on an aesthetic (and practical) quick design win.
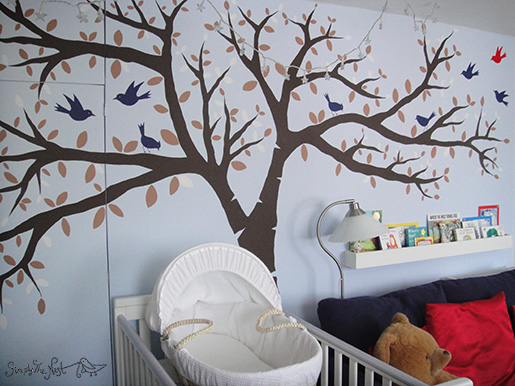
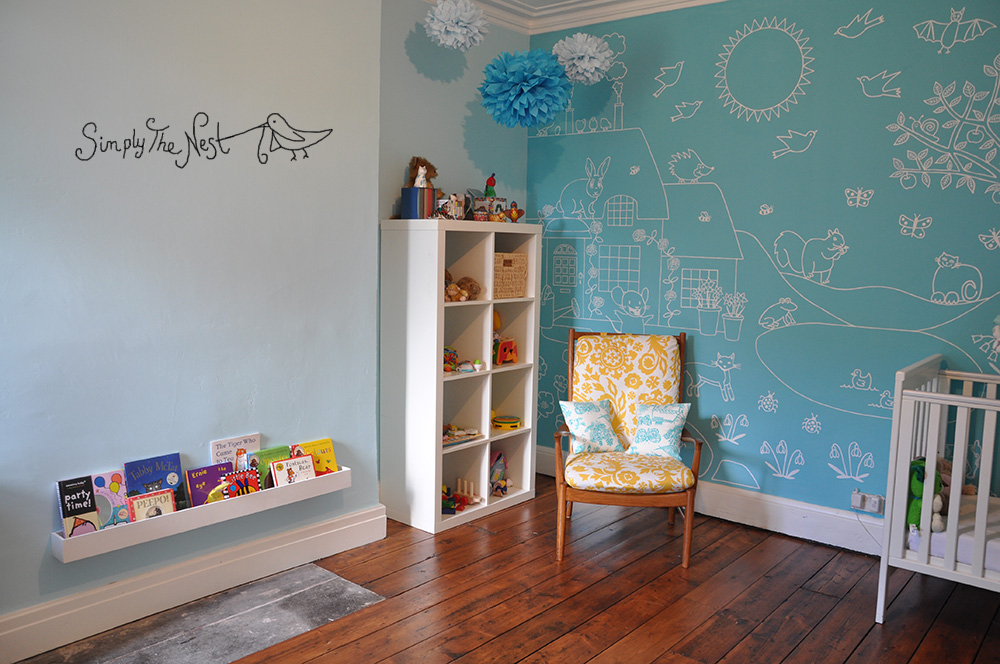
When we were living in our first house, we used MDF to build a really simple bookshelf for displaying baby Eva's books, which we installed above the sofa in her nursery.
Coming across it unexpectedly a few days ago in the cellar of abandoned second-hand furniture, I brought it upstairs, gave it a lick of white paint, screwed it into the chimney-breast of Natalia's bedroom, and arranged her lovely new birthday books in it.
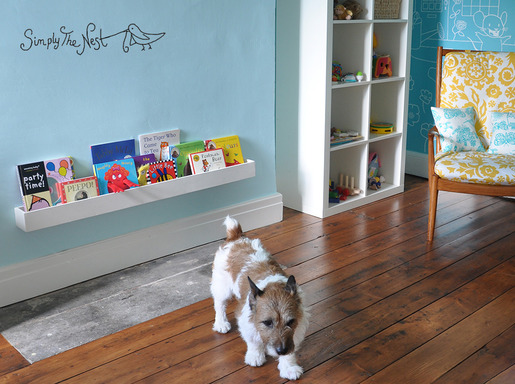
Right now, the chimney-breast is the perfect place for the bookshelf because it's the only wall in the room where we can hang it at pint-sized Natalia height - all the better to remove the books and chew them, fling them around, bash them against the floor and so on. We'll probably also hang a mirror and some art above the bookshelf.
In the medium-term, we'll move the books to the Ikea unit (as her collection builds up) and use the chimney breast as a creative area - maybe paint on a chalkboard with little flowerpots for chalk attached to the wall, or perhaps create a magnetic wall. Or we might go wild and do both.
Long-term, we could open up the chimney breast to expose the fireplace and install some shelves across it (which perhaps a teenage Natalia - what a crazy thought! - might use to display her 'you're-not-going-out-wearing-those' shoes)... or even source a Victorian fireplace and fit that (no, terrible idea, teens with a working fireplace, what am I thinking?!)... I'm sure we'll think of something; it's pleasing to think of the house evolving around us as the needs of our family grow and change.
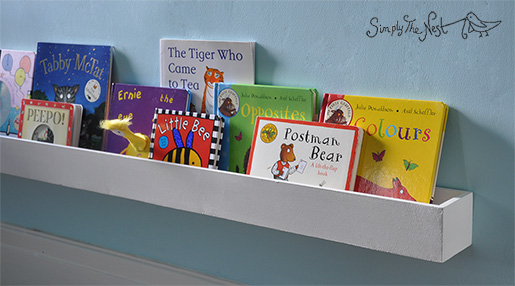
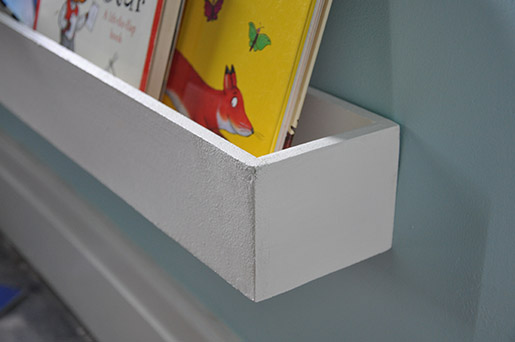
Back to the bookcase - it's a very simple design comprising two long pieces (front and back) and two short pieces (the sides) surrounding the base (which is the length and width of the front and side pieces, minus the width of the wood x 2). If you routinely spend time gluing and screwing things to other things, then those instructions should be sufficient :-)
After screwing it together, we used woodfiller to cover the (countersunk) screws and the joins.
And the full view of this corner of the room:
We still need to sand and oil the hearth stone, which is currently serving as a relic of how the room used to look like before we got our paint-spattered paws on it.
On the list for tonight - continue work on the dollhouse we're making for Eva's third birthday. She's asked for "a house for rabbits (Sylvanian Families), a tramp'line, and a horsie". The girl knows what she wants, can't fault her for that!