How To Make A DIY Dollhouse For A Toddler

Eva asked for a "rabbit house" (dollhouse) for her third birthday, so we downed tools on the never-ending lead paint removal stair renovation project, and set to with the jigsaw and a huge piece of MDF that - you'll never guess - we found in the cellar. Bless the previous owners and their wood-abandoning ways.
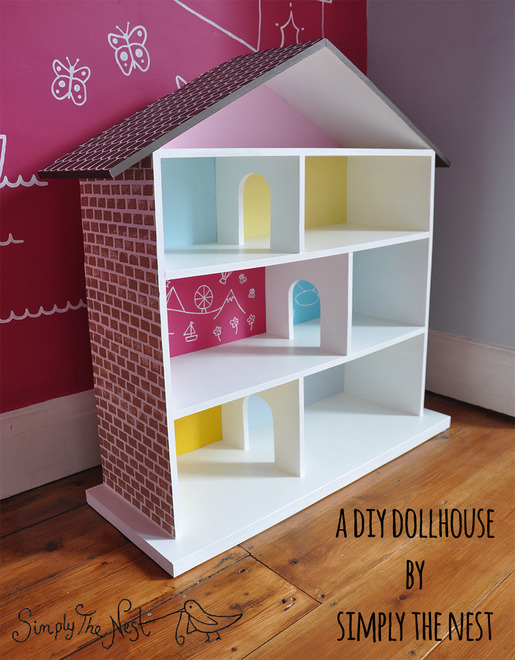
Here's what she unwrapped a couple of weeks ago, much to her great delight:

It was a pretty simple project - much easier than the play kitchen we made for her second birthday. We looked at a bunch of DIY dollhouses on Pinterest, consulted some instructions from Ana White, and drew up a design. We wanted it to be big enough to give sufficient headroom to a colony of Sylvanian Family rabbits, while leaving enough space for toddler hands to reach in and rearrange the furniture without knocking everything over. We also needed it to be sturdy enough to bear the weight of an enthusiastic climbing 13 month old, should it happen to take her fancy to do so.
Here's a picture showing the dimensions we used. We sited the whole thing on a heavy piece of old tabletop which gave it a nice strong base - all the other pieces were cut from 13mm MDF, with a 3mm piece of MDF nailed across the back.

You'll see the top floor is 18cm high, while the ground and first floors are 22cm. This is because we only planned to have two storeys and an attic - but when we cut the side pieces, we cut them with extra length just for a bit of flexibility, and decided at the last minute that we had just enough room to add an extra floor. The 22cm rooms are probably a slightly better height for a 3 year old to access easily, so if you plan on using these dimensions then you should cut your side pieces to (22cm x 3) + (the width of your wood x 3).
We used screws to hold the walls, floors and roof together, and panel pins to nail in the back piece. We also used our Makita sander to mitre the top of the walls where they met the roof, and where the two pieces of roof connect together. You could probably get all fancy with a protractor and some calculations, but we just did it by eye until it looked right. A bit of sealer hides a multitude of sins on this type of project, anyway.
Here's how it looked before we started painting ("are you building a multi-storey car park?", asked a humorous friend).

First of all we primed the whole thing and then gave it a couple of coats of white woodwork paint. I put the thin backboard (we used two pieces, with the joint hidden behind one of the floor pieces) up against the dollhouse, drew round the outline of each room in pencil, and then painted each one.

The deep pink paint and pale blue are from Eva's room, the two turquoises are from Natalia's room, the yellow is the paint I used on the stool in the spare bedroom, and I made the pale pink and yellow paints by mixing a couple of spoonfuls of white in with the darker pink and yellow. The deep brown roof is the paint from our garden picnic table, and the bricks are the paint that we used to makeover our old garden shed!
Here's a view from the front:

A little voice in my head said "ooh, wouldn't it look pretty if you did a simplistic version of Eva and Natalia's murals in the respective bedrooms?" and I had to concede that yes, yes it would, so that's what I did:

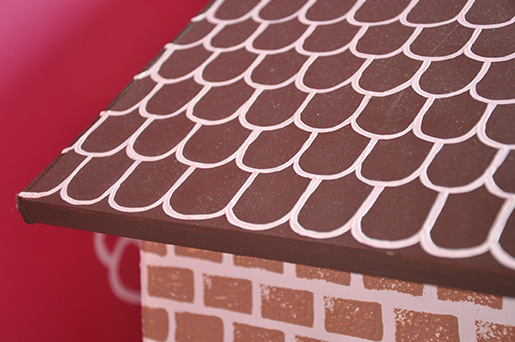
I also spent about four hours watching F1 while handpainting gingerbread-style tiles onto the roof:
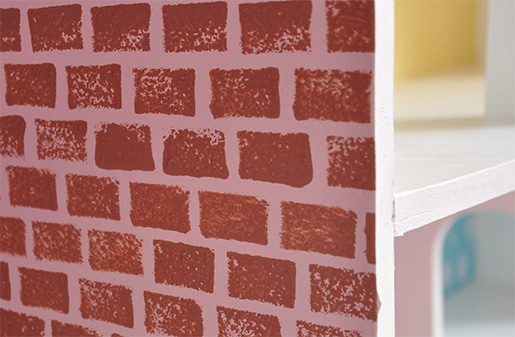
And I cut a piece of sponge into a small rectangle to use as a stamp to create bricks with a bit of realistic texture and pattern:
Finally, here's how it looks with the furniture in place and the inhabitants all moved in:

The furniture is a bit of a mix. Some is brand new, for example, the 'rustic kitchen set' (cute benches, huh?)...

...and some is old. This nursery set lived in my childhood dollhouse (it's actually a Sylvanian Families set - both the set, and the brand, are still going strong twenty-odd years later), and I sewed that little felt pillow when I was about ten.

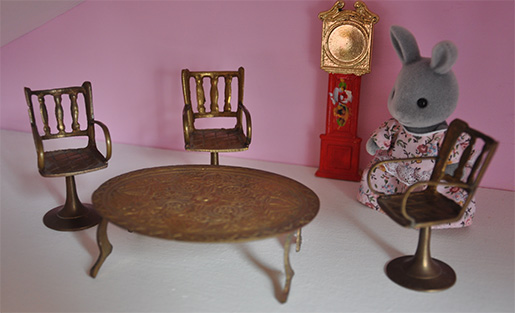
These metal chairs and grandfather clock were also mine when I was a kid - they usually live on the top floor because otherwise Natalia will more than likely grab them and whack them against something (in addition to being a climber, she's also a basher). So the dollhouse has got a nice eclectic vibe going on, as of course all good houses should.
A family of beavers joined the rabbits a few days later. Here are a couple of typical scenes after an hour of serious toddler play:
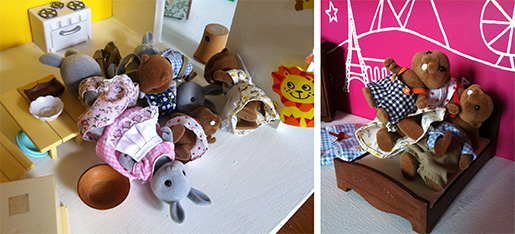
So now I have a miniature version of our house to tidy every night, yay. No, seriously, I love it - really, there's nothing quite like tucking tiny felt rabbit figurines into tiny beds to relax you after a hard day's labour.