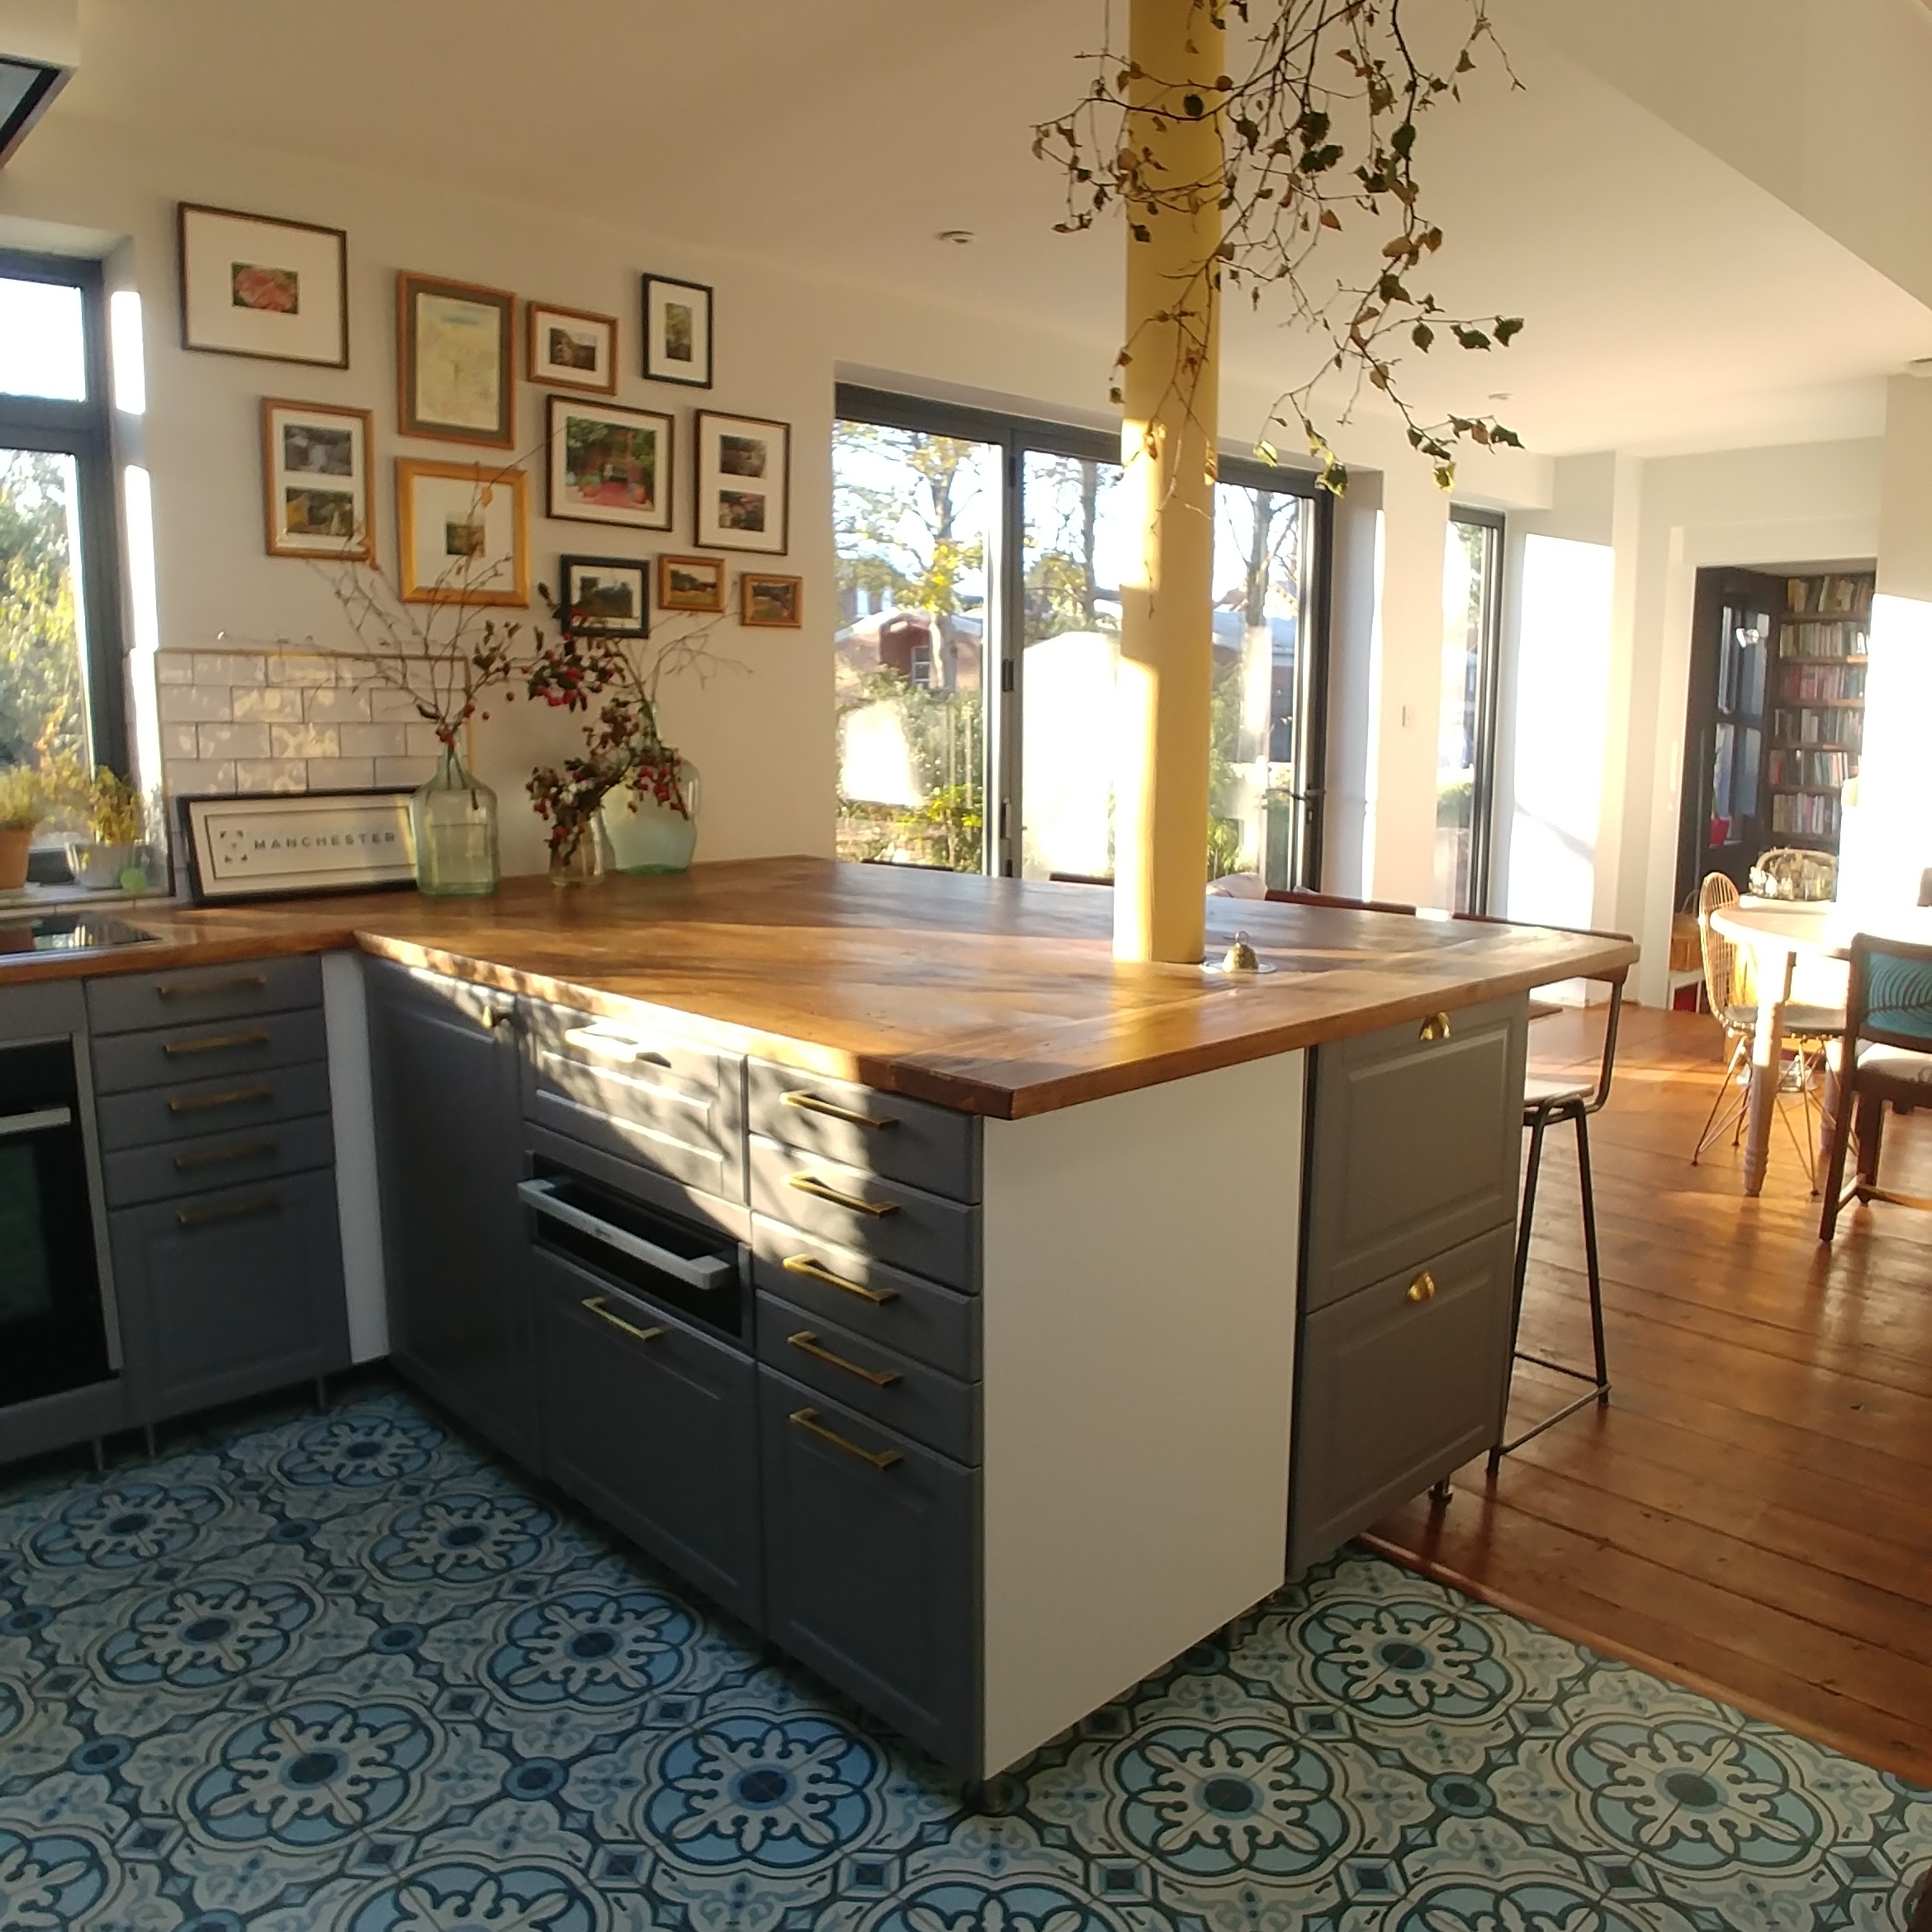
How to Upcycle Old Picture Frames and Hang a Gallery Wall

Upcycling old picture frames to use in a gallery wall is a bit trickier than you'd think. Here's how I created a new gallery wall of special old garden-themed photos for our kitchen-diner using old picture frames.

I buy old frames at the local charity shops. They often have frames in boxes out the back so it's worth asking and having a rummage. Don't worry about the colour of the frame as you can paint or wax to whatever finish you like. Make sure the glass isn't cracked. It's also worth checking to see if the frame comes with fittings on the back as this will make life easier.
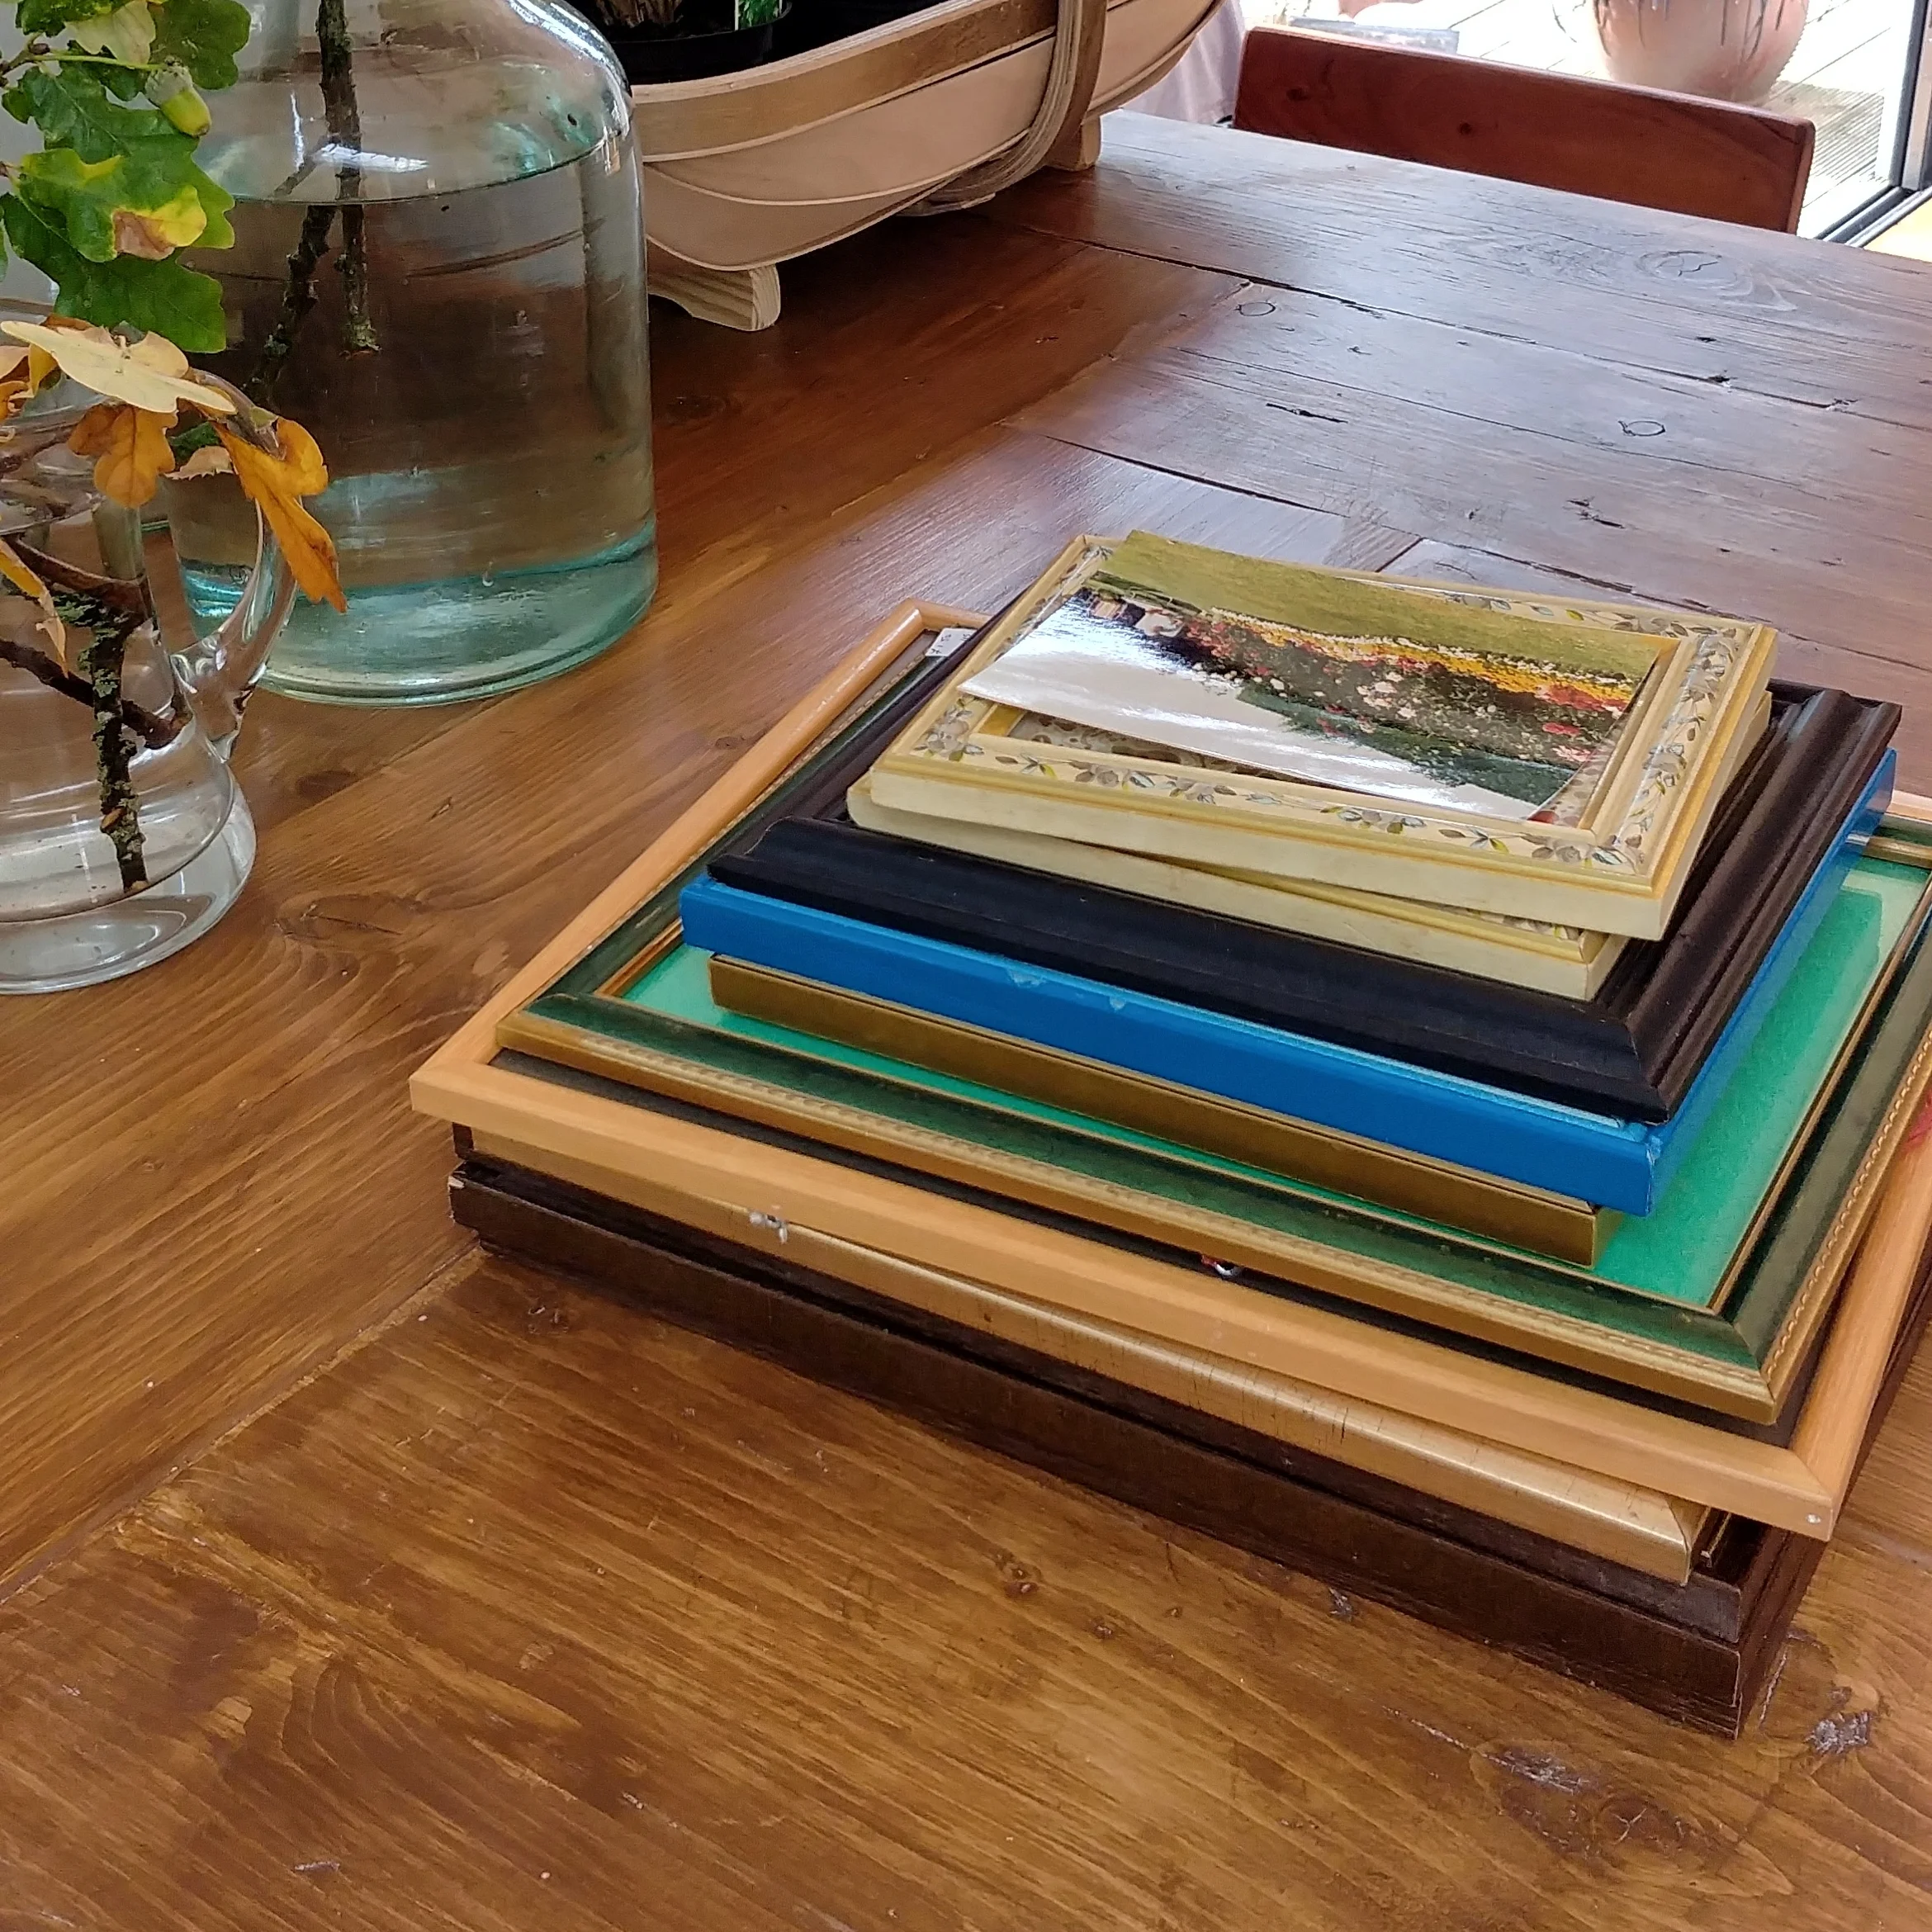
This stack of frames sat on the island for about two months before I got round to using them.
Work out which photo you want to use in each frame. You may have some photos or pictures already printed, so pair these with frames first. You can then order prints of your electronic images at whatever size you want to fit the remaining frames. I like to use Photoshop to size the picture to exactly what I want. I do this by first of all resizing the image to the desired measurement in millimetres, and then layering on top of a blank image sized at 6x4 inch (or whatever standard photo size is suitable). I then order prints of the 6x4 inch image. This ensures that my image prints at the correct size. I use DS Colour Labs in Didsbury - their online ordering system isn't super-easy to use, but the quality of the prints is excellent.
I like to mix up picture, frame and mount sizes when creating a gallery wall. So I include some small images in large frames with large mounts, some multi-aperture mounts, and some large images with narrow mounts. Remember that you can use a custom mount to make a rectangular photo square, or create a small image from a large one by zooming in on a detail. This is particularly useful for when you already have the images printed and ready for framing, and aren't able to edit the original image unless you go to the faff of scanning it in.
The next thing to do is order the custom mounts. I use Frame Lizard for mine. Work out your sizes by measuring the backer board of the frame (or the existing mount), and the image the frame will contain.
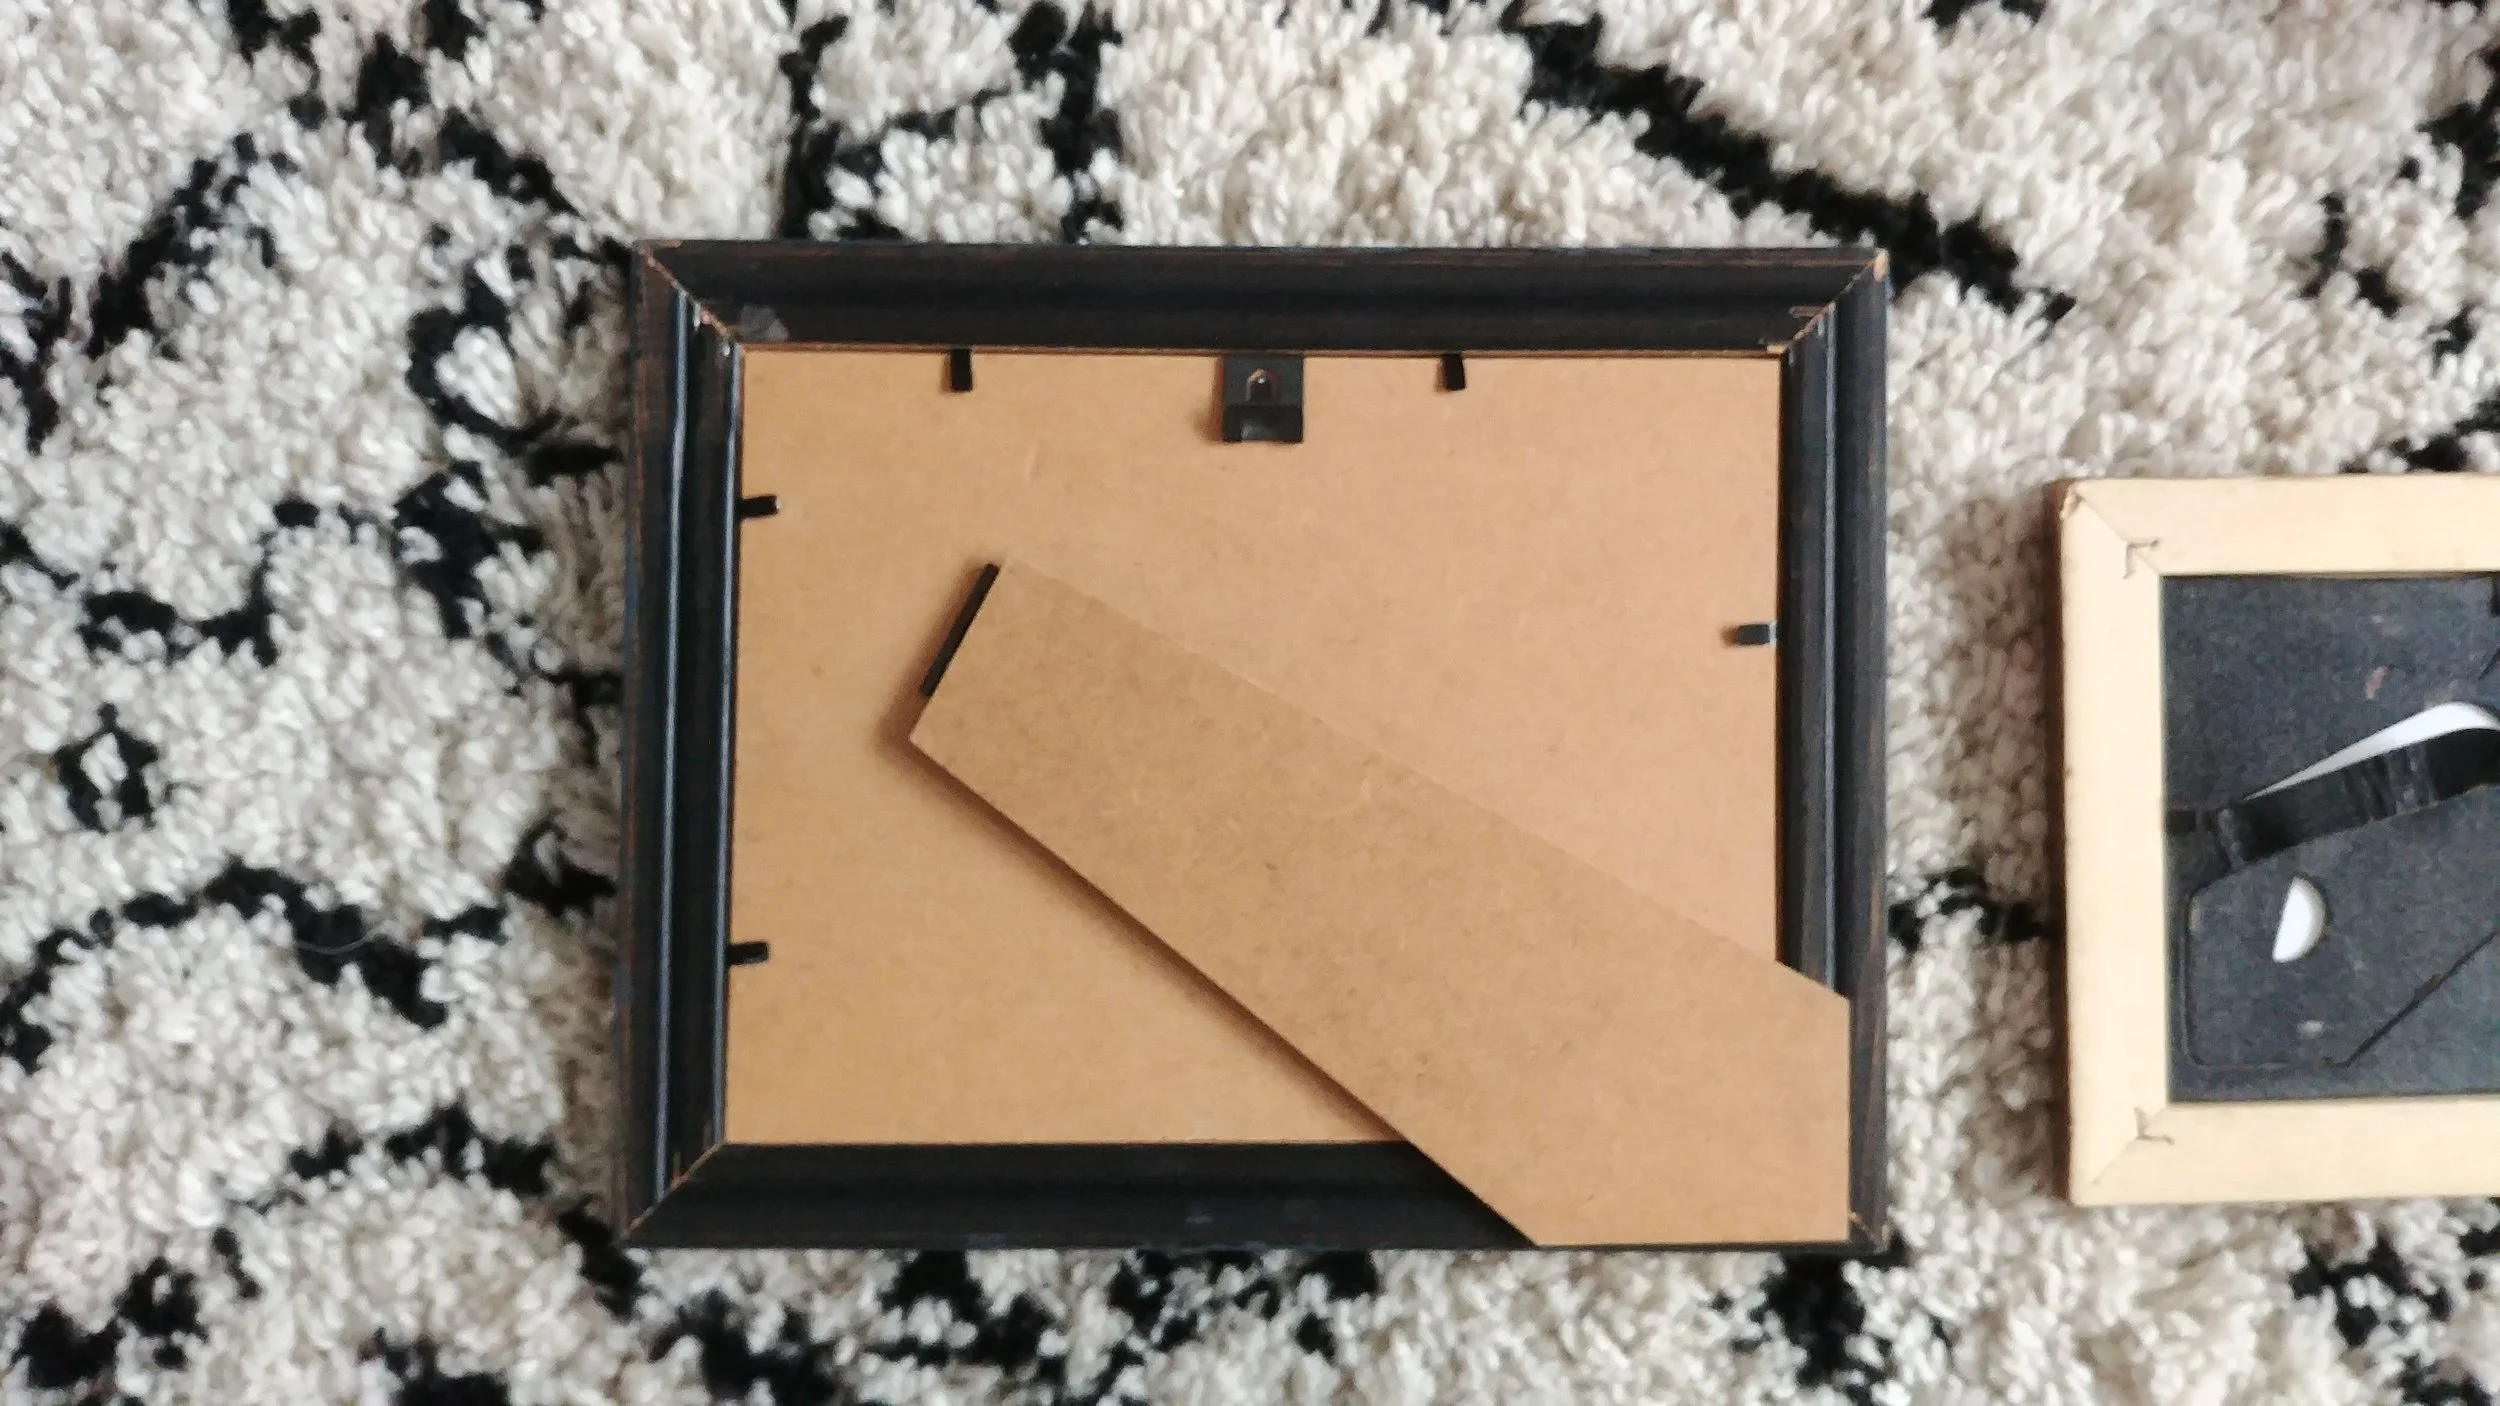
The thick brown card here is what I call the 'backer board'.
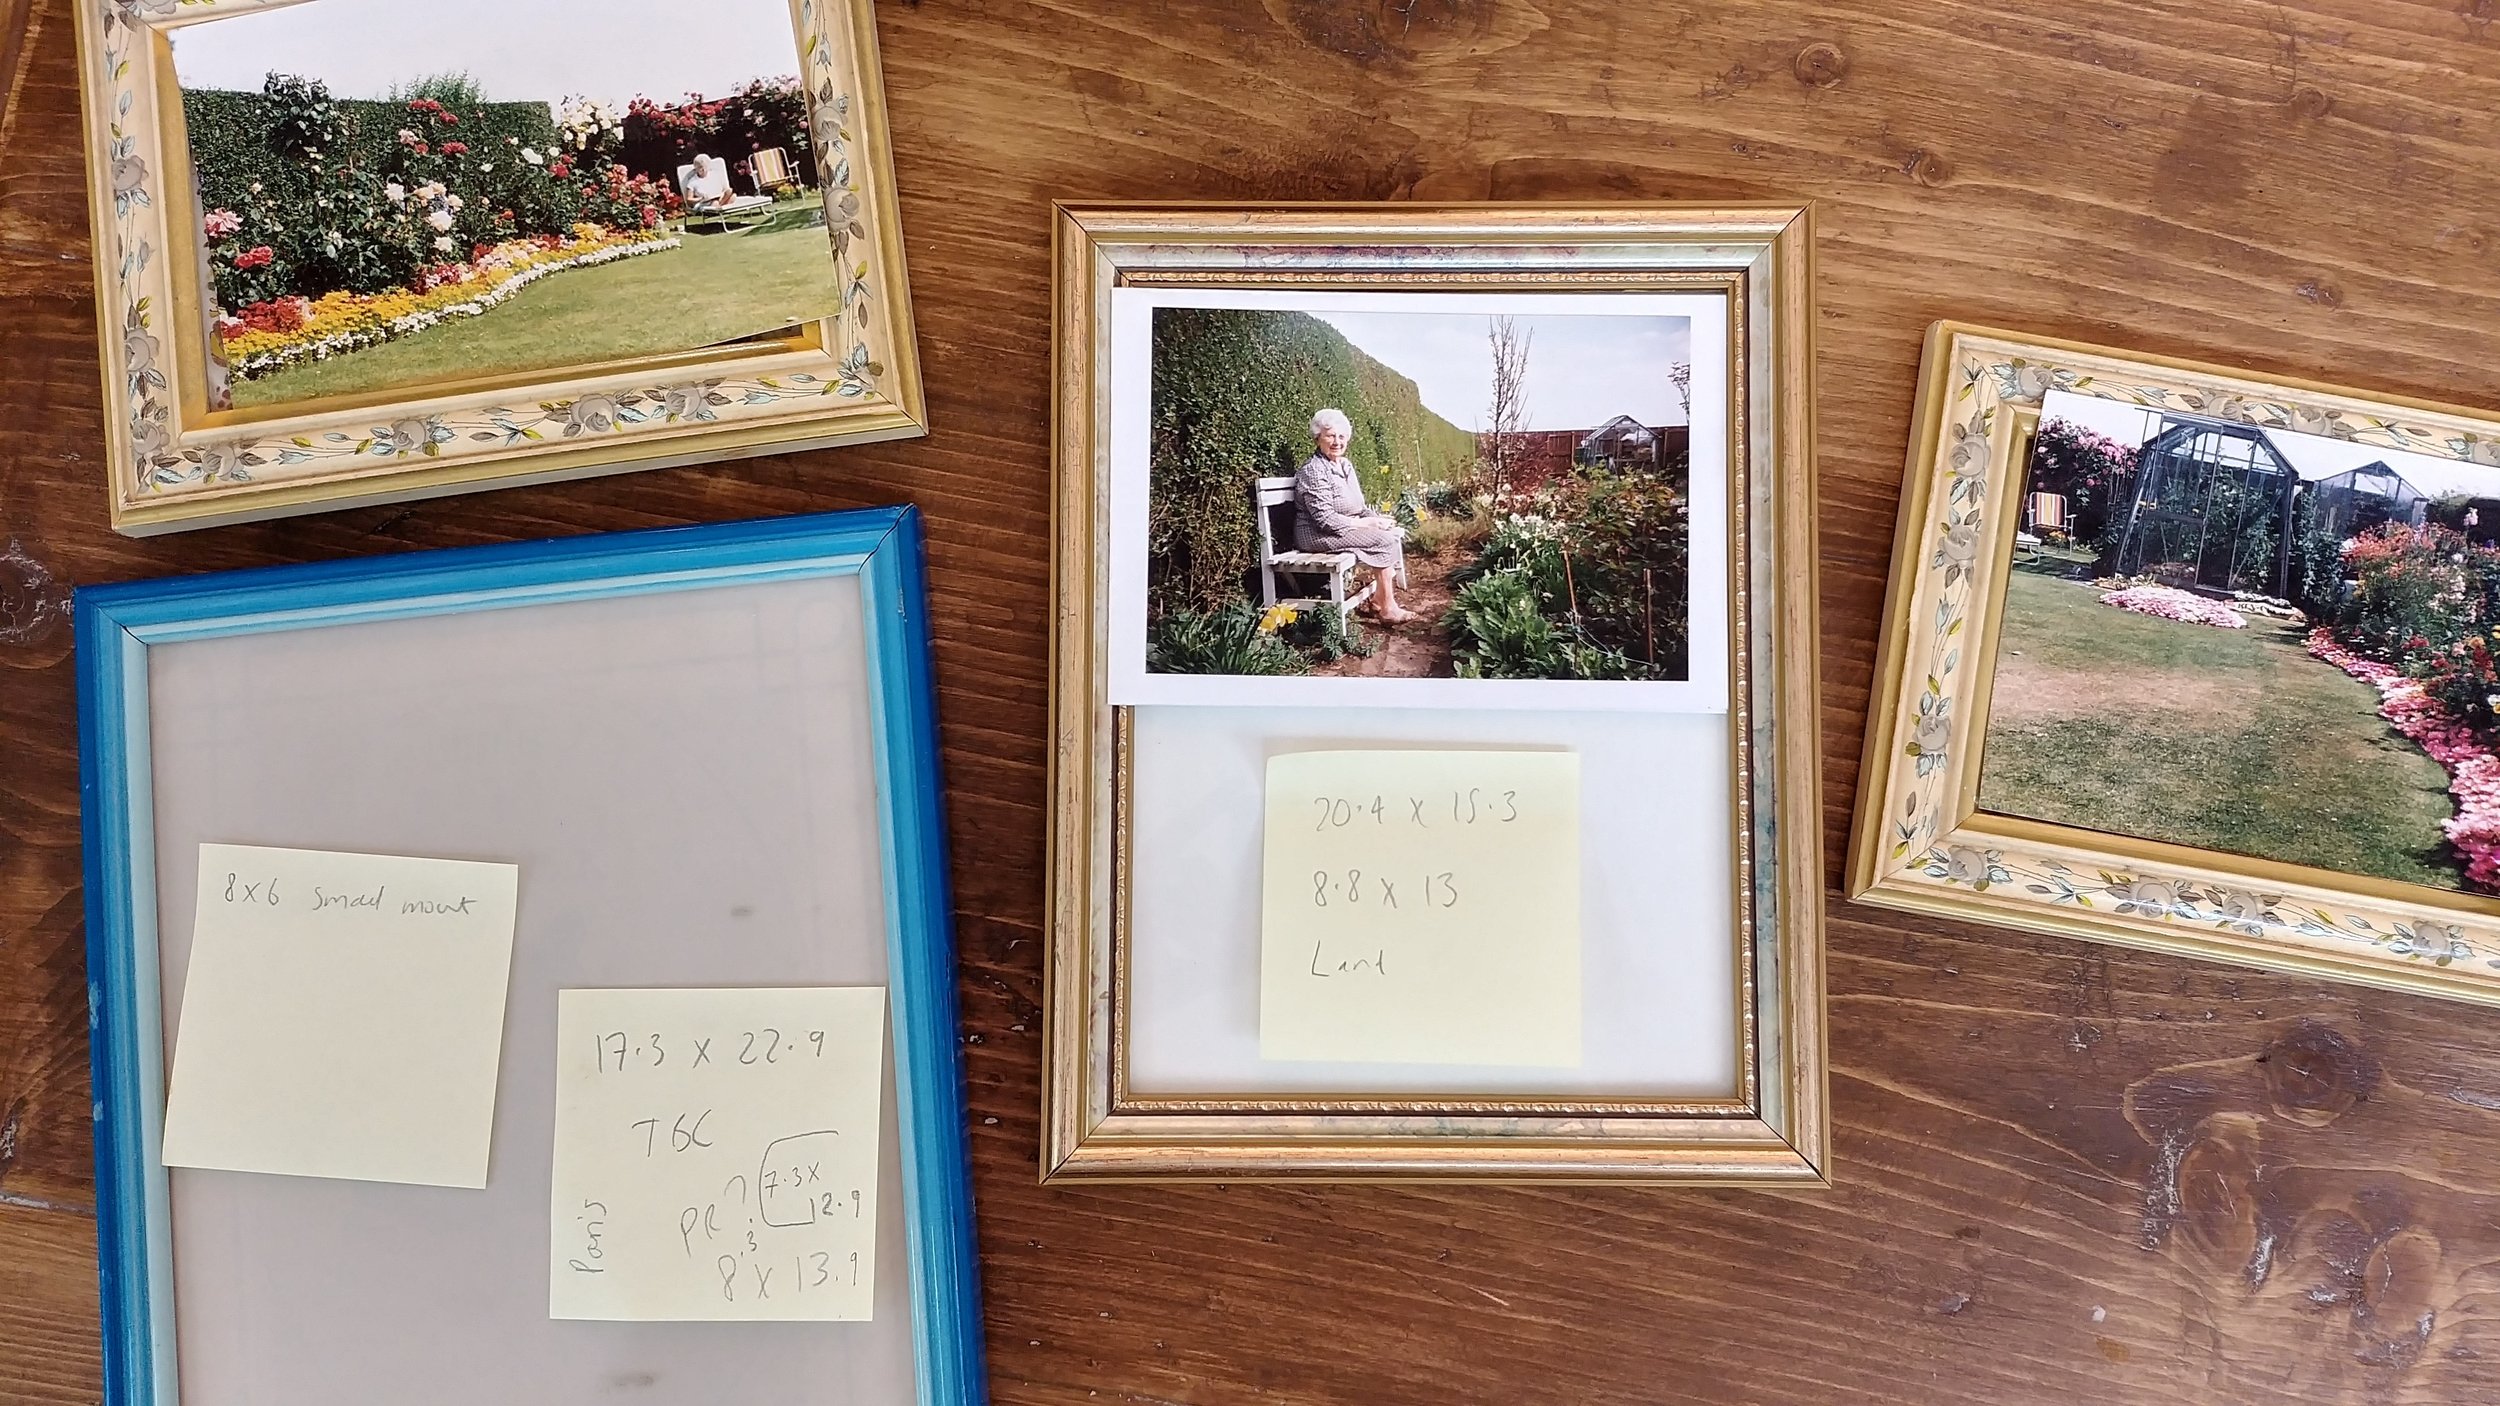
Write both measurements down on a post-it, along with a note of the image you intend to frame, and whether the image will be portrait, landscape or square, and stick it onto the glass. It's really easy to forget which image you plan to use in which frame so the post-it helps with this. I also take pictures with my phone of each frame/post-it combination in case they become separated. You don't need to worry about factoring in an overlap as Frame Lizard will do this for you, so just measure the actual size of the mount and the actual size of the image to be framed.
I usually use a hammered ivory finish for the mounts. In general terms, I think it works well to use an eclectic set of frame finishes with single-colour mounts, or vice versa.
Having taken care of printing and mounts, you can get to work upcycling the frames. I'm usually quite lazy when upcycling picture frames, on the basis that the finish doesn't need to be strong and durable as they're only going to be hanging on the wall, rather than being knocked around in daily use. So generally I don't mess around with primers, but just put the paint straight on. I also usually paint the frame carefully without dismantling it because otherwise it's easy to get the glass muddled up. You can dismantle if you find that easier, but be sure to keep things in some kind of order. When painting a frame, especially without using primer, a couple of thin layers works better than one thick one. I prefer using regular paint and a brush to spray painting, as the latter is messy and smelly. I also use up old paint samples rather than buying new paint as you only need a tiny amount.
You can also wax instead of painting - this works best when the frame already has a wooden finish. If I'm just touching up a frame with wax to hide a few chips then I just dab it straight on where needed, but if I'm doing the whole frame I'll give it a light sand if necessary to take off old varnish or other seals that would prevent your wax or oil from sinking in properly.
The number of finishes you use in one gallery wall is up to you, but I normally use 3 or 4. For this garden-themed wall in our kitchen, I used dark grey paint, gold paint, wood, and wood and gold, to be paired with brightly coloured images and single-colour ivory mounts.
When the mounts arrive, it's time to start dismantling the frames. It's very easy to get the glass and existing fittings muddled up, so it helps to completely do one frame at a time. So dismantle the frame (a small screwdriver helps to prise the fittings up), carefully remove the glass, wash the glass with soap and water, and dry with a lint-free cloth (I use the kids' old muslin cloths). Then reassemble, using the new custom mount. I use a couple of pieces of tape to hold the image into the mount so it doesn't slip around. I also use new fastenings where necessary. For small pictures, I find the easiest hanging mechanism is the little clips that fasten around the backer board - look up 'clip over sawtooth frame hanger 2-3mm' on eBay.
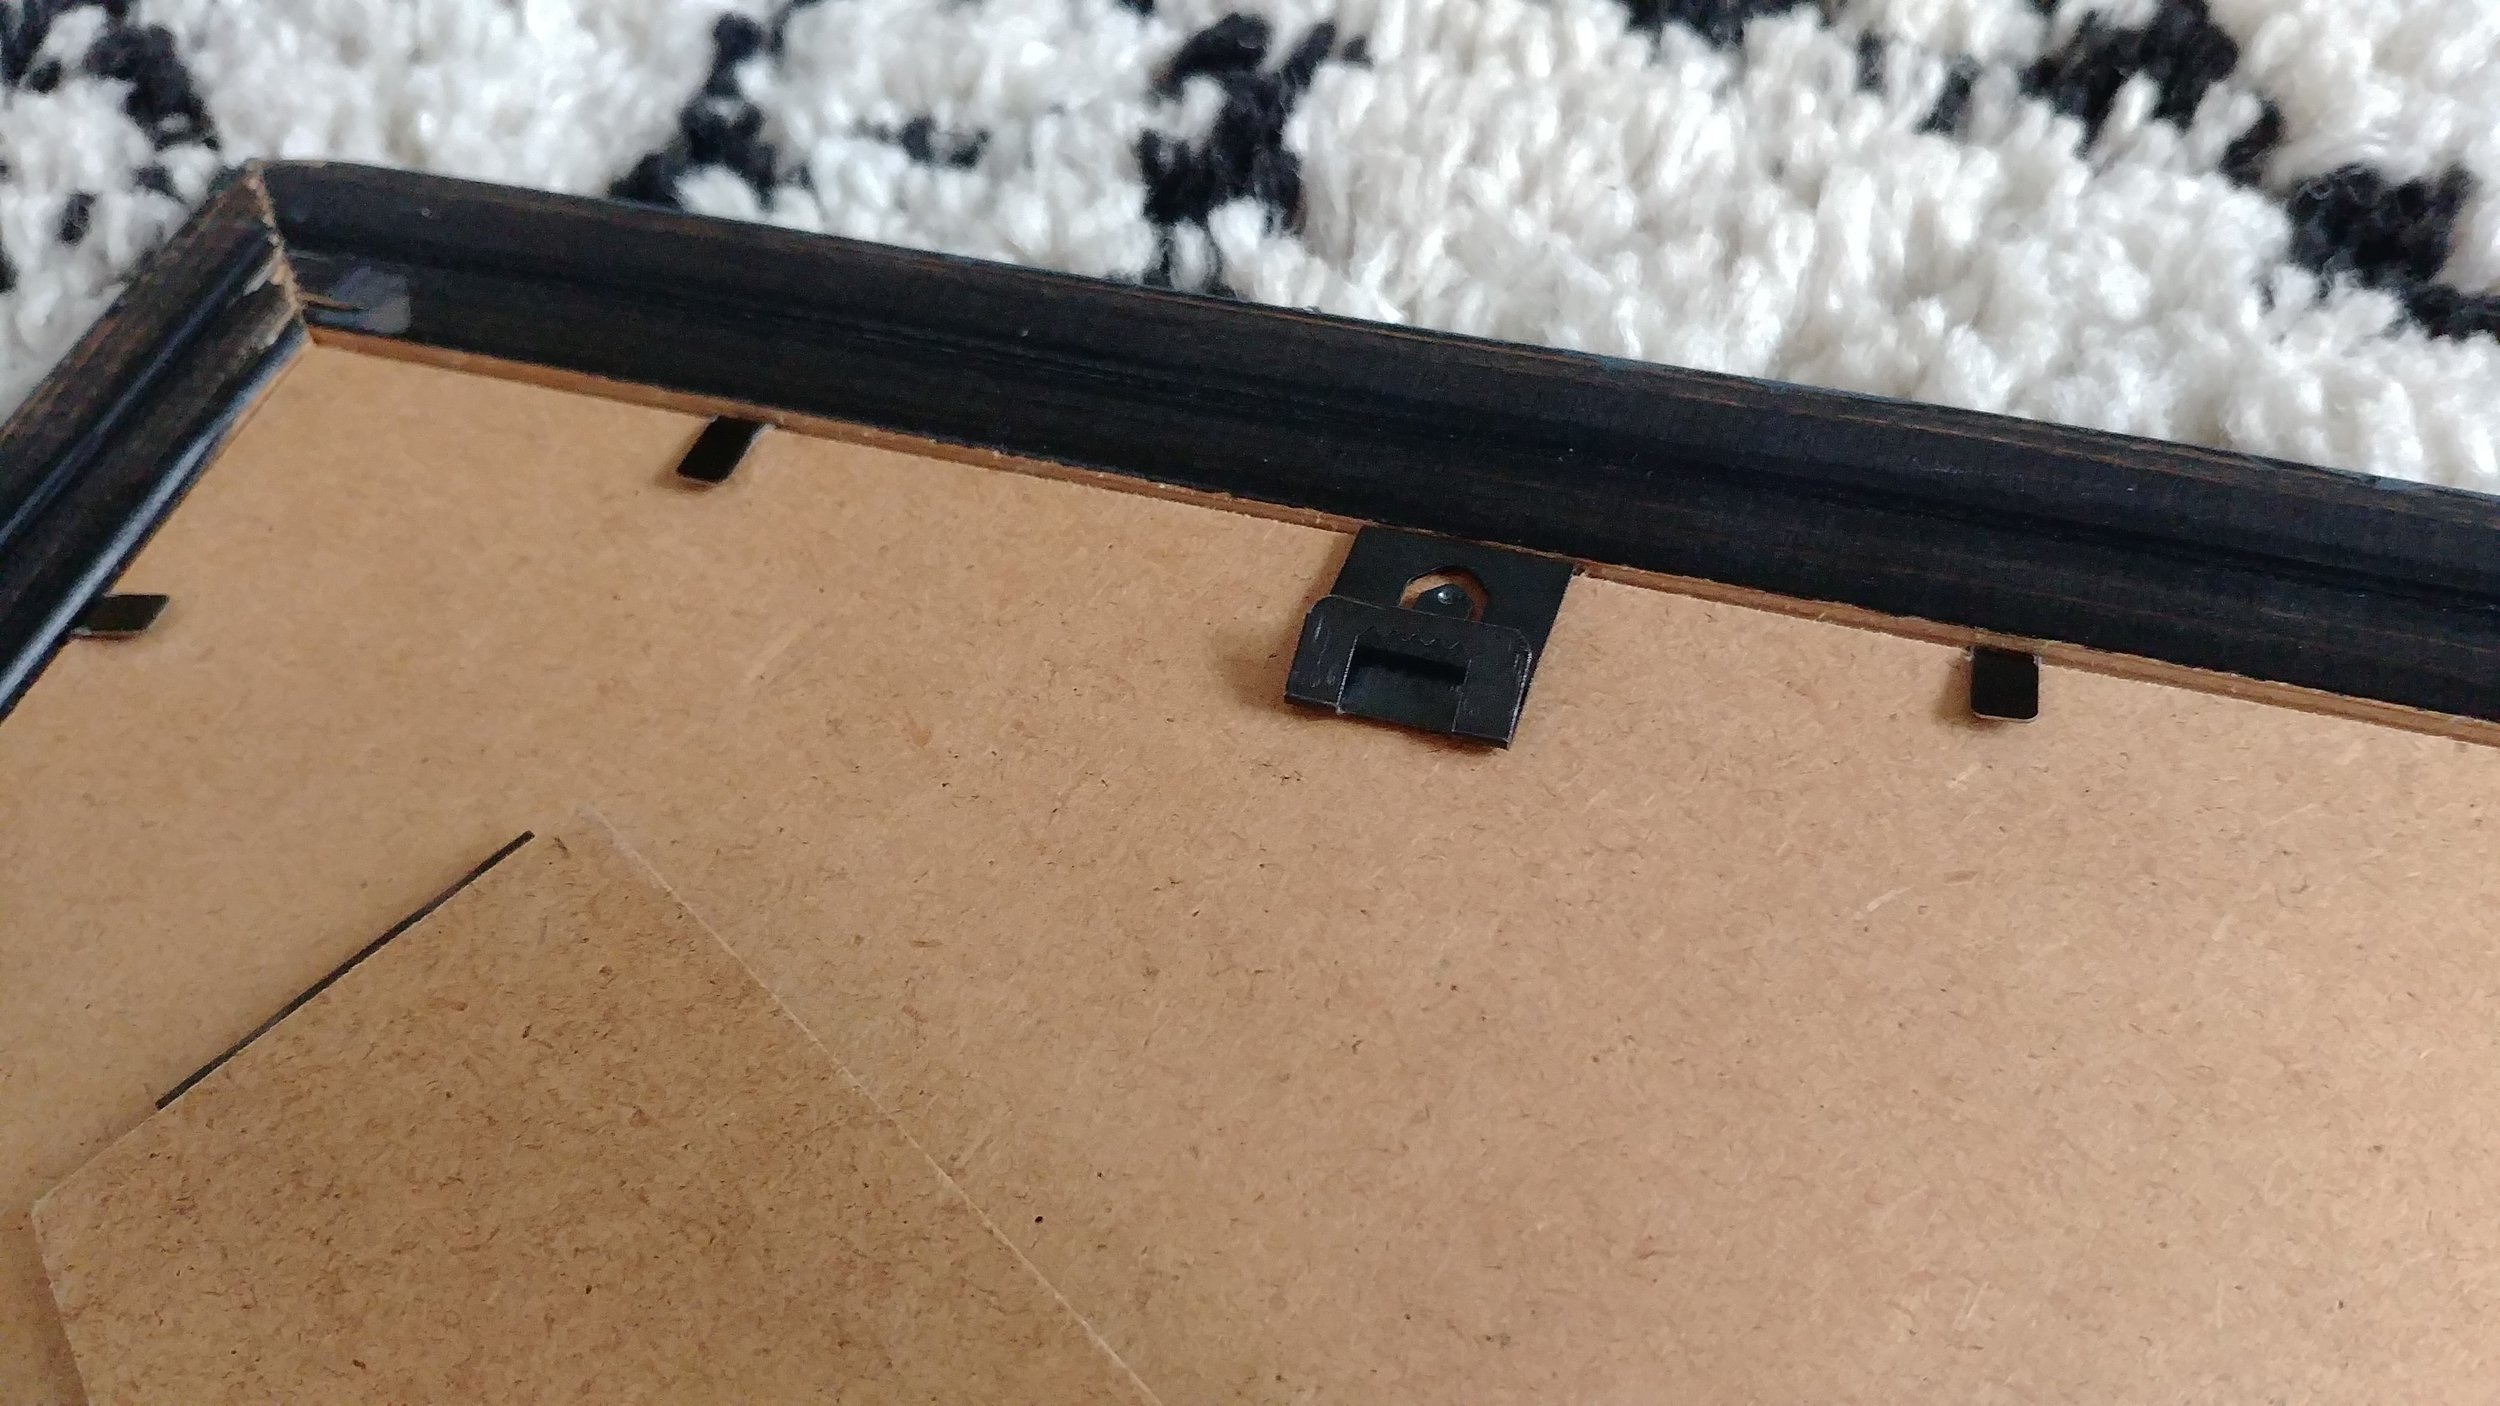
Close-up of the sawtooth fastener which clips over the backer board.
Make sure no bits of dust or other specks are visible against the mount/image before you completely fasten everything in place, or you'll have to dismantle the whole thing again.
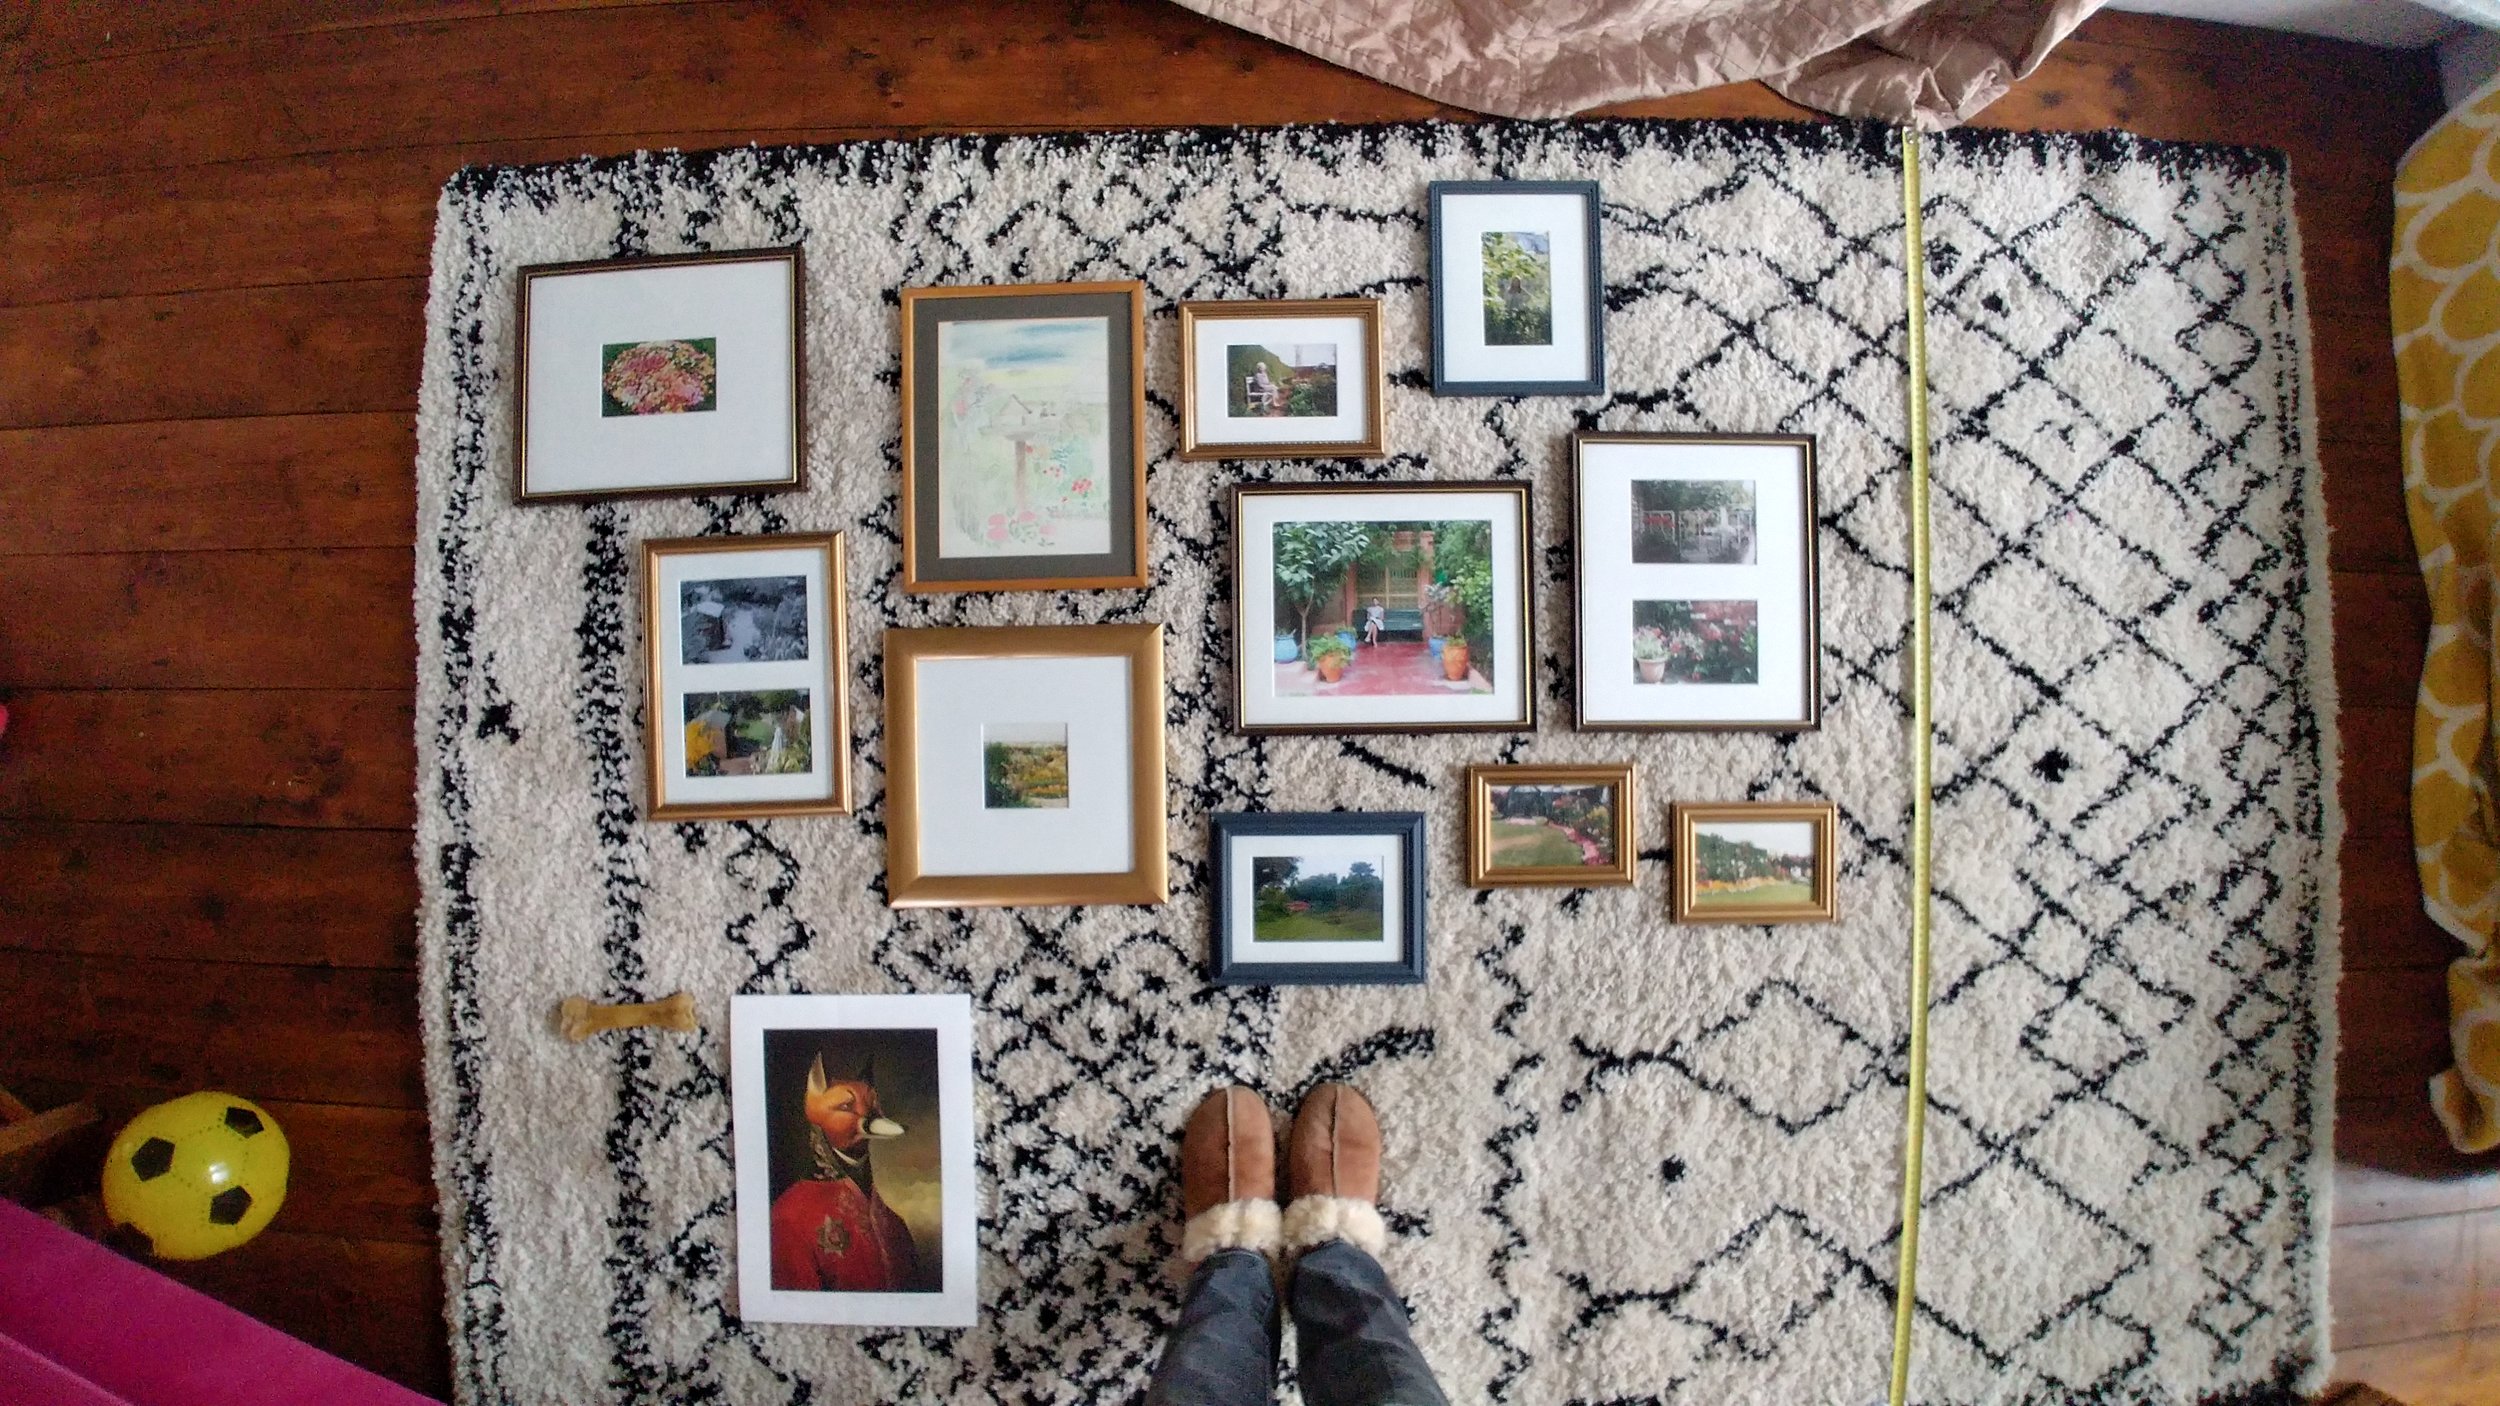
Now you're ready to figure out the layout of your gallery wall. I measure out an area on the floor the size of the wall I want to fill, and then mess around re-arranging the frames until I'm happy. Then take a photo of the whole thing with your phone so you don't forget the layout!
If you're hanging a gallery wall of small, light frames, you can just use simple nails and hooks rather than more complex fastenings. Ikea have a nice kit of various types of hooks. If you're using larger, heavier frames than you'll need to drill a hole in the wall and use a plug. Or command strips, which I know some folk swear by. I'm old-school though and like hammering and nailing things.
To put the nail in the right place on the wall, turn the frame over so the reverse is facing up, and place the hook wherever it would go against the frame. If you're using string or wire, this involves pulling the string upwards to where it would naturally stretch. Then take the following measurements: 1) the distance from the edge of the frame to the centre of the hook; and 2) the distance from the top of the frame to the centre of the hook's nail hole.
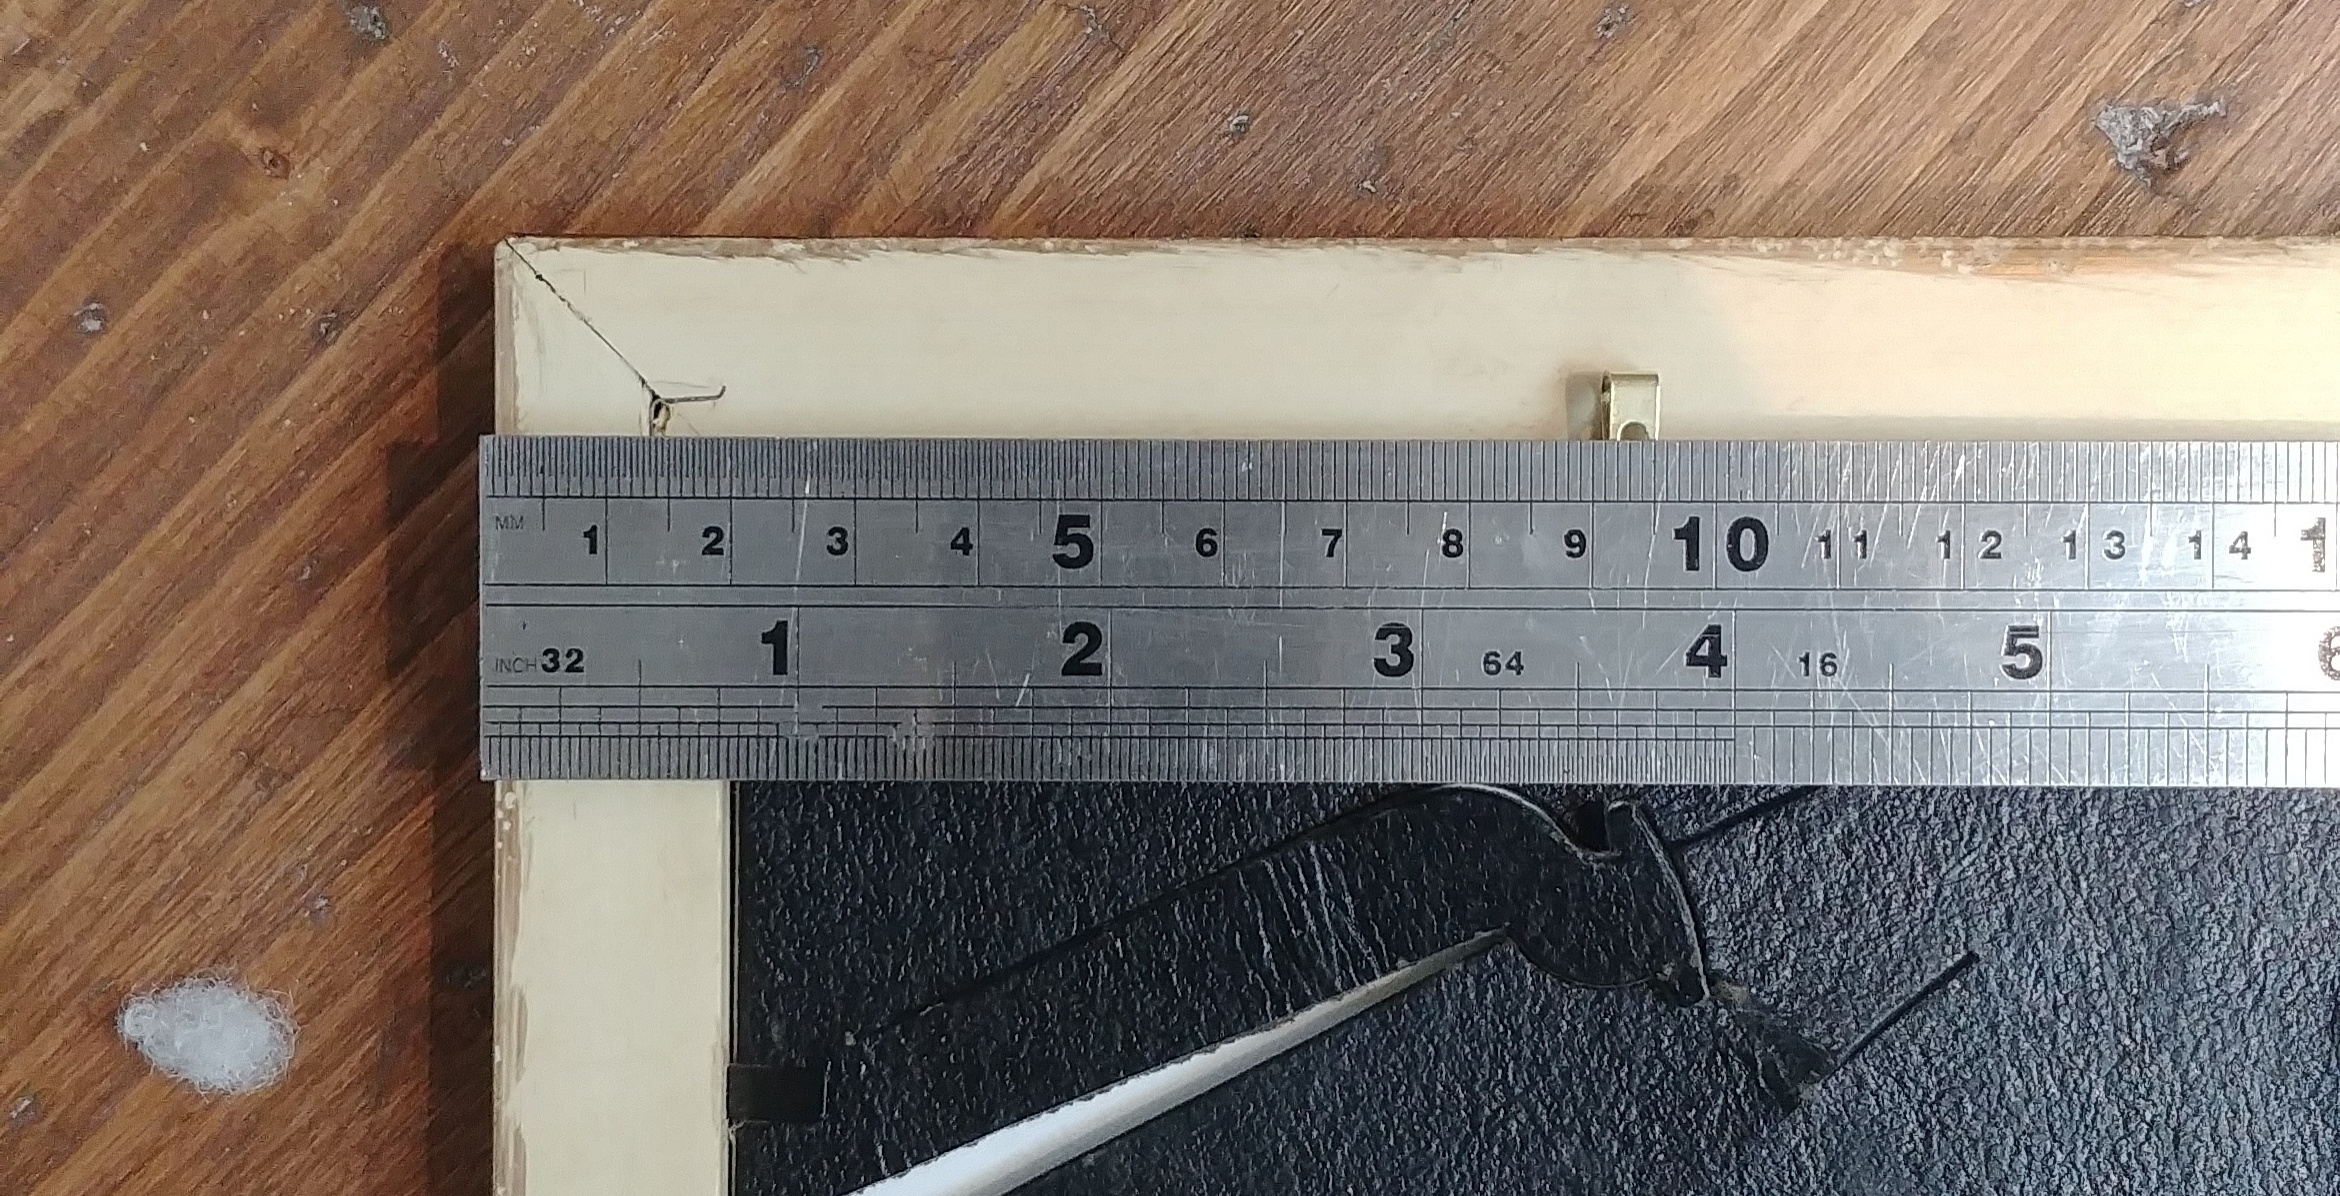
Measurement 1.
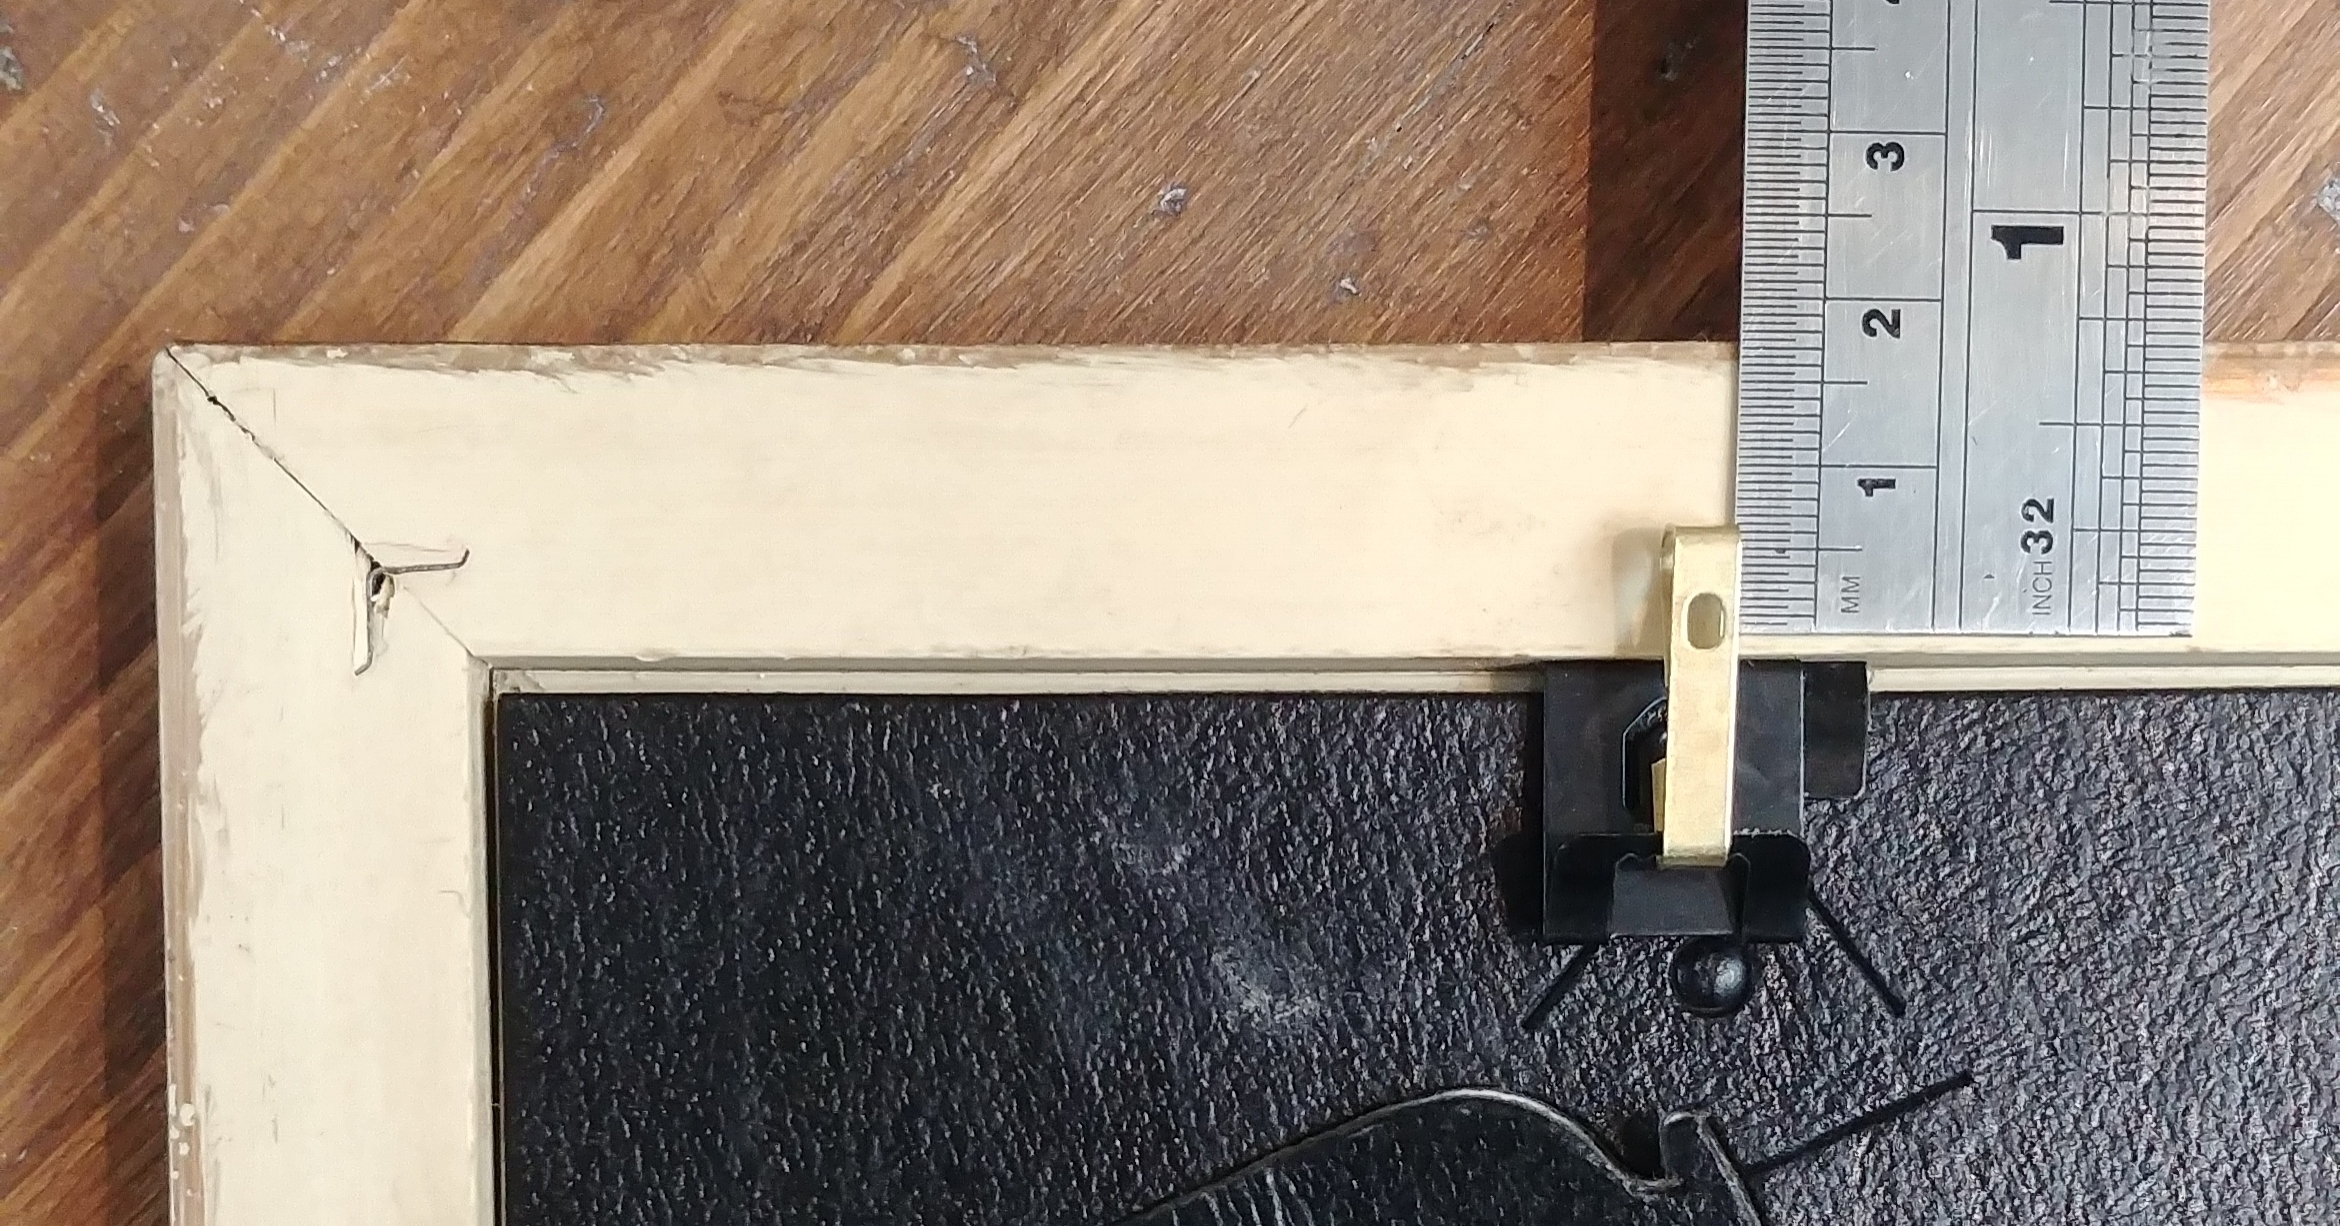
Measurement 2.
Then hold the frame against the wall in whatever location you want it to go in, and use a pencil to mark a dot in one of the corners. Then measure distance 1) horizontally across from your dot, and then measure distance 2) downwards. That's where you need to bang the nail in. It's not always a super-exact science, especially when you're using string or wire, as the latter can sometimes stretch a bit more or a bit less than you expected, but it's close enough. You can use a spirit level if you want to, but I generally prefer to eye ball it.
And you're done! Happy upcycling and hanging!