My Top Ten Tips for DIY Novices

My husband and I have been doing DIY together for about twelve years now. We've been together for longer than that but spent the first couple of years of our relationship drinking cocktails and sleeping off hangovers like normal people rather than removing plaster and lath ceilings in freezing cold cellars.
We've learned a lot along the way and made a lot of expensive and time-consuming mistakes so I thought I'd share some tips. I can only come up with nine which is clearly wrong, so I'm crowd-sourcing the tenth on Instagram at the moment and will update this post with my favourite.

DIY mural, sanded and oiled floors, plastering, and decorating.
Invest in good quality tools
Yes, you can get away with cheaper tools. Any old paintbrush will allow you to get paint on the woodwork, and any old drill will make a hole in the wall. HOWEVER. Our experience has been that every time we've started out with a cheaper version and then upgraded to something more expensive and higher quality, we've been astonished by the difference. I remember buying a £20 jigsaw to cut the kitchen worktop in our first house - it did cut, but it didn't cut in a straight vertical line. Yikes. We now mostly use Makita and DeWalt power tools, purchasing the most powerful item we can afford (and saving up a bit if necessary). Some power tools like drills really need to be cordless (which are more expensive than corded) whereas others such as sanders work fine as corded for me as you tend not to move around as much with a sander. I also like Purdy brushes for painting. Buy right, buy once. If you can afford it, I also recommend a laser spirit level that goes around corners and saved us from divorce when we put up the shelves in the reading room, and a laser measure.

DIY everything apart from the floor tiles.
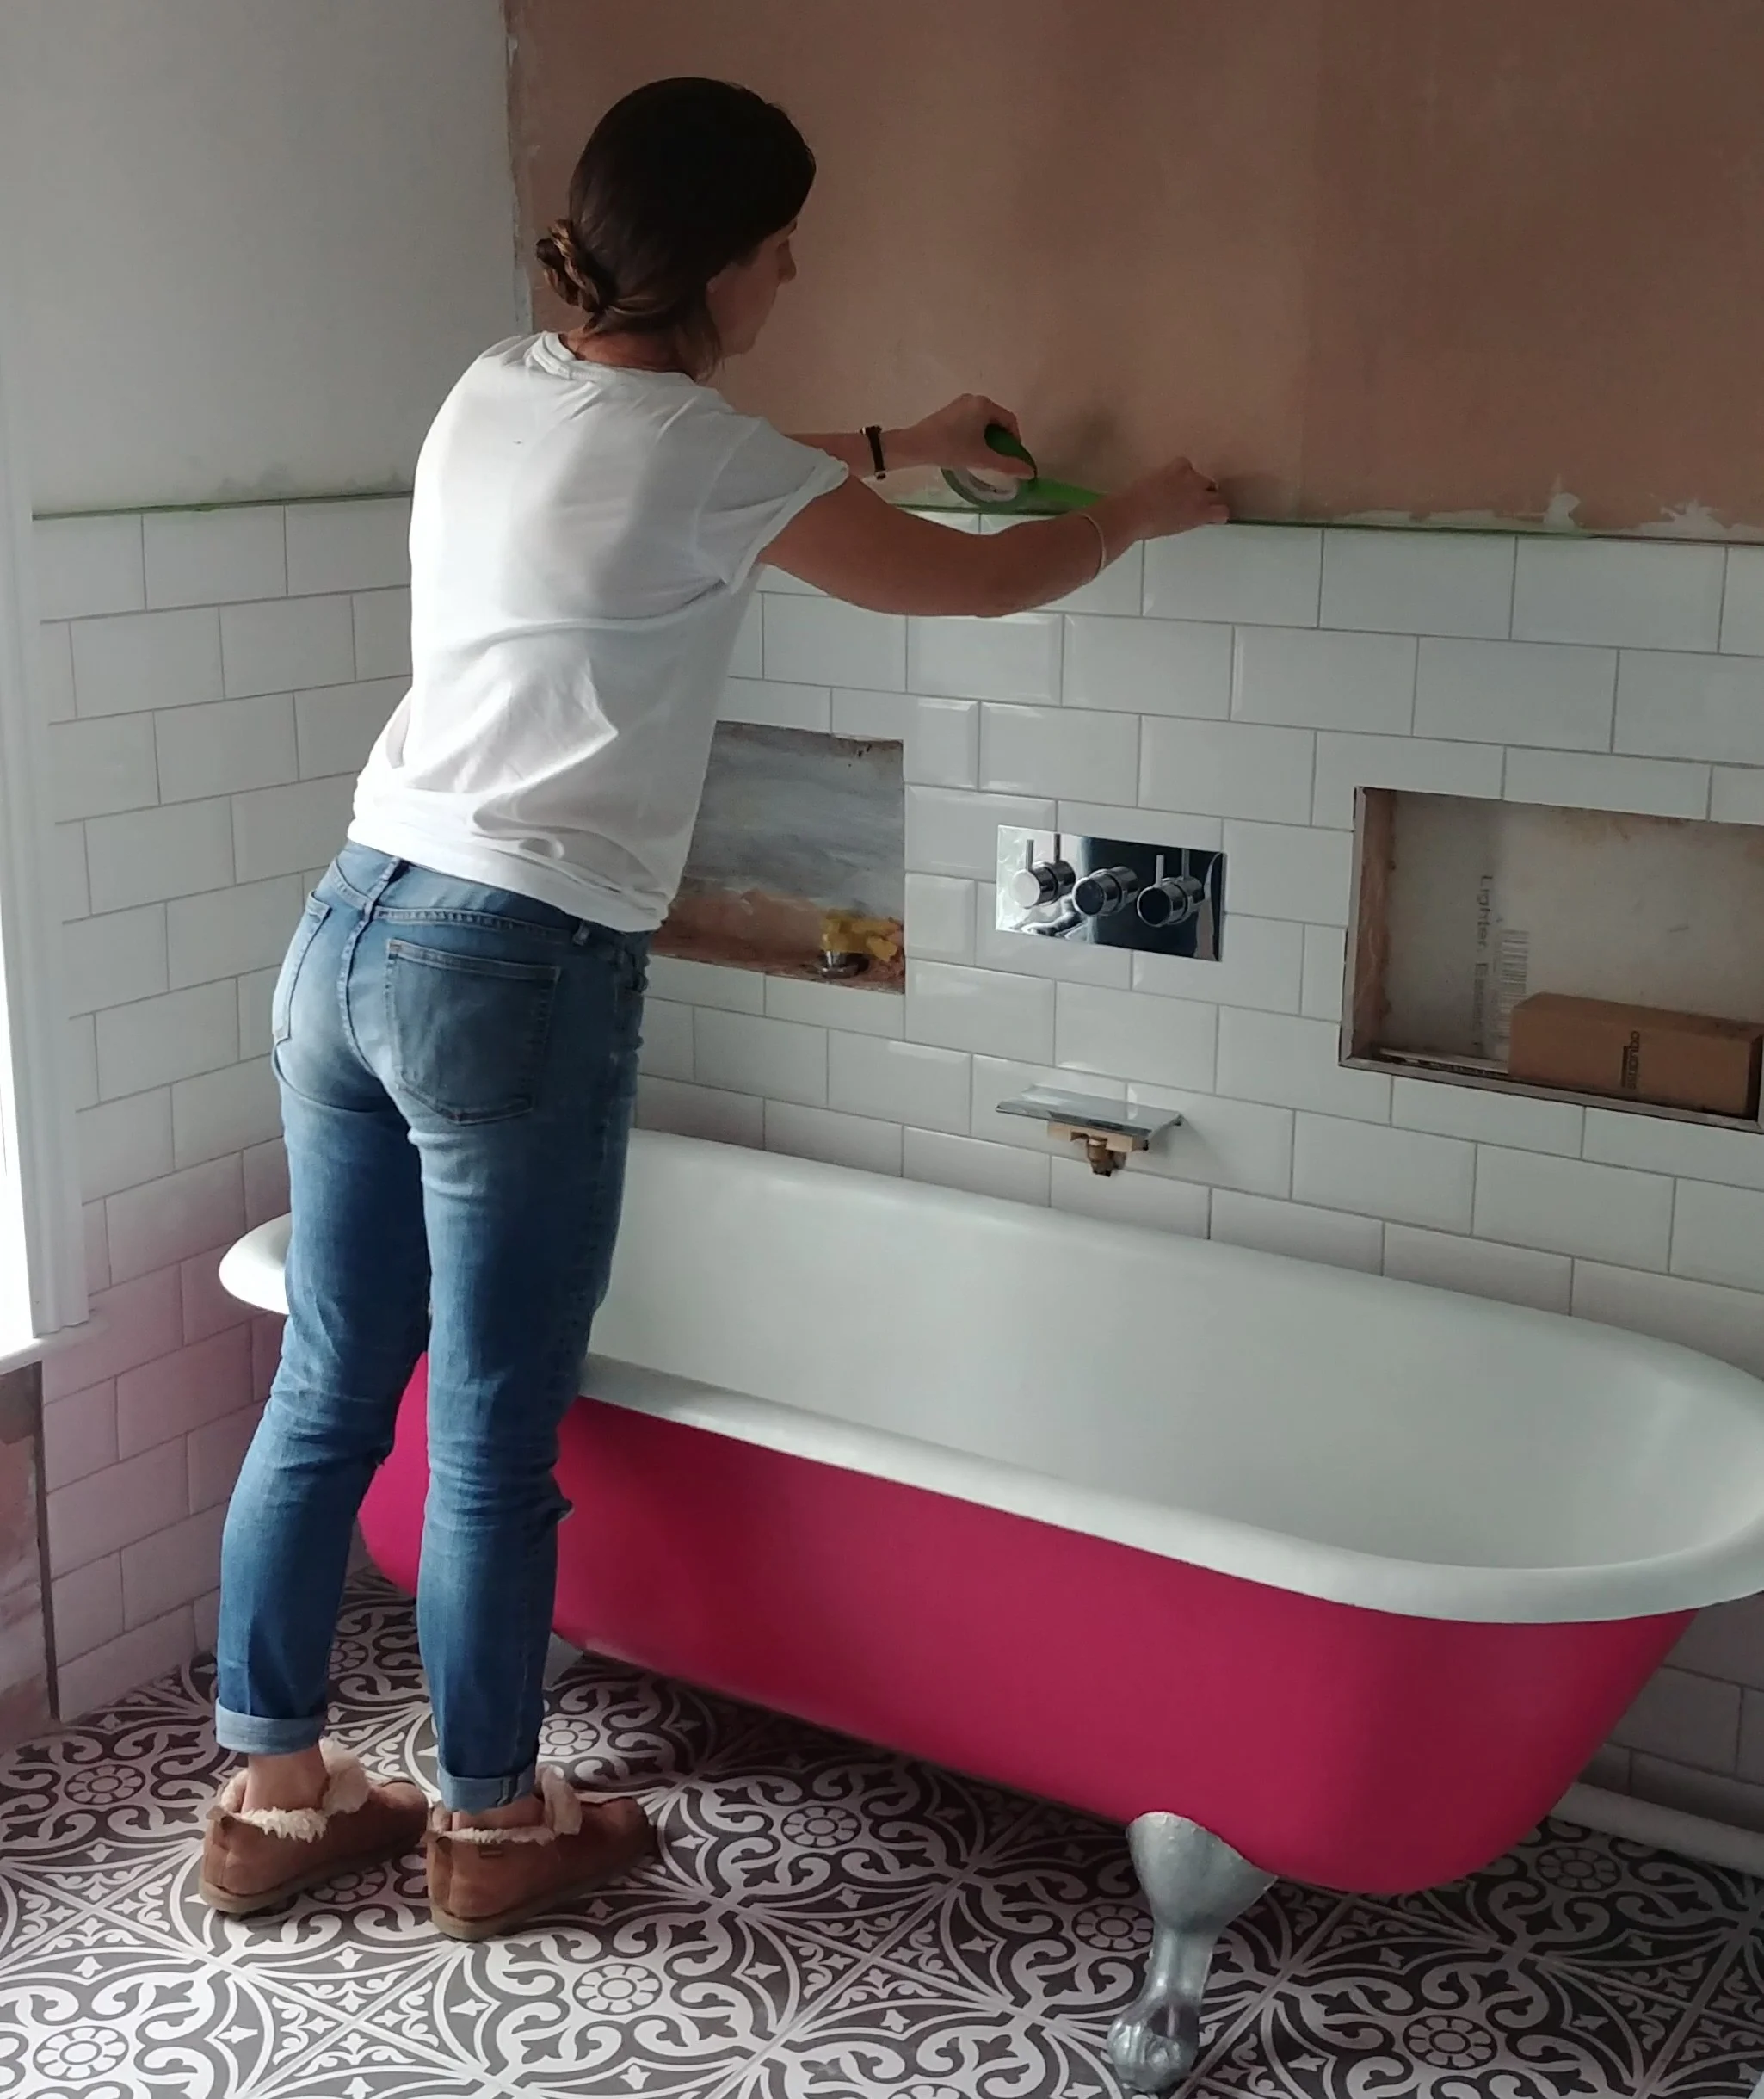
Don't start work until you have all your materials
Even after all these years, we made this mistake with our bathroom. When we did the kitchen, I bought everything in advance, and stored in it the house. What a pain - we had a stack of appliances in boxes in the dining room for weeks and weeks. So with the bathroom I decided, very cleverly, to only buy what we needed at the point that we needed it (factoring in lead times of course). Not clever at all, actually. We ended up having to re-do a lot of the plumbing because, for example, we had the copper pipes to do the plumbing with but not the actual bath tap, and so made assumptions based on the installation information on the tap website about sizing and so on. Wah wah (sad trombone noise). It wasn't accurate enough and we had to take things out and start again once the tap got delivered and we were able to see how it actually worked (in a very complicated way with some kind of plastic container to hold the shower attachment hose). Next time I'll live with the stash of cardboard boxes balanced precariously in the hallway!
DIY everything.
Design first, install second
Wah wah. Yet more rookie bathroom mistakes. I knew I wanted alcoves above the bath and told Andre about them, but I didn't specify exactly where I wanted them to go, so he went ahead and installed the wooden frame to create the cavity wall for the pipes - yep, right where I wanted the alcoves to go. Off the wall they came and went back in using a layout that accommodated the alcoves. And I knew I wanted a bathroom mirror with an electric de-mister, but forgot to mention this until the wall had been plasterboarded, meaning we (Andre) had to cut into it to insert the wires. Clearly I sound like a total idiot, and in my defence I did specify a lot of the design, for example the electric socket that I wanted concealing inside the tall cabinet meaning I had to work out the location of the cabinet in relation to the shower cubicle and the bathroom door before we'd even put the plasterboard up or chosen the cabinet, but I certainly dropped the ball a few times on this project.
Use a DIY notebook
This is one of my favourite tips. I used to scribble measurements and designs down on a sheet of paper which I'd promptly lose, or else store away somewhere safe so that I'd have it to hand when the things I'd measured up for (like floor tiles) actually arrived and I wanted to double-check how I'd planned to position them - and then of course not remember where I'd stored it. Now I have a hard-backed notebook which we both do all our measurements and drawings in, along with the date and the project name. Curtain fabric measurements, scaffold board worktop plank positioning, raised bed designs - they're all in the book. Now I just need to make sure I don't lose the book...
It's cheaper to plan ahead and buy online than it is to dash to B&Q
Most things are cheaper online, especially if you can purchase with a bulk discount.
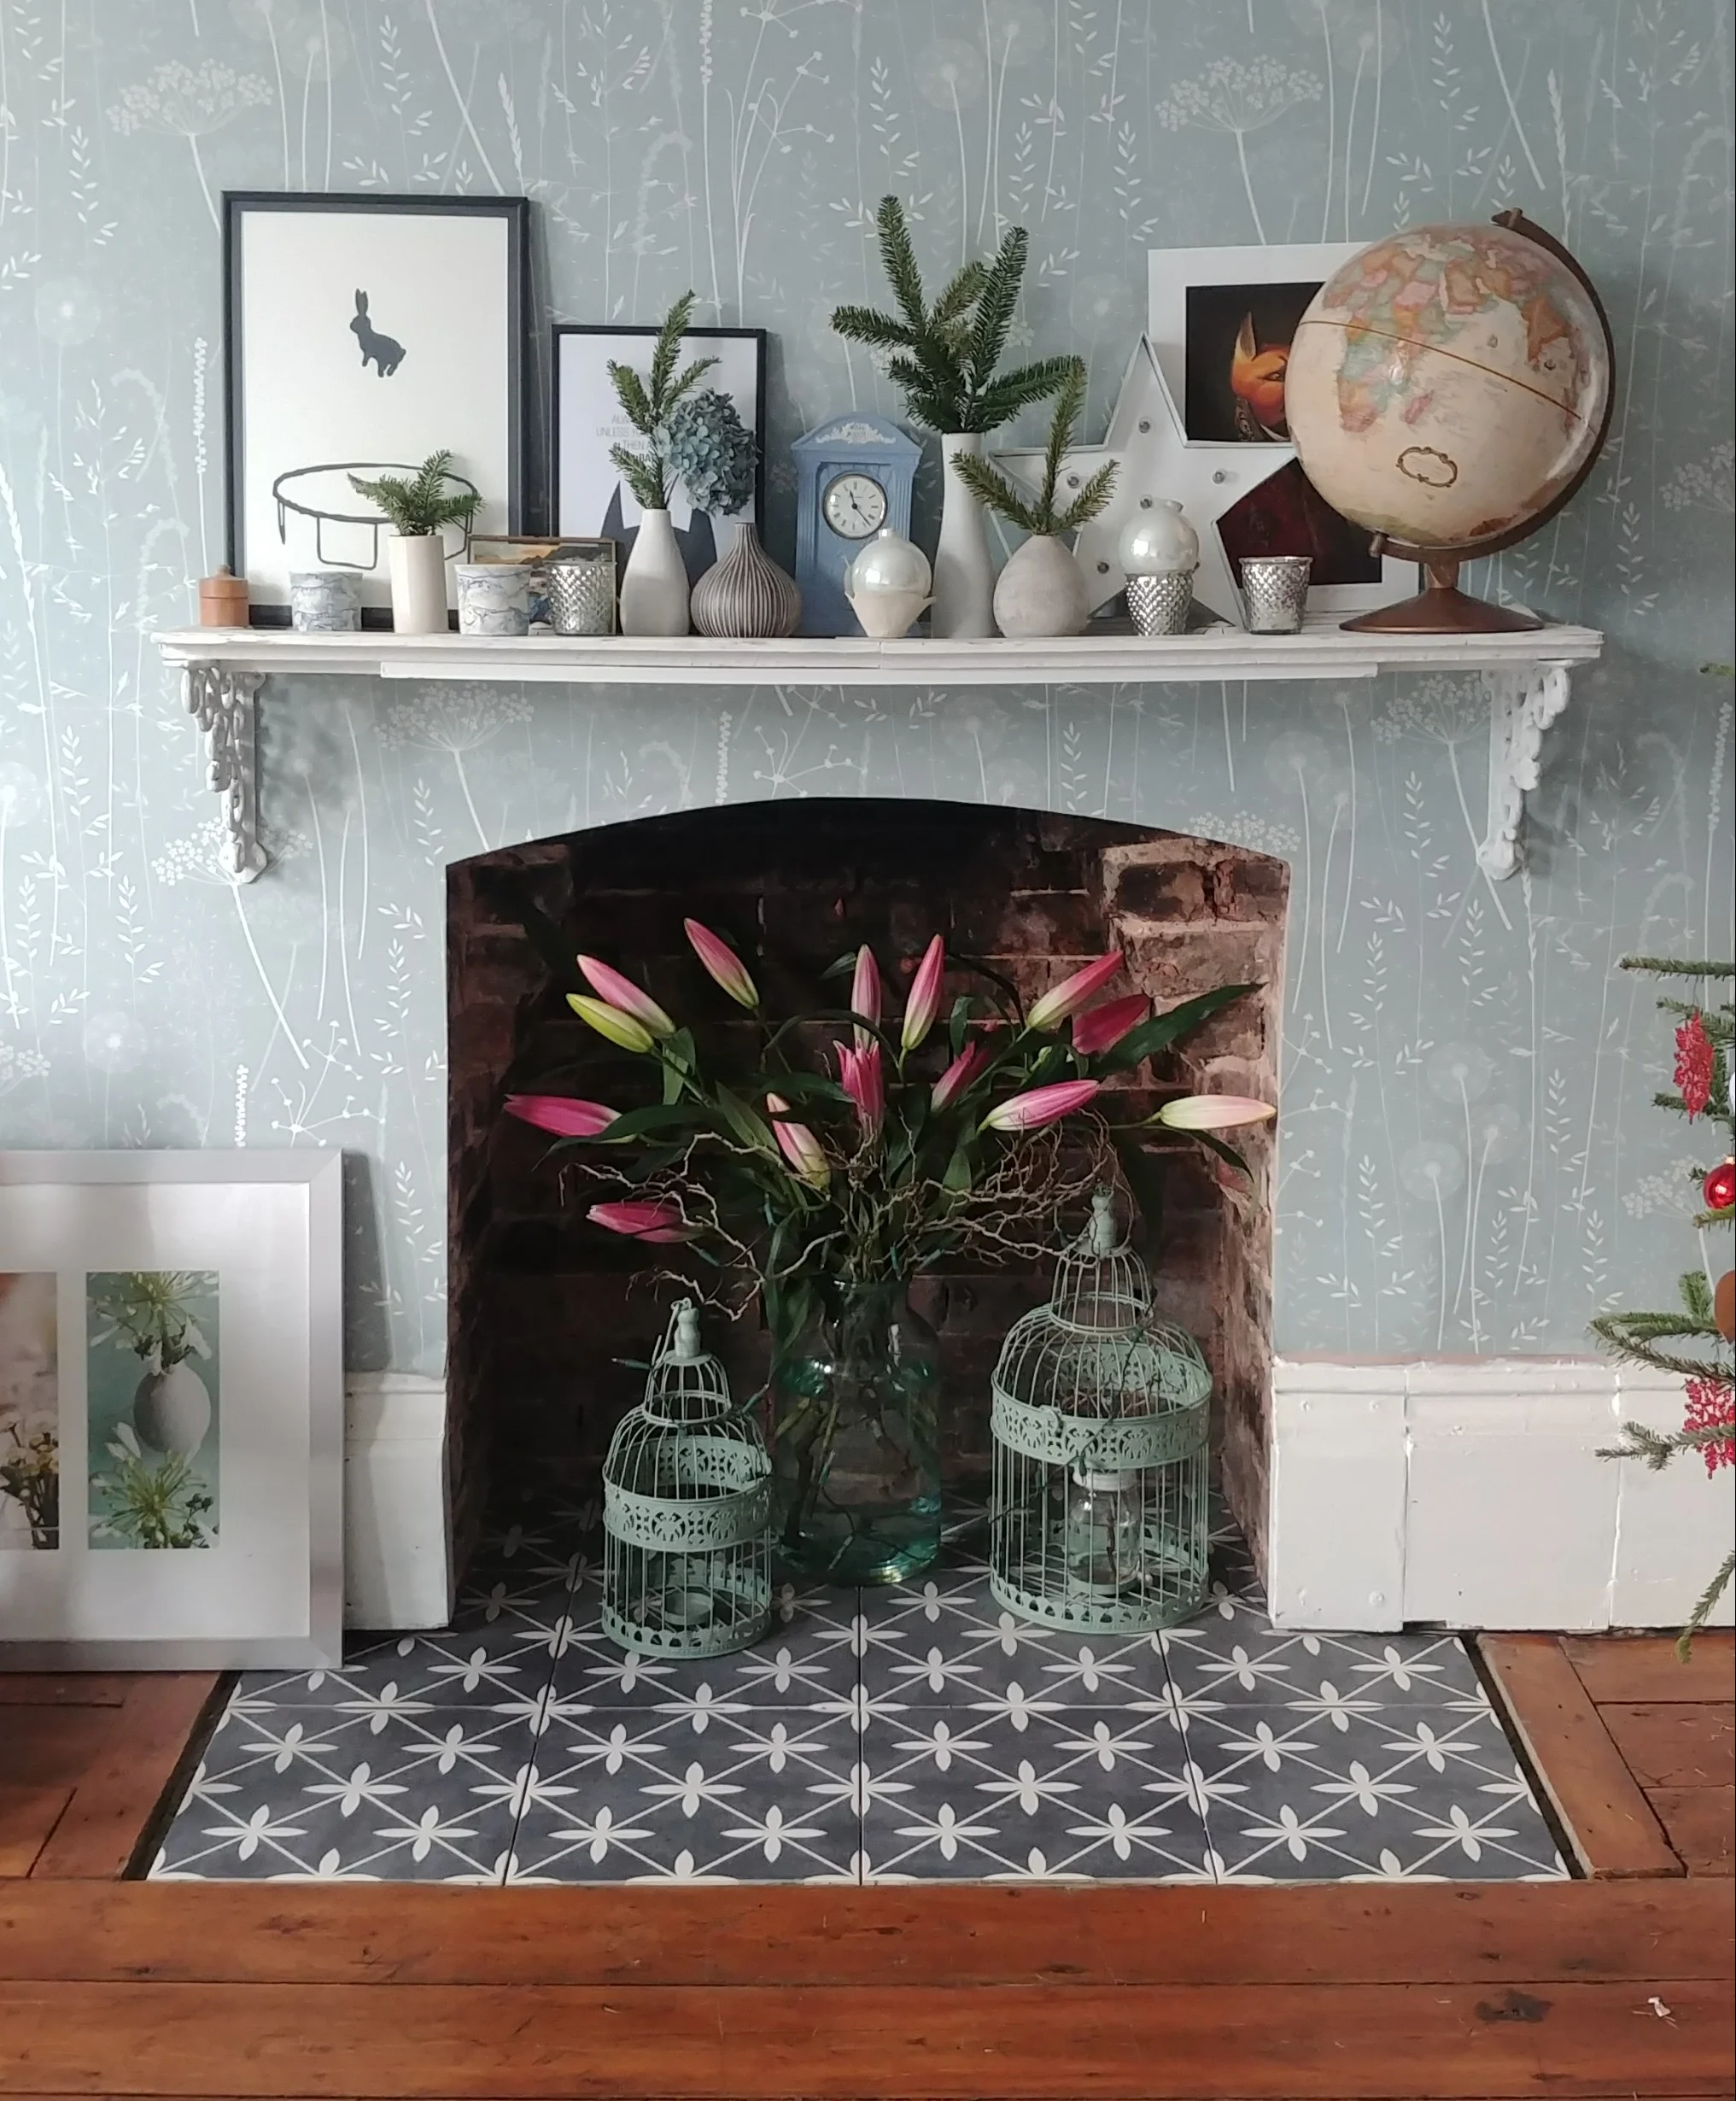
DIY wallpaper, fireplace removal and making good, floors, tiling, and mantelpiece.
Taking care of paintbrushes
Possibly this is dreadful advice, but I really, really hate cleaning sticky paintbrushes so I cheat and dump them in a jam jar filled with white spirit. When I need to use them again, I give them a quick rinse under hot water, wipe down with a towel, and away I go. I also have certain brushes that I only use for light-coloured satinwood paint, darker satinwood paint, Osmo oil and so on. And of course I wash water-based paint straight off, I'm not an animal.
Paint soaks through drop-cloths
And through towels, and through tarpaulins. If I really want to keep paint splashes off the floor then I'll put plastic dust covers down and then cover with a drop-cloth or a throw of some kind.
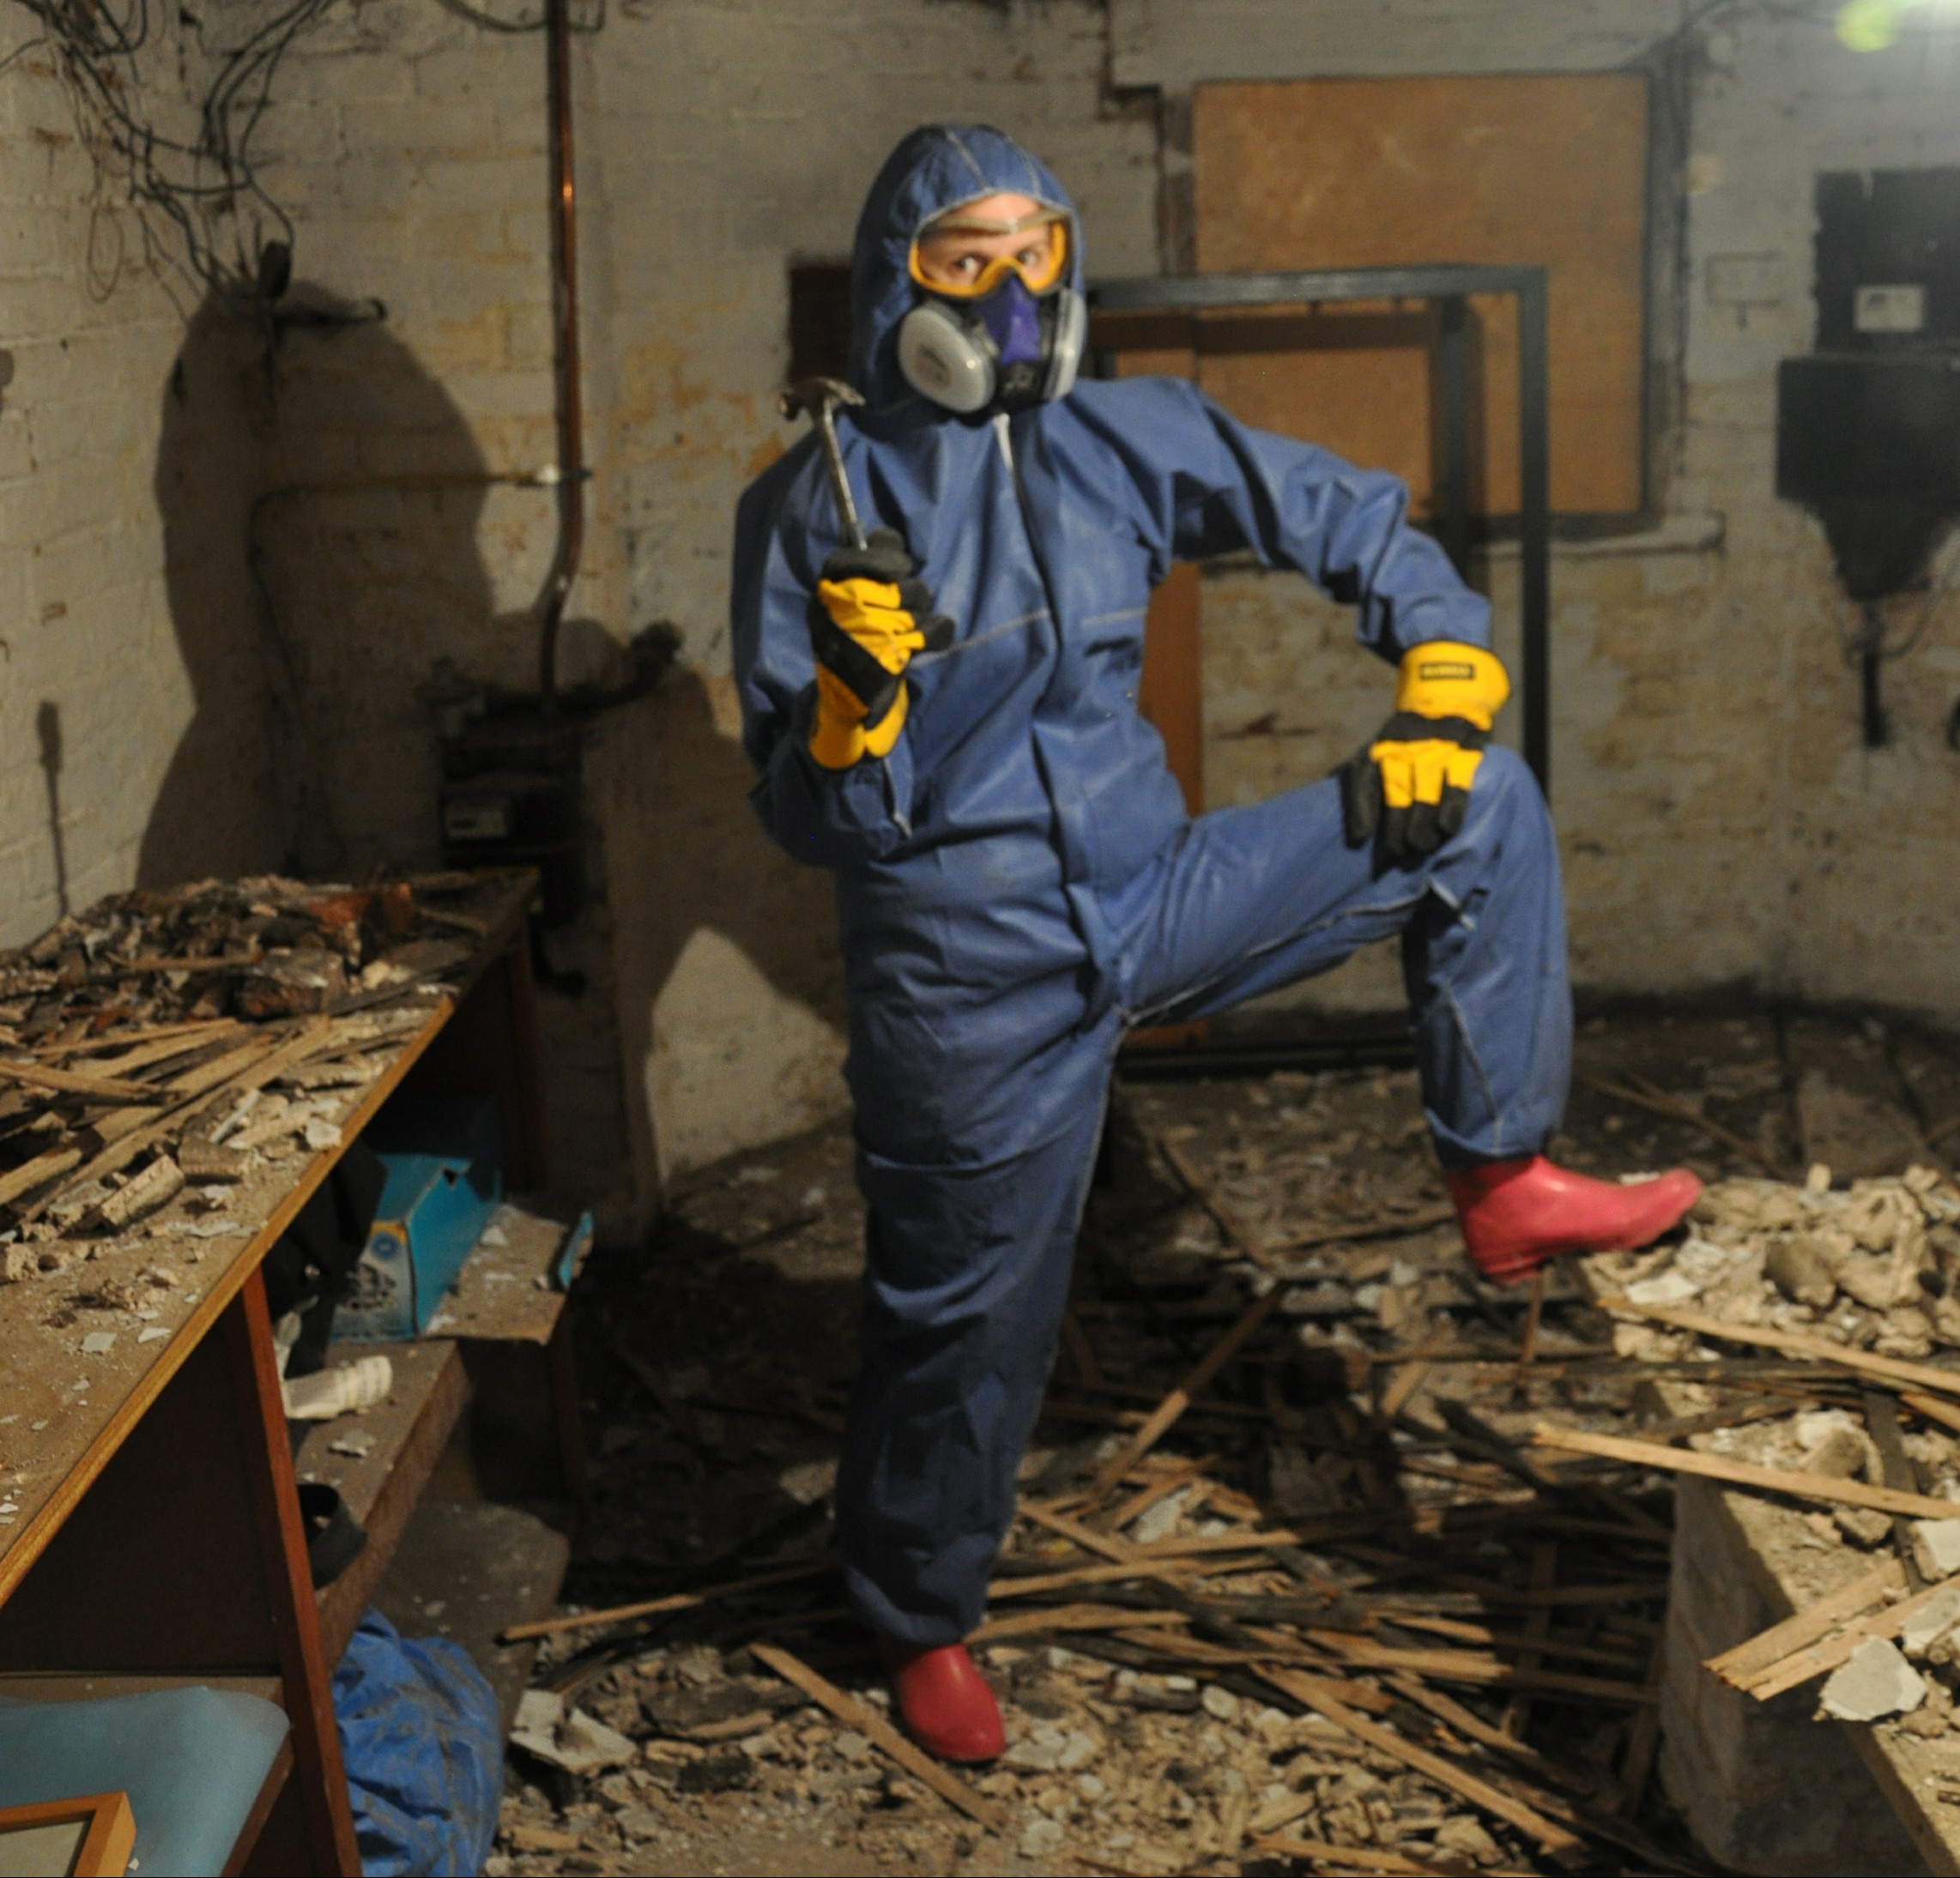
Use proper protective gear
Says the woman who owns a pair of DIY slippers. Seriously though, invest in proper dust masks (the Breaking Bad kind, not the flimsy white hospital kind), eye protection (getting dust in the eye from cutting rigid insulation board is no joke I can tell you), ear defenders, knee pads, steel-toed boots, and washable boiler suits. Dedicated DIY jeans and t-shirts also work OK but personally I prefer a nice DIY onesie. I also like to wear disposable gloves (although I'm now worried about them ending up inside sea turtles so might need to rethink this one) to keep paint and muck off my hands, as I hate scraping it off my fingernails.
The full monty.
Don't use spray paint outdoors in the wind while wearing glasses
Unless you want to cover your lenses with a fine spattering of Antique Bronze, obviously. And then nearly ruin your frames trying to wipe it off with nail polish remover like a complete fool.
And the final tip...
Courtesy of @whatlozziedid on Instagram - buy a cheap builders' vac which you can use to clean up the grim plaster dust and mess without ruining your main one. We've consigned many vacs to the scrap heap after destroying them trying to hoover up industrial amounts of building dust, so this is a great tip!