Hints and Tips for how to DIY Install an Ikea Kitchen

As long-term readers of this blog know, we're big fans of Ikea kitchens. We installed a scarlet red gloss Faktum Ikea kitchen in our old house, and a grey Bodbyn Metod kitchen in our current Victorian house (a few years ago Ikea updated their entire kitchen range and renamed it from Faktum to Metod).
Having been through the whole process twice now, I'd like to share some tips based on our most recent experience of designing, purchasing and DIY installing an Ikea Metod kitchen. The Metod range is significantly more hackable than the Faktum range - Ikea have clearly realised that lots of people want to use Ikea cabinets with custom sinks, appliances and worktops.
Visit Ikea and measure up
First of all, don't visit your local store on a Sunday afternoon with three children. Be more wise than us *sobbing face* and visit off-peak. Take a tape measure and note down the internal measurements of as many cabinets and drawer combinations as you can. As a guide, a standard 60cm cabinet has 56.6 cm of space internally from left to right.
Why do you need to know this? So that you can verify that a) your non-standard appliances will fit neatly into the Ikea cabinets and b) that everything you want to stand inside your drawers will fit in. A really sensible thing to do when you're designing a kitchen is to make a list of absolutely everything you want to keep in the kitchen, from recipe books to blenders, outsize vases, and packets of Cheerios. Work out where you want to store it. Then measure how much space you need in each drawer (or shelf) to fit everything in. As a guide, a 10cm high drawer has 7.5 cm of internal height, a 20cm drawer has 17.7 cm of internal height, and a 40cm drawer has 35.6 cm. It's a massive faff doing this but well worth it if you want to make your kitchen as functional as possible.
While you're at Ikea, take note of the kind of features that you like. Ikea may be a budget-option but you can still get plenty of bells and whistles. We have amazing drawers for the rubbish bins that open when you kick them (the only downside to this is that we now kick drawers in other people's houses and are surprised when the drawer doesn't magically open). We have lovely kidney-shaped pull-outs in the corner cabinets that maximise otherwise wasted space. And we also decided to get the glass sides for the drawers as an optional extra.
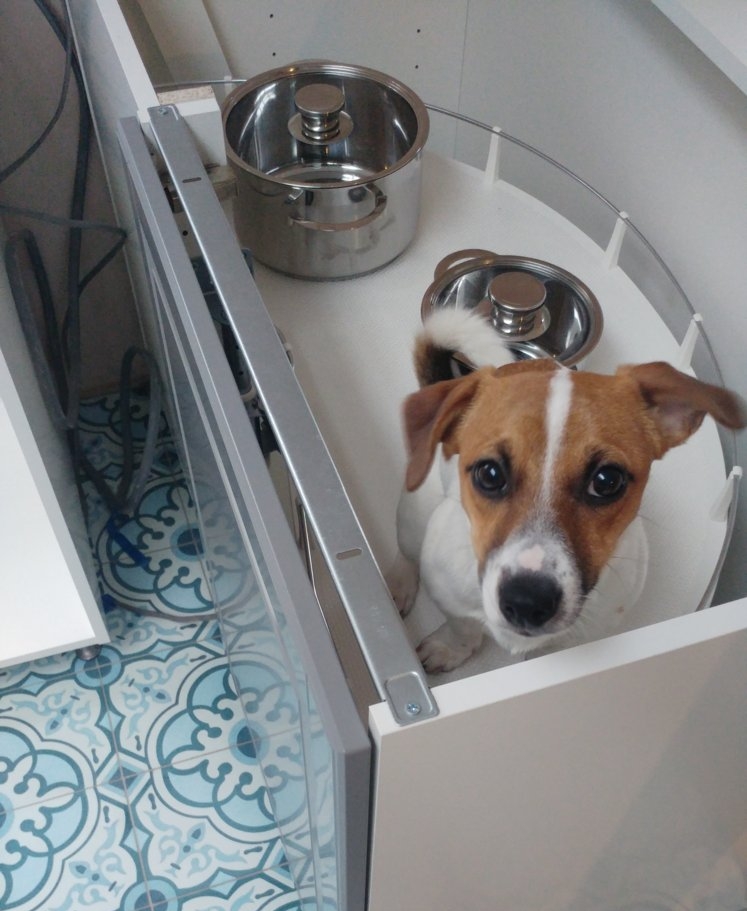
A puppy in a pull-out before we put the worktop on.
Create your design
Ikea's kitchen software is great - it's a bit fiddly to use at first, and I kept dragging cabinets into random places, but I soon got the hang of it. I found it very helpful to pore over the paper kitchen catalogue showing the myriad cabinet options, list the ones I wanted, and them find them on the software drop-down list. You can save your design so the kitchen designers can then access it in-store when you order.
How to order
When we placed our order, we had to book an appointment to do so. I seem to recall these were offered mid-week only, but that might not necessarily be the case for all Ikea branches. We didn't need any design input, so I can't vouch for what that experience is like, but I can confirm that the Ikea kitchen team know their products inside out, so when I explained things like: "we want the 80cm Domsjo sink unit and I want to add a secret drawer and I also want a 40cm drawer front *with* a matching drawer with high glass sides and a 10cm drawer front *without* a drawer, with the strips to connect them together, plus the kick-open mechanism" they knew exactly what I meant, and added all the right products without batting an eye.
How to organise it all
It's delivery day! How exciting! Your living room will shortly be full of hundreds of near identical flat boxes! Everything comes separately - so one cabinet will have a cabinet box, hinges in a big bag along with all the other hinges, individually boxed drawer fronts, individually boxed drawers, individually boxed glass sides for the drawers, and so on. If at all possible, I strongly recommend organising the boxes and bags as they come in - stack the wall cabinets together, the floor cabinets together, the drawer fronts together, the glass drawer sides, and so on. If you've got the space, it's worth stacking by size too, and putting the boxes the same way up so the label is in the same place. Believe me, ransacking your living room for that elusive 20cm drawer front is a right old pain.
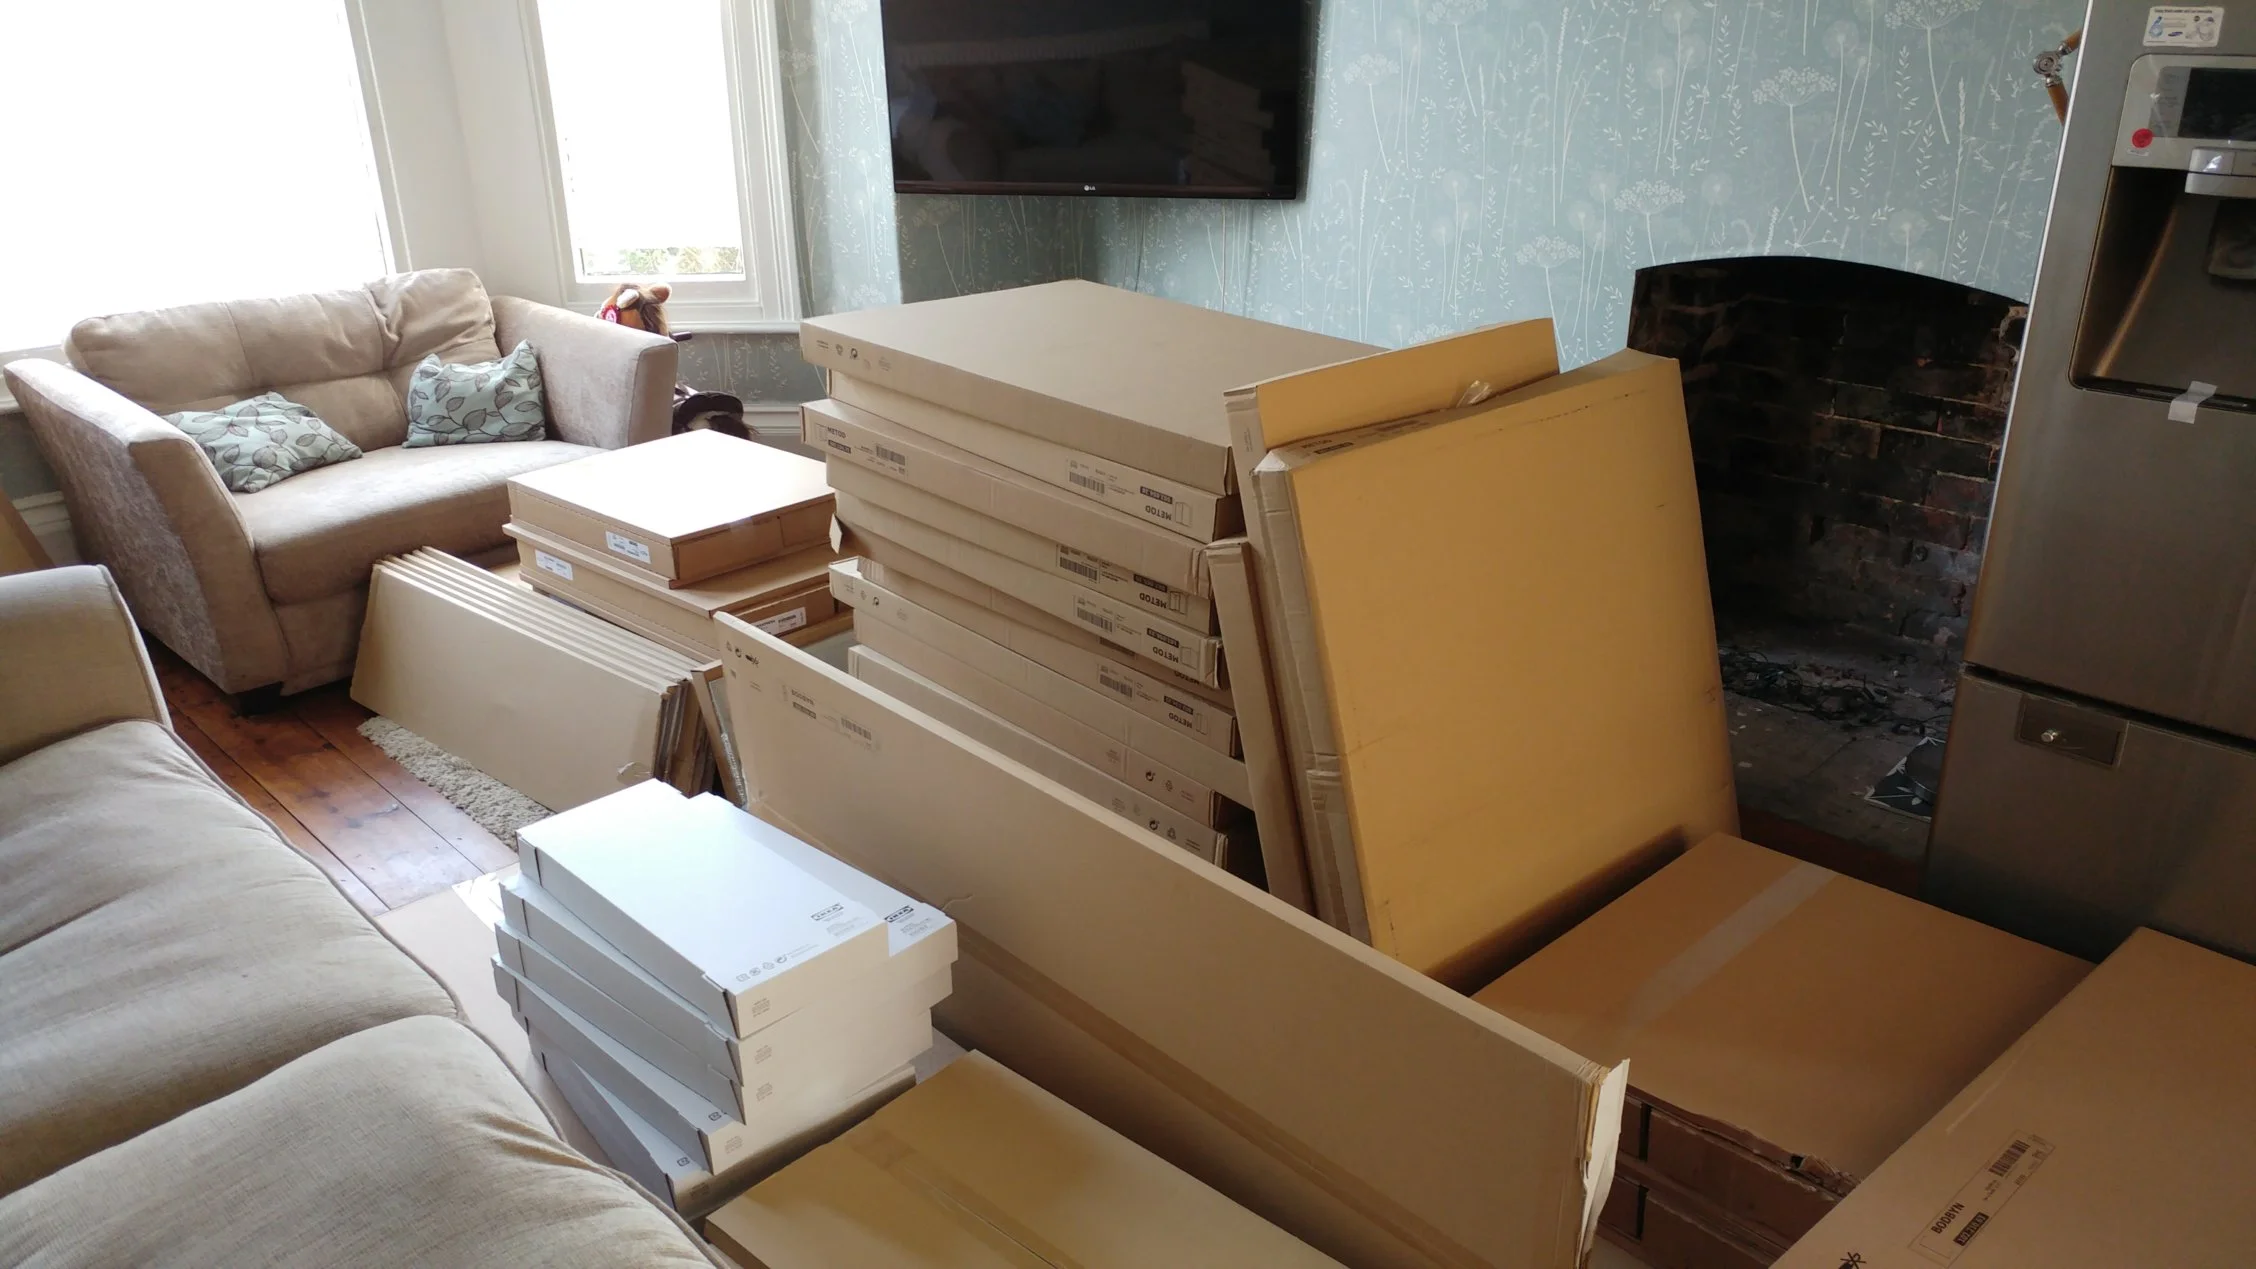
This is about half the boxes.
Do a stock-take
The delivery happens quickly, so you probably won't have chance to do a detailed stocktake as it comes in. Do this as soon as you can afterwards - you will almost certainly find that some things are missing, and you've been donated some extra items. Ikea will happily send out the missing items for free, but you have to give the specific product code from your receipt for the missing item. We kept hold of all the extra things and returned them to the store once the kitchen was complete, which was a good plan as it turned out some of the things weren't extra at all; we'd just gone cross-eyed trying to match hundreds and hundreds of random items in our living room to the product codes on the world's longest receipt. This latter quite literally - it's at least five metres long as every single item is listed separately. Our Ikea kitchen agent advised us to take photographs of it as apparently the ink can fade.
On the same lines, keep your printed design handy, and cross off each piece as you build it. This helps to keep control of the crazy piles of identical boxes.
The collective noun for half-built Ikea kitchen cabinets is obviously a carnage of cabinets.
Buy drawers instead of shelves
Ikea units are probably the best-priced on the market, which means you may be able to afford upgrade to drawers rather than shelves. If you can, do it do it do it. We have 54 drawers in our kitchen and they are so much better for storage than trying to wrestle things out for the back of a cabinet shelf. The shelves come with glass sides as an optional extra, and it goes without saying that you have to assemble the whole thing yourself. I built most of ours, it's a one-person job and is very simple once you've done a few and got your hand in. The back and side support pieces are metal, and snap together with a very clever system. The drawers are sturdy as anything - no flimsiness here, thanks very much. You build the drawer base, sides and back, and then screw in your chosen drawer front. A hammer drill is helpful unless you're happy doing things the hard way with a manual screwdriver. The drawer fronts come with pre-drilled holes - I seem to recall it's possible to put them on upside-down, so check that it looks sensible before you go to the effort of connecting it.
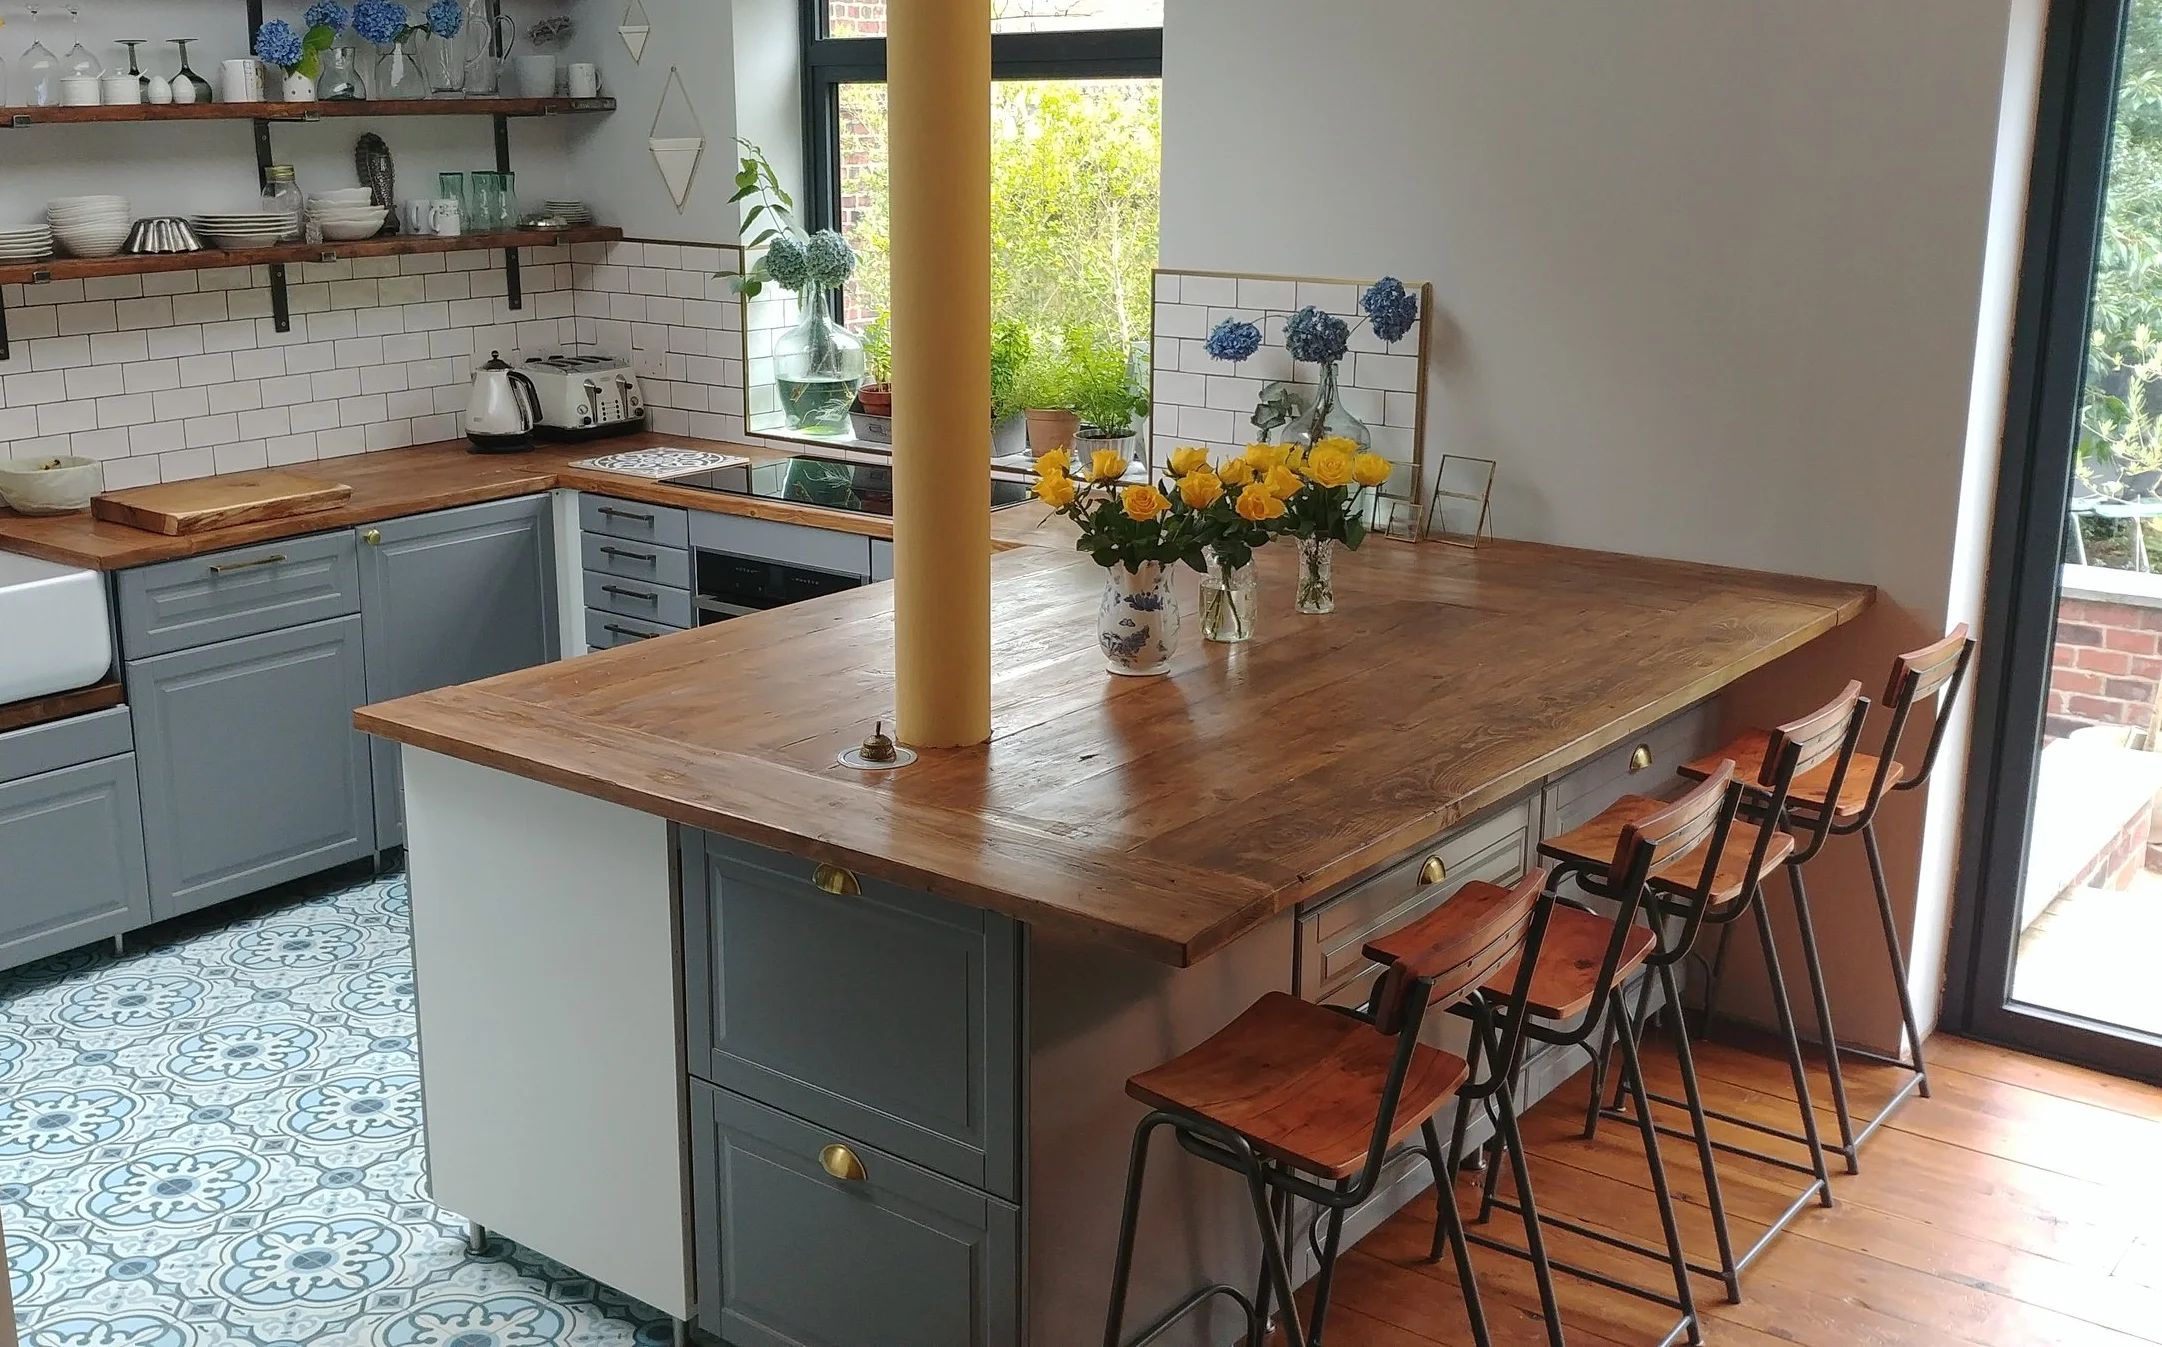
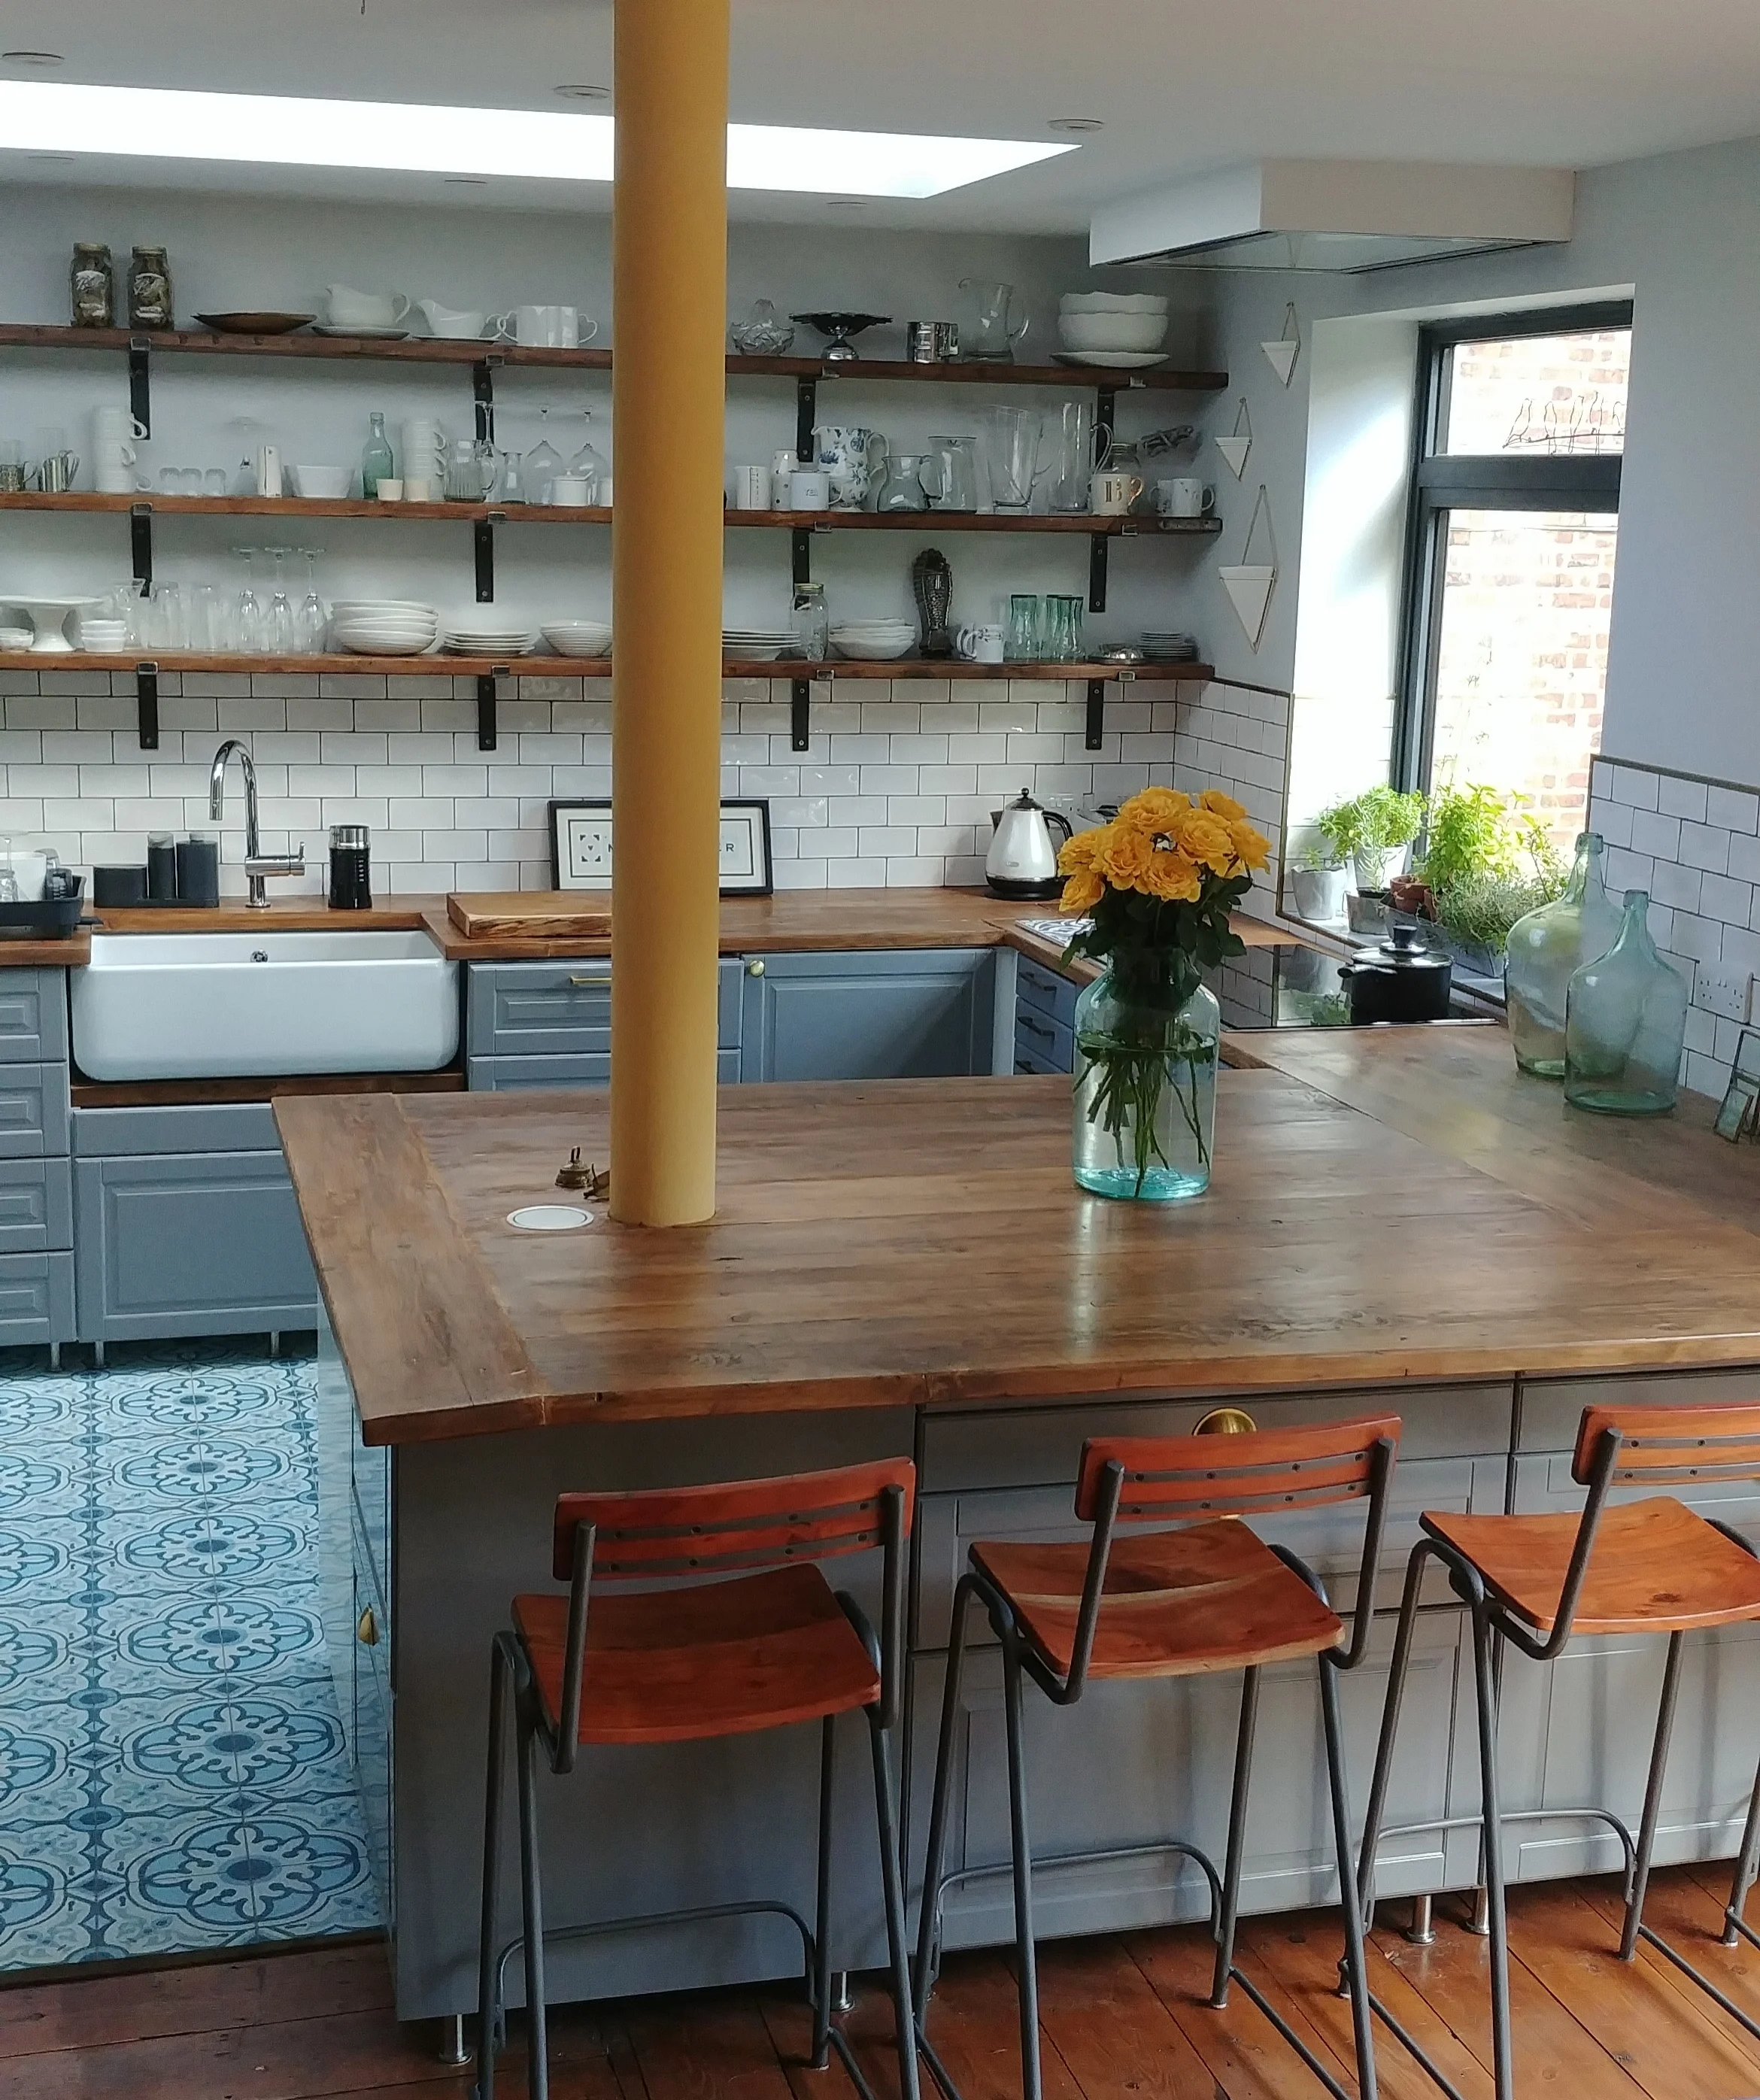
Drawers, drawers, drawers everywhere. Even the island is made from drawers on both sides, including a set that we installed to sit at 90 degrees for easy access (the drawers behind the stools are for occasional items such as all our party supplies, and camping kitchen equipment. The white panel on the left isn't a random design choice - I'm going to paint it in Blackened to match the walls but haven't got round to it yet.
Most things are called the same thing
Utrusta, anyone? Utrusta is a hinge. It's a soft-closer for the hinge. It's a pull-out unit for corner cabinets. It's a drawer front. You get the message. It's a head-scratcher. Fortunately, everything comes with a unique product code. We found that googling the product code immediately brought up the correct item, whereas searching for the product code on the Ikea website yielded questionable results.
The dreaded labels
I think we took longer trying to peel hundreds of labels off the various components than we did building the blooming cabinets. The labels came off the grey drawer/door fronts with soap and water, but we had a right old time trying to get them off the white Utrusta interior drawers. After fruitlessly attempting various methods including nail polish remover, we found that scraping with a fingernail and then scrubbing with a babywipe along with plenty of good old-fashioned elbow grease *eventually* removed the residue.
Joining cupboard fronts together
You can customise your Ikea kitchen cabinet fronts to give the look that you want. For example, you can choose to fit a single door, or four 20cm drawer fronts, or a 40cm plus 4 x 10cm drawer fronts - there are lots of combinations available. We have integrated dishwashers in the kitchen and chose to use a 60cm drawer front plus a 20cm drawer front. When we ordered the kitchen, I described what we wanted to the kitchen designer, and they ordered the right parts for us. You can add or remove parts from all Ikea kitchen cabinets, and the price adjusts accordingly. You have to connect the drawer fronts together yourself, of course, to create a single door. Ikea sell metal strips for this purpose - called Utrusta, naturally, although the ones designed for dishwashers are called Vaglig. Your Ikea kitchen designer will add the right type to the order for you. We then used our own spacers to give the same distance between the 'faux' drawer doors as the actual drawers.
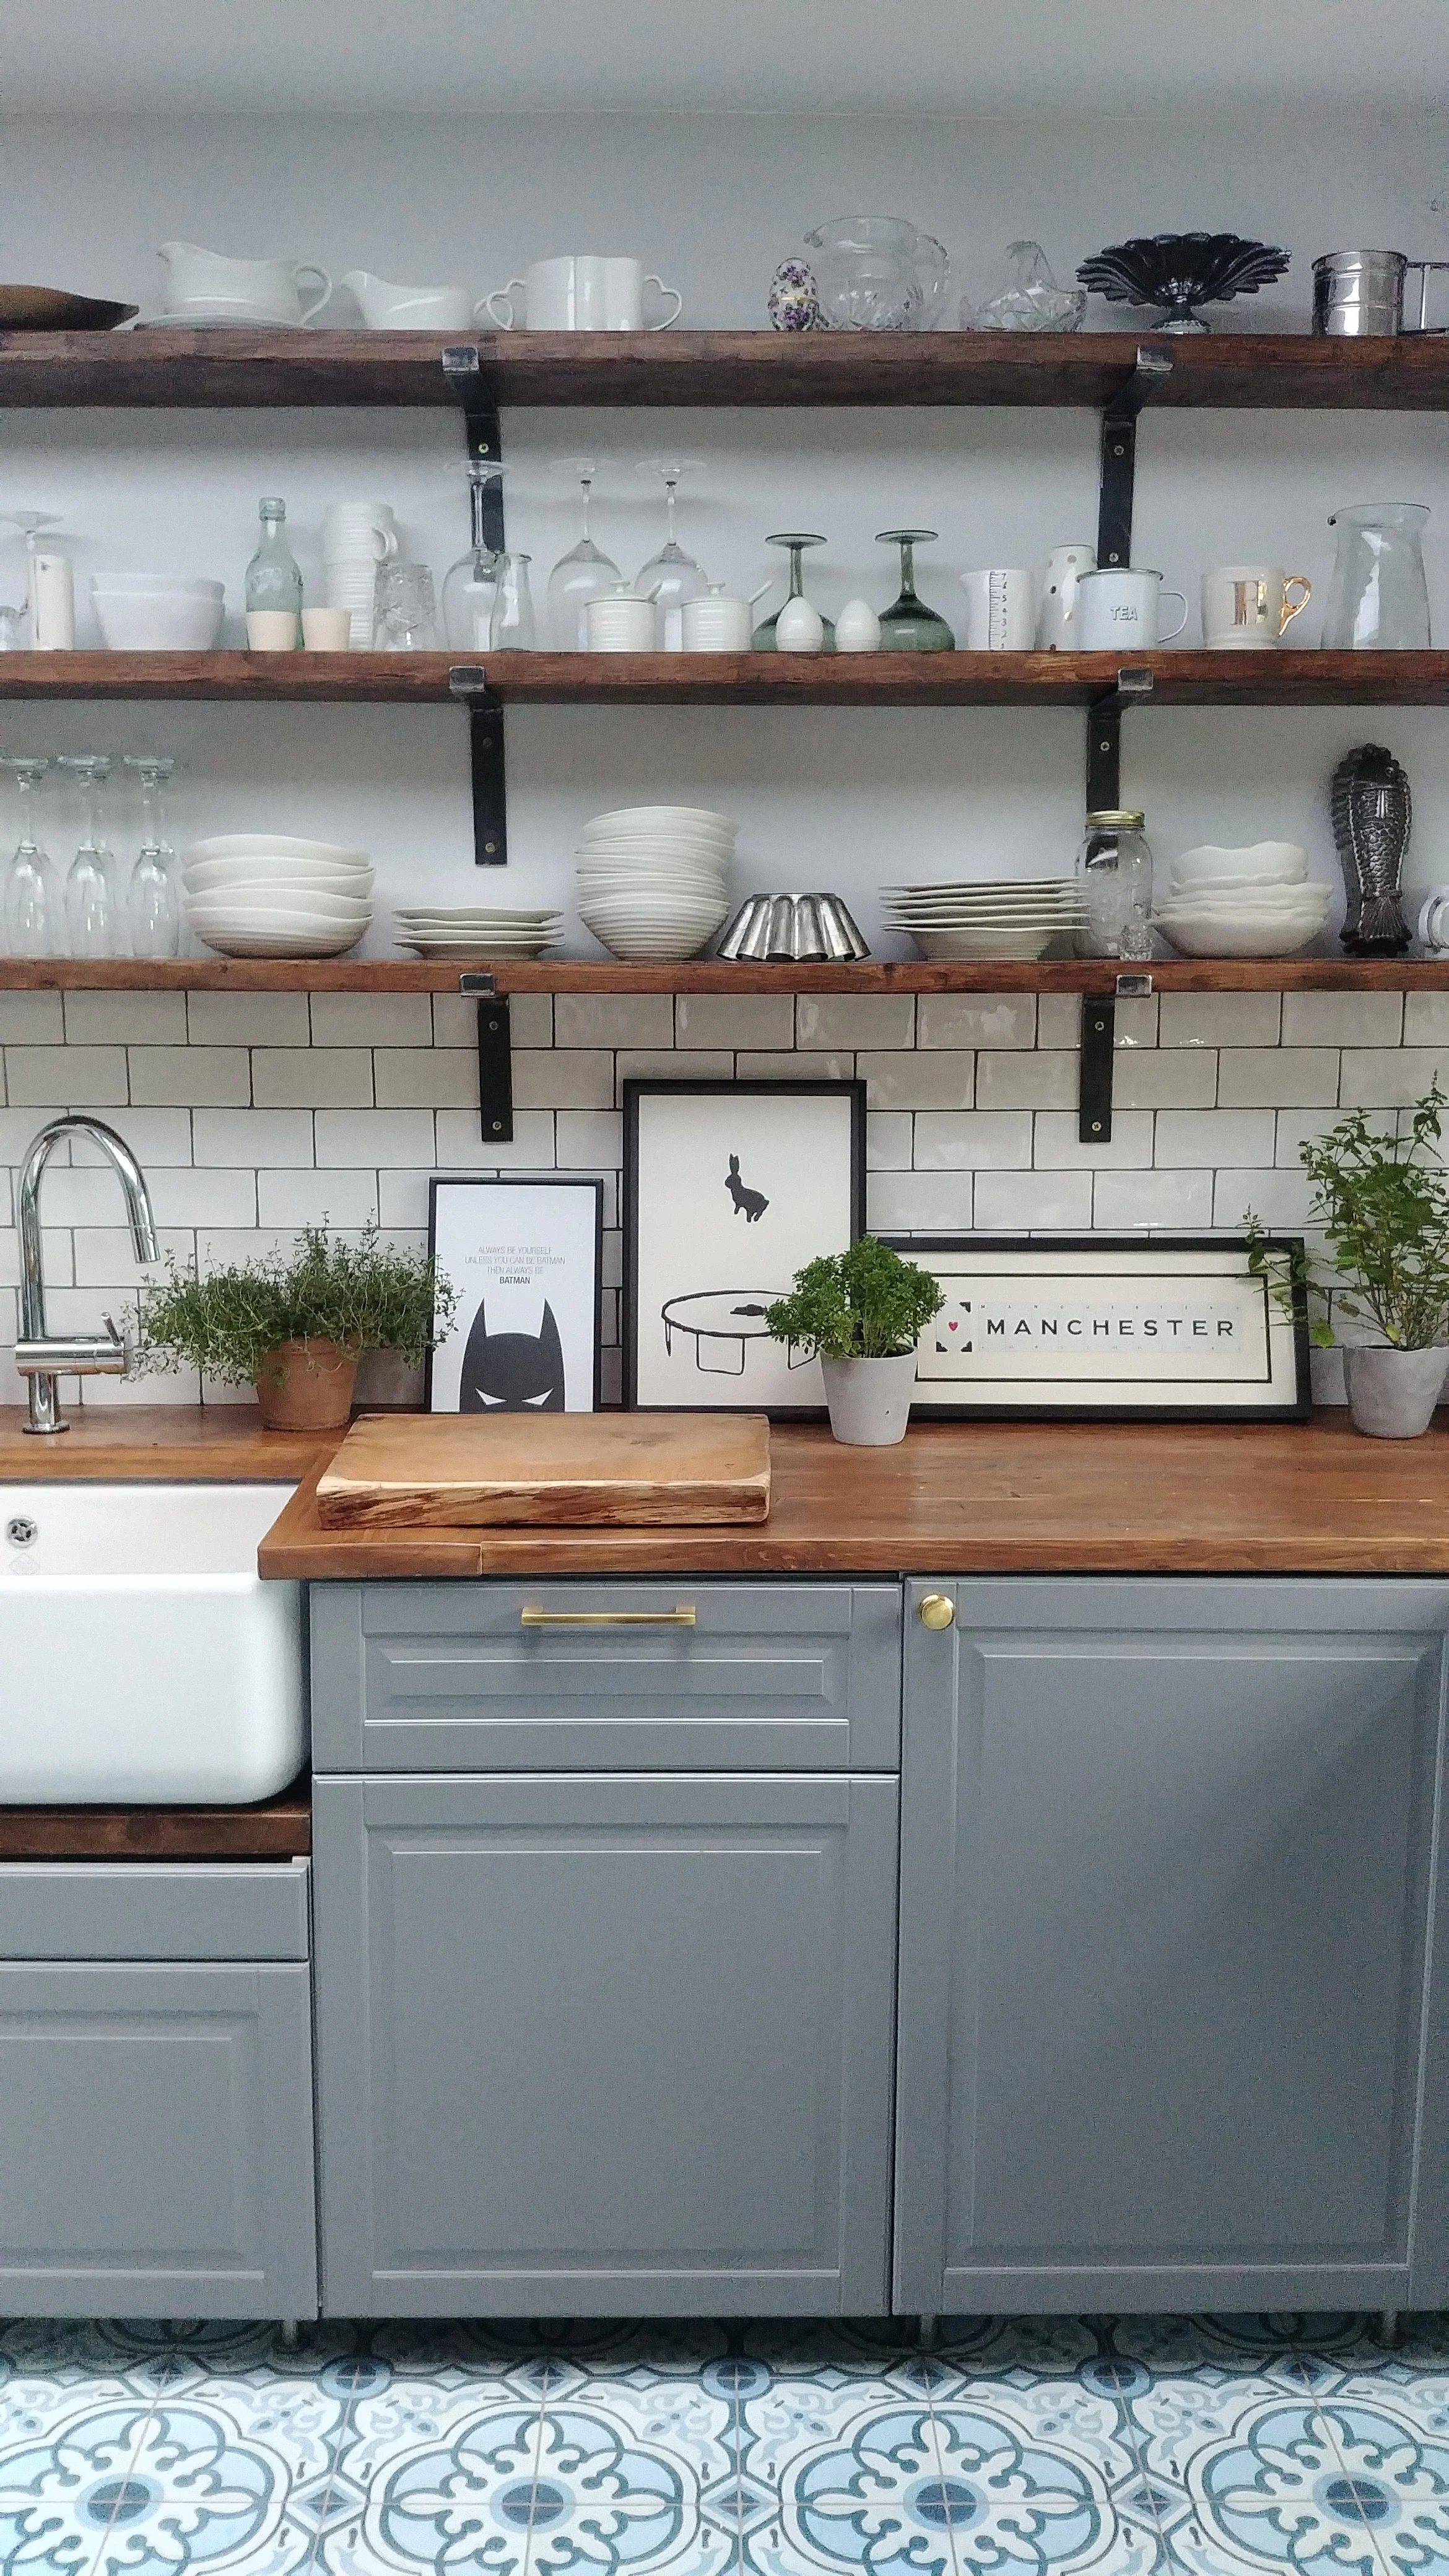
Cabinets from left to right: the sink cabinet is a 40cm drawer front attached to a 10cm drawer front. The middle cabinet is the dishwasher - with a door created from a 60cm drawer front and a 20cm drawer front. The right hand cabinet is a cupboard containing a pullout magic corner unit.
Behjälplig
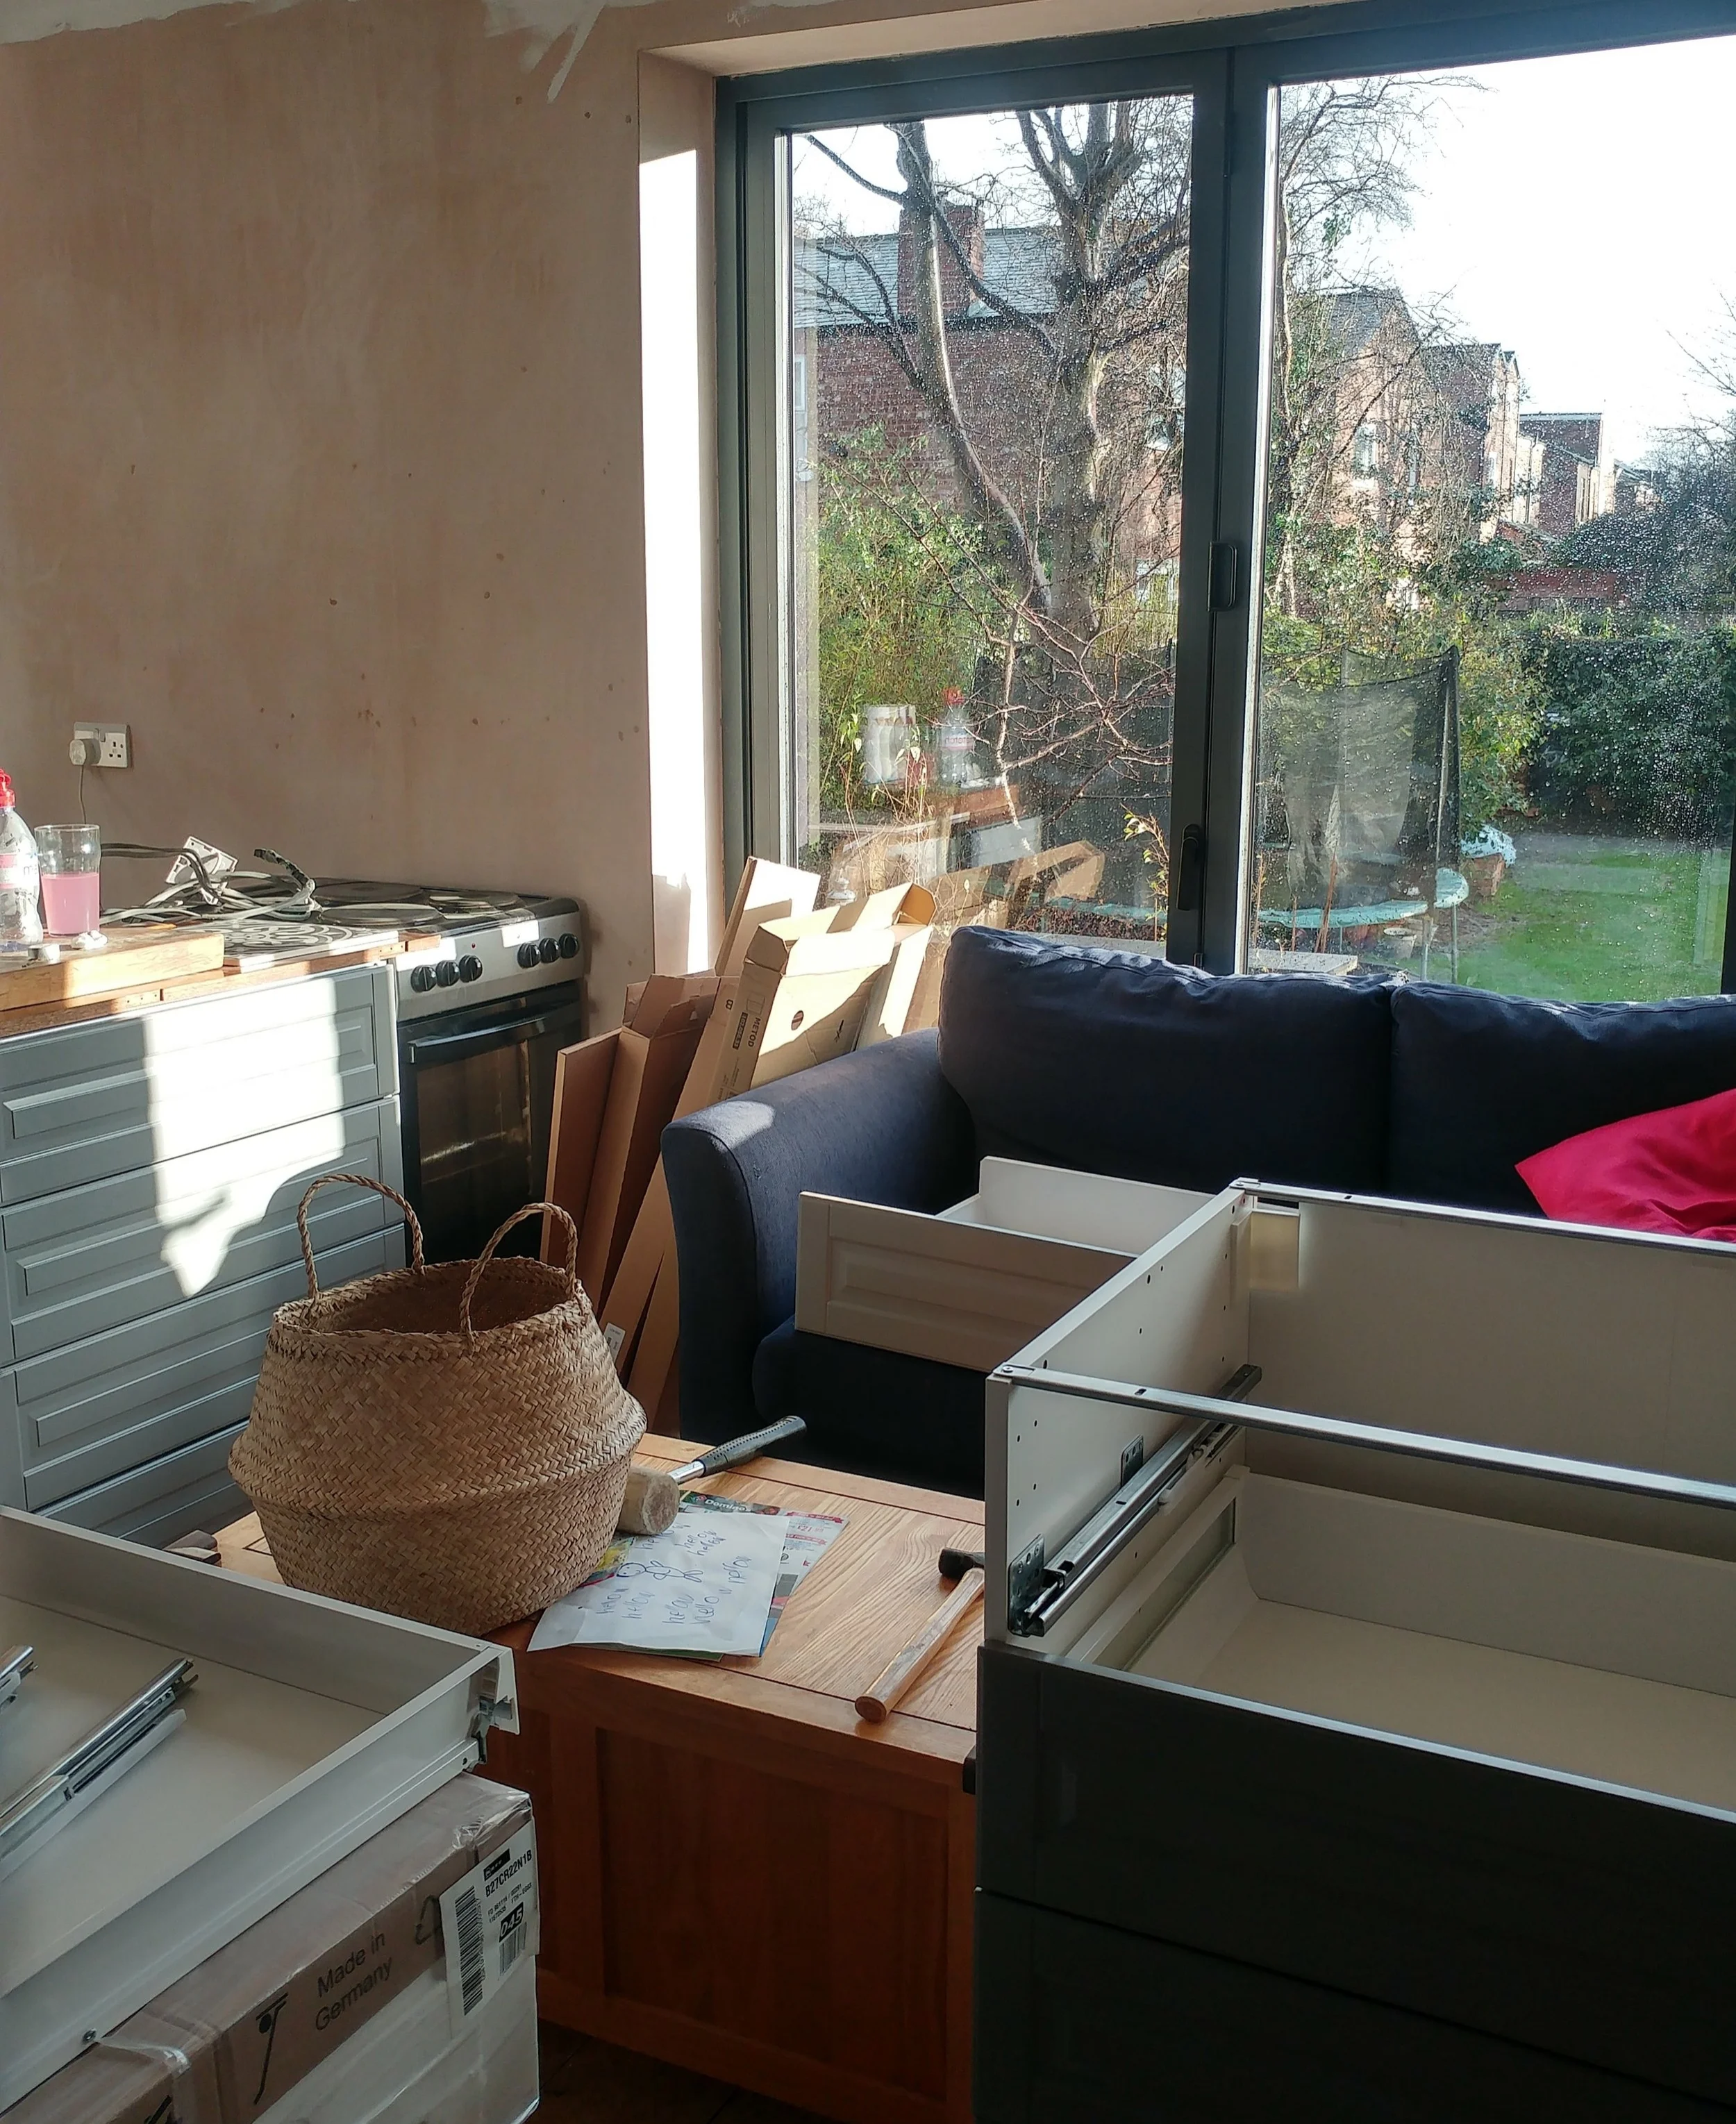
We met our nemesis in the form of Behjälplig, an innocuous brown box containing a fiendish device designed to draw blood, sweat and tears from even the hardiest DIYers - also known as the Ikea integrated dishwasher cabinet door attachment thingamajig. We cockily (oh we were fools!) decided to do away with Behjälplig cos it conflicted with Väglig (the metal strips that connect door fronts together as described above) and just screw the door pieces straight onto the dishwasher. Two hours of cursing later, we nearly had the door in place ,when we realised we wouldn't be able to *open* the door as the base would hit the floor when we pulled the dishwasher door down. Cue wailing and gnashing of teeth with plenty of garment rending. An internet consultation later, and we found that Behjälplig is in fact a set of *rails* allowing the door to slide upwards, therefore avoiding the floor. Lightbulb moment! So despite sounding like a sinister sounding Bond villain and nearly bringing us to the point of divorce, Behjälplig is actually a jolly clever device. Sorry for doubting you, Behjälplig.
Custom worktops
I only have experience of fitting Ikea kitchens, but apparently they are a slightly different depth to most kitchen cabinets, and don't have a service gap at the back. Our units are 61.3cm deep from the back to the drawer fronts. We then set our cabinets about 5cm away from the wall to accommodate the water pipes at the back. We fitted custom scaffold board worktops (this post explains how we did it) that accommodated the non-standard depth, but there are loads of worktop companies who sell custom depths.

Our scaffold board worktops before oiling.
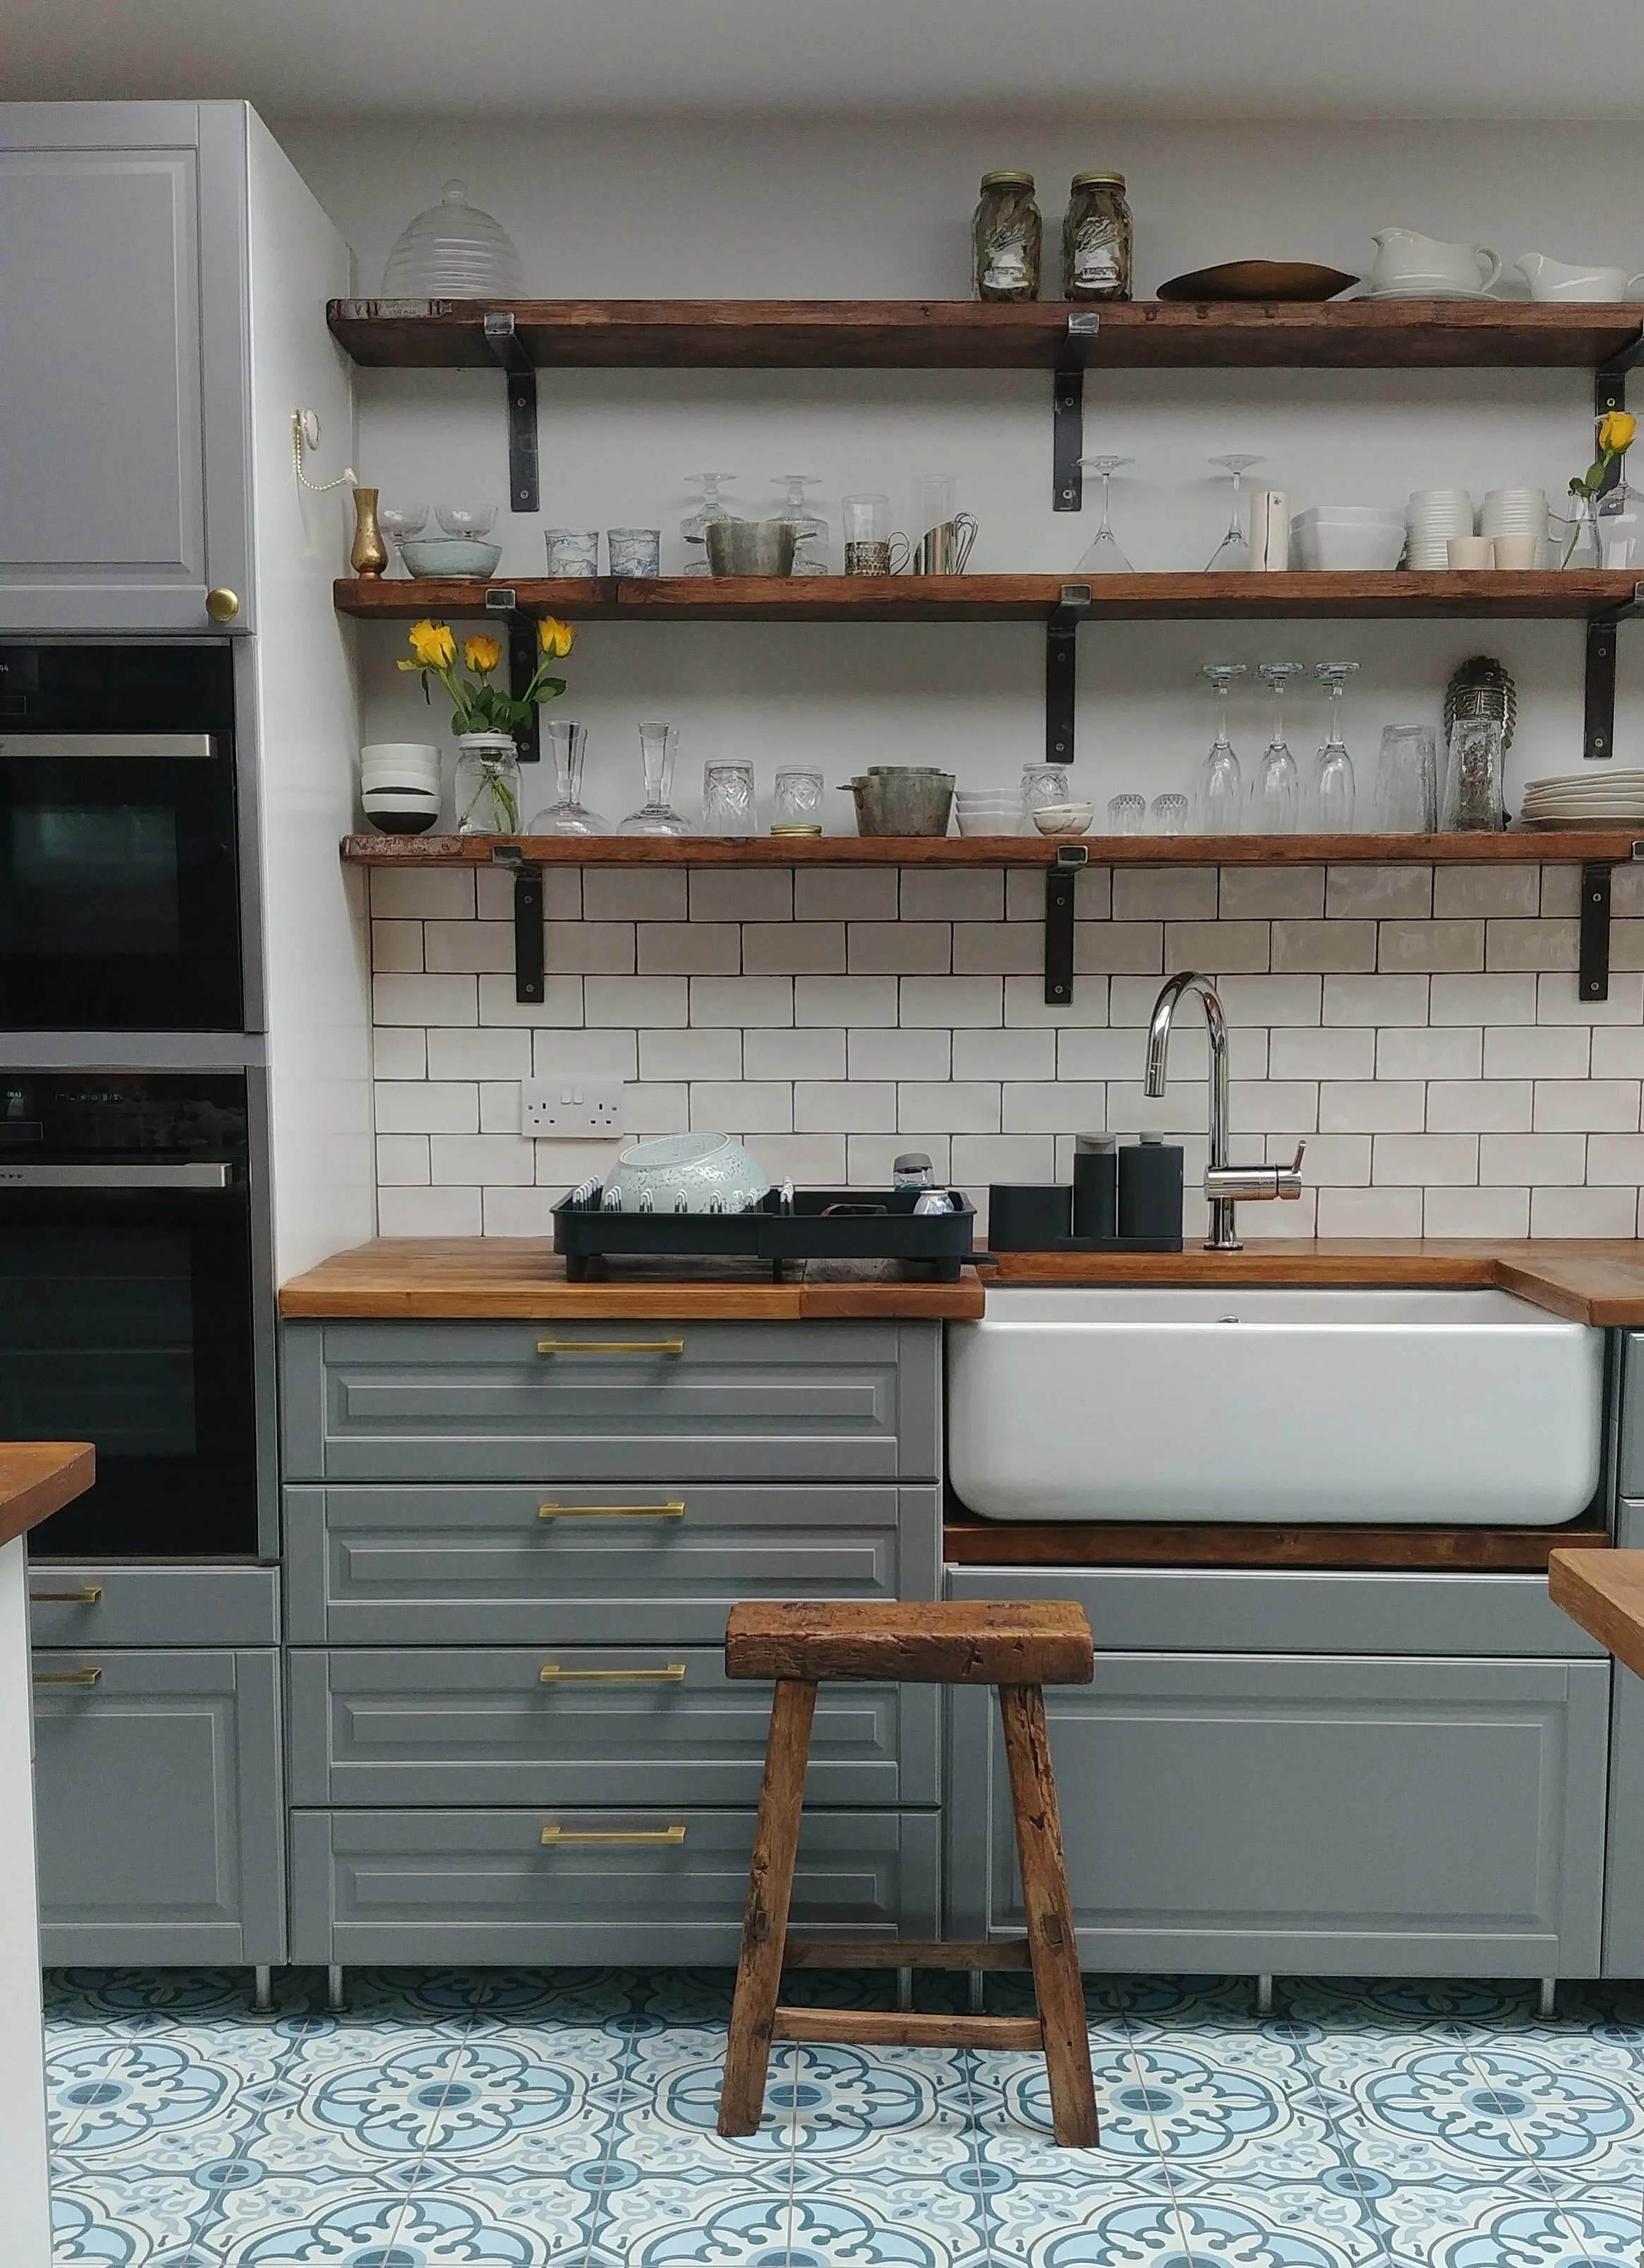
Custom sink
We fitted our own Belfast sink onto the standard Ikea 80cm Domsjo sink cabinet. Click here for instructions.
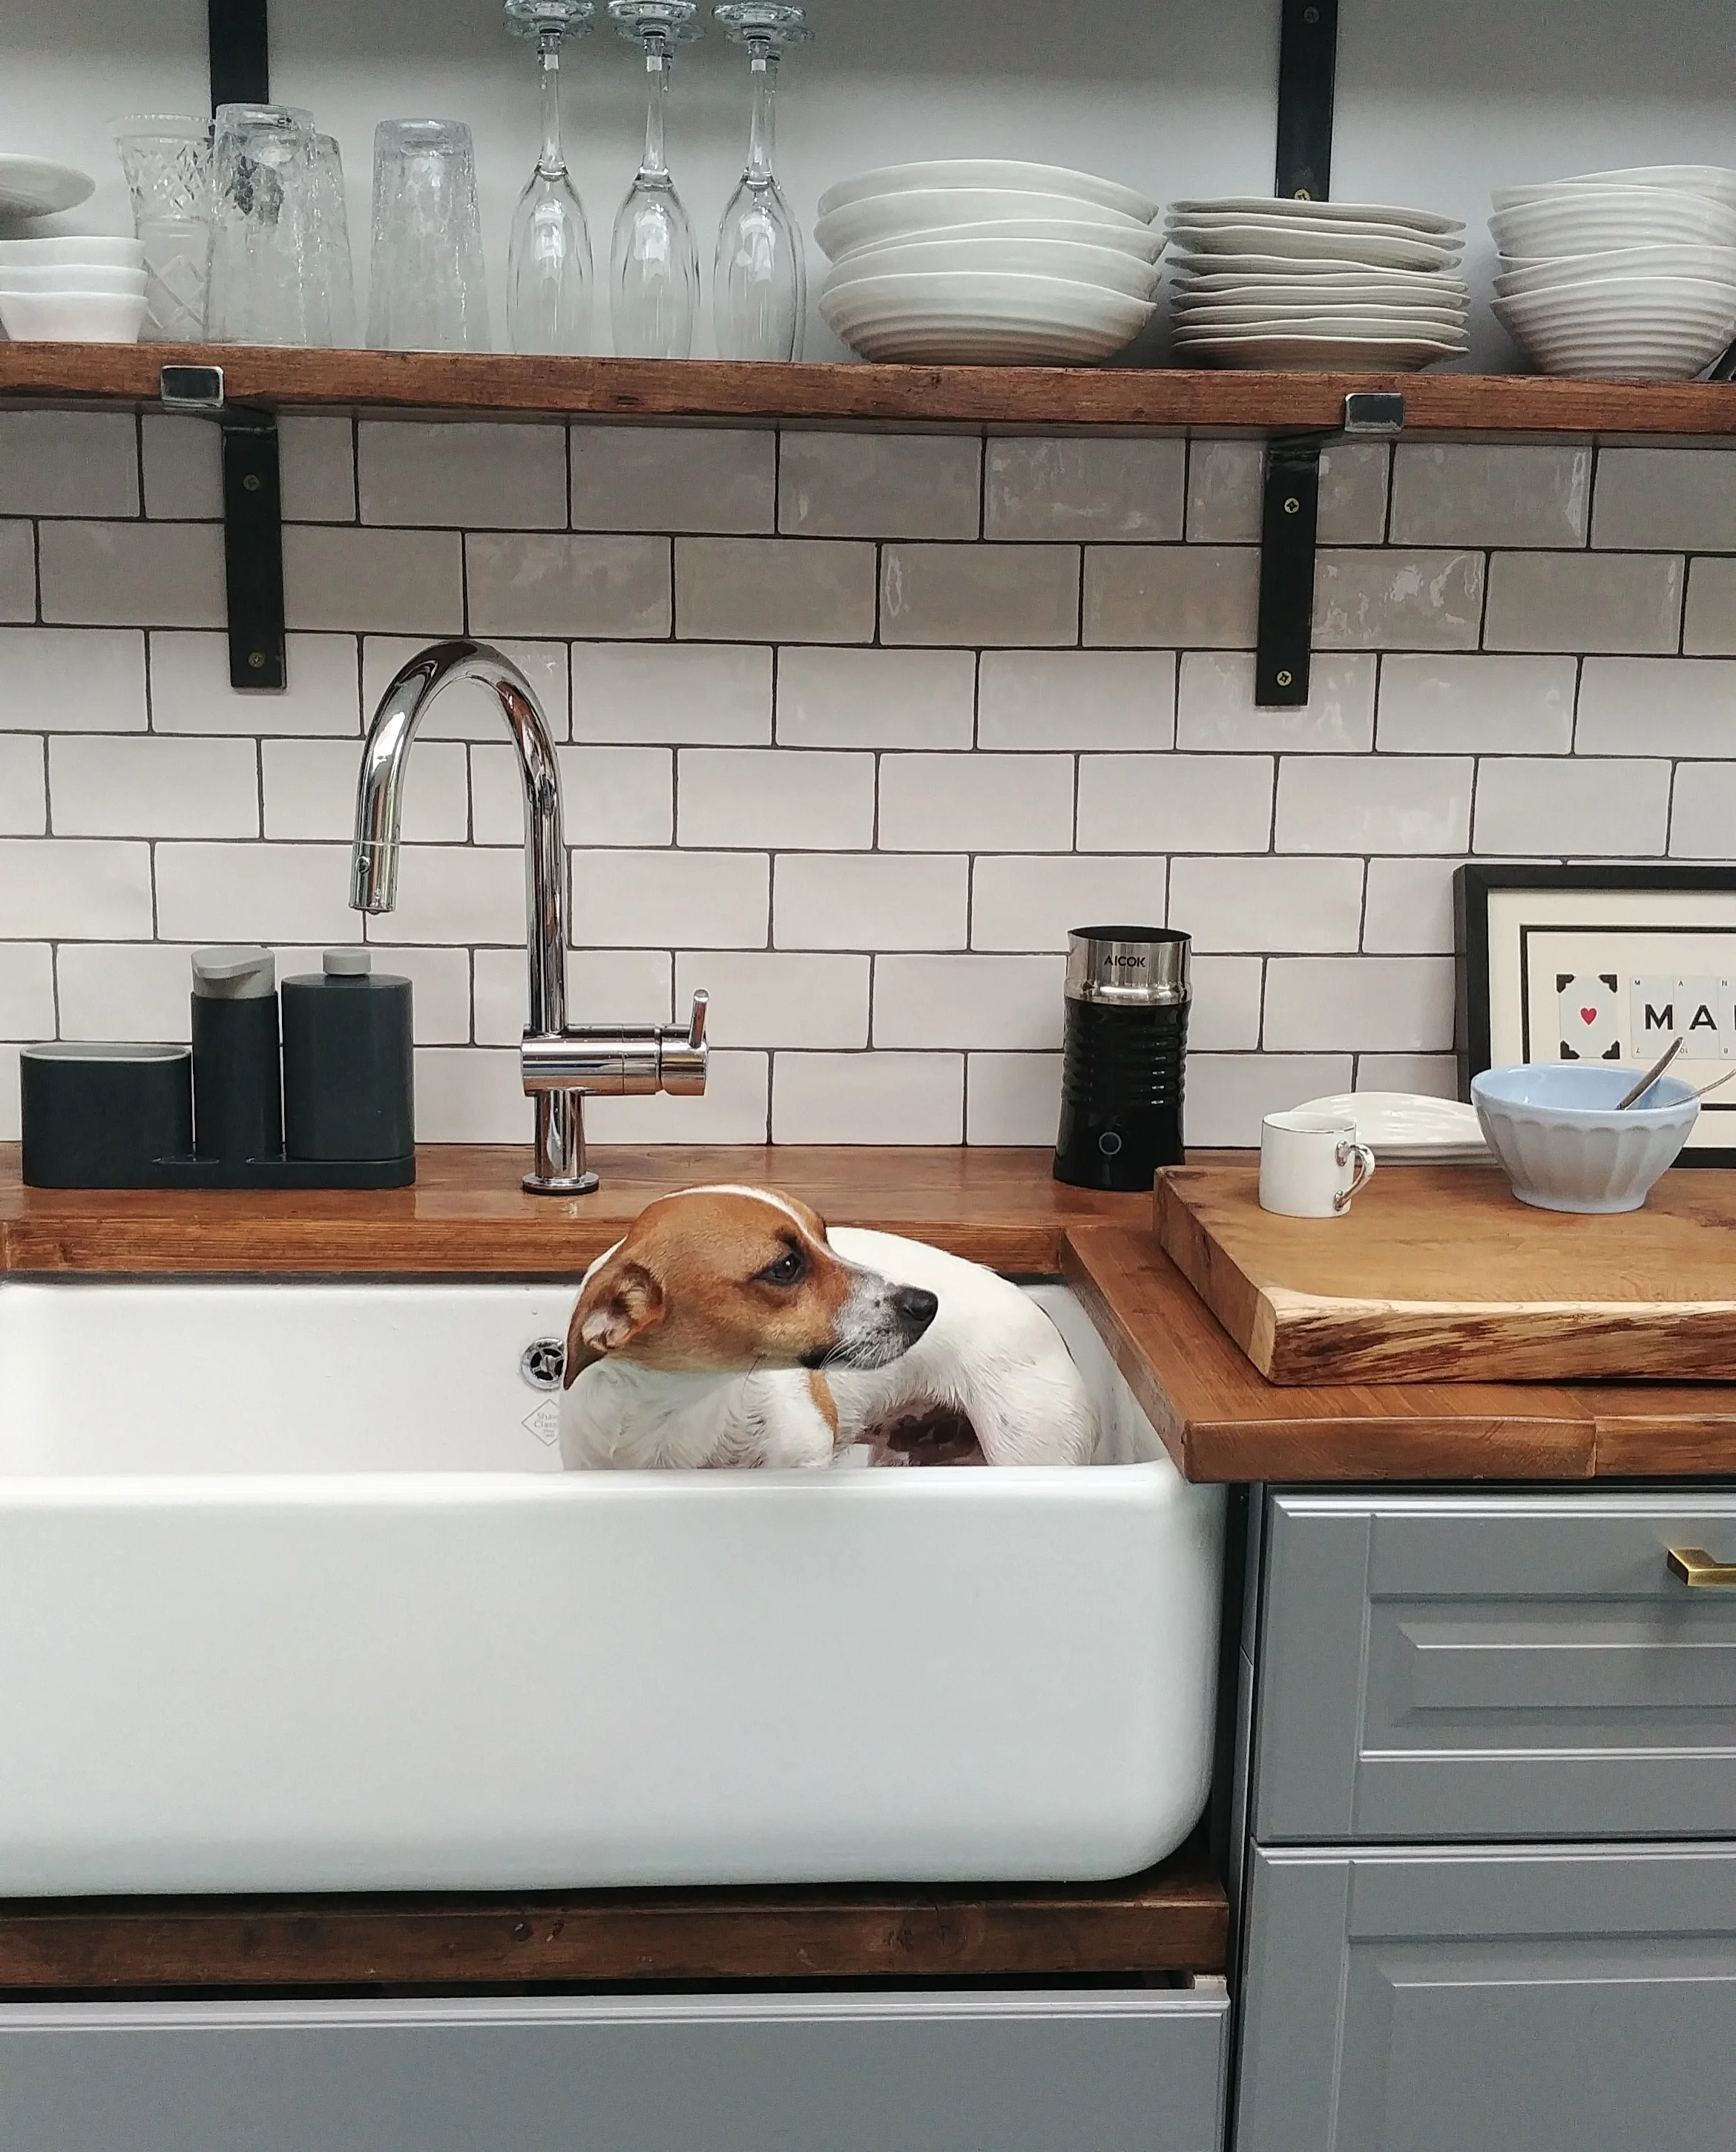
The perfect size to wash a puppy in.
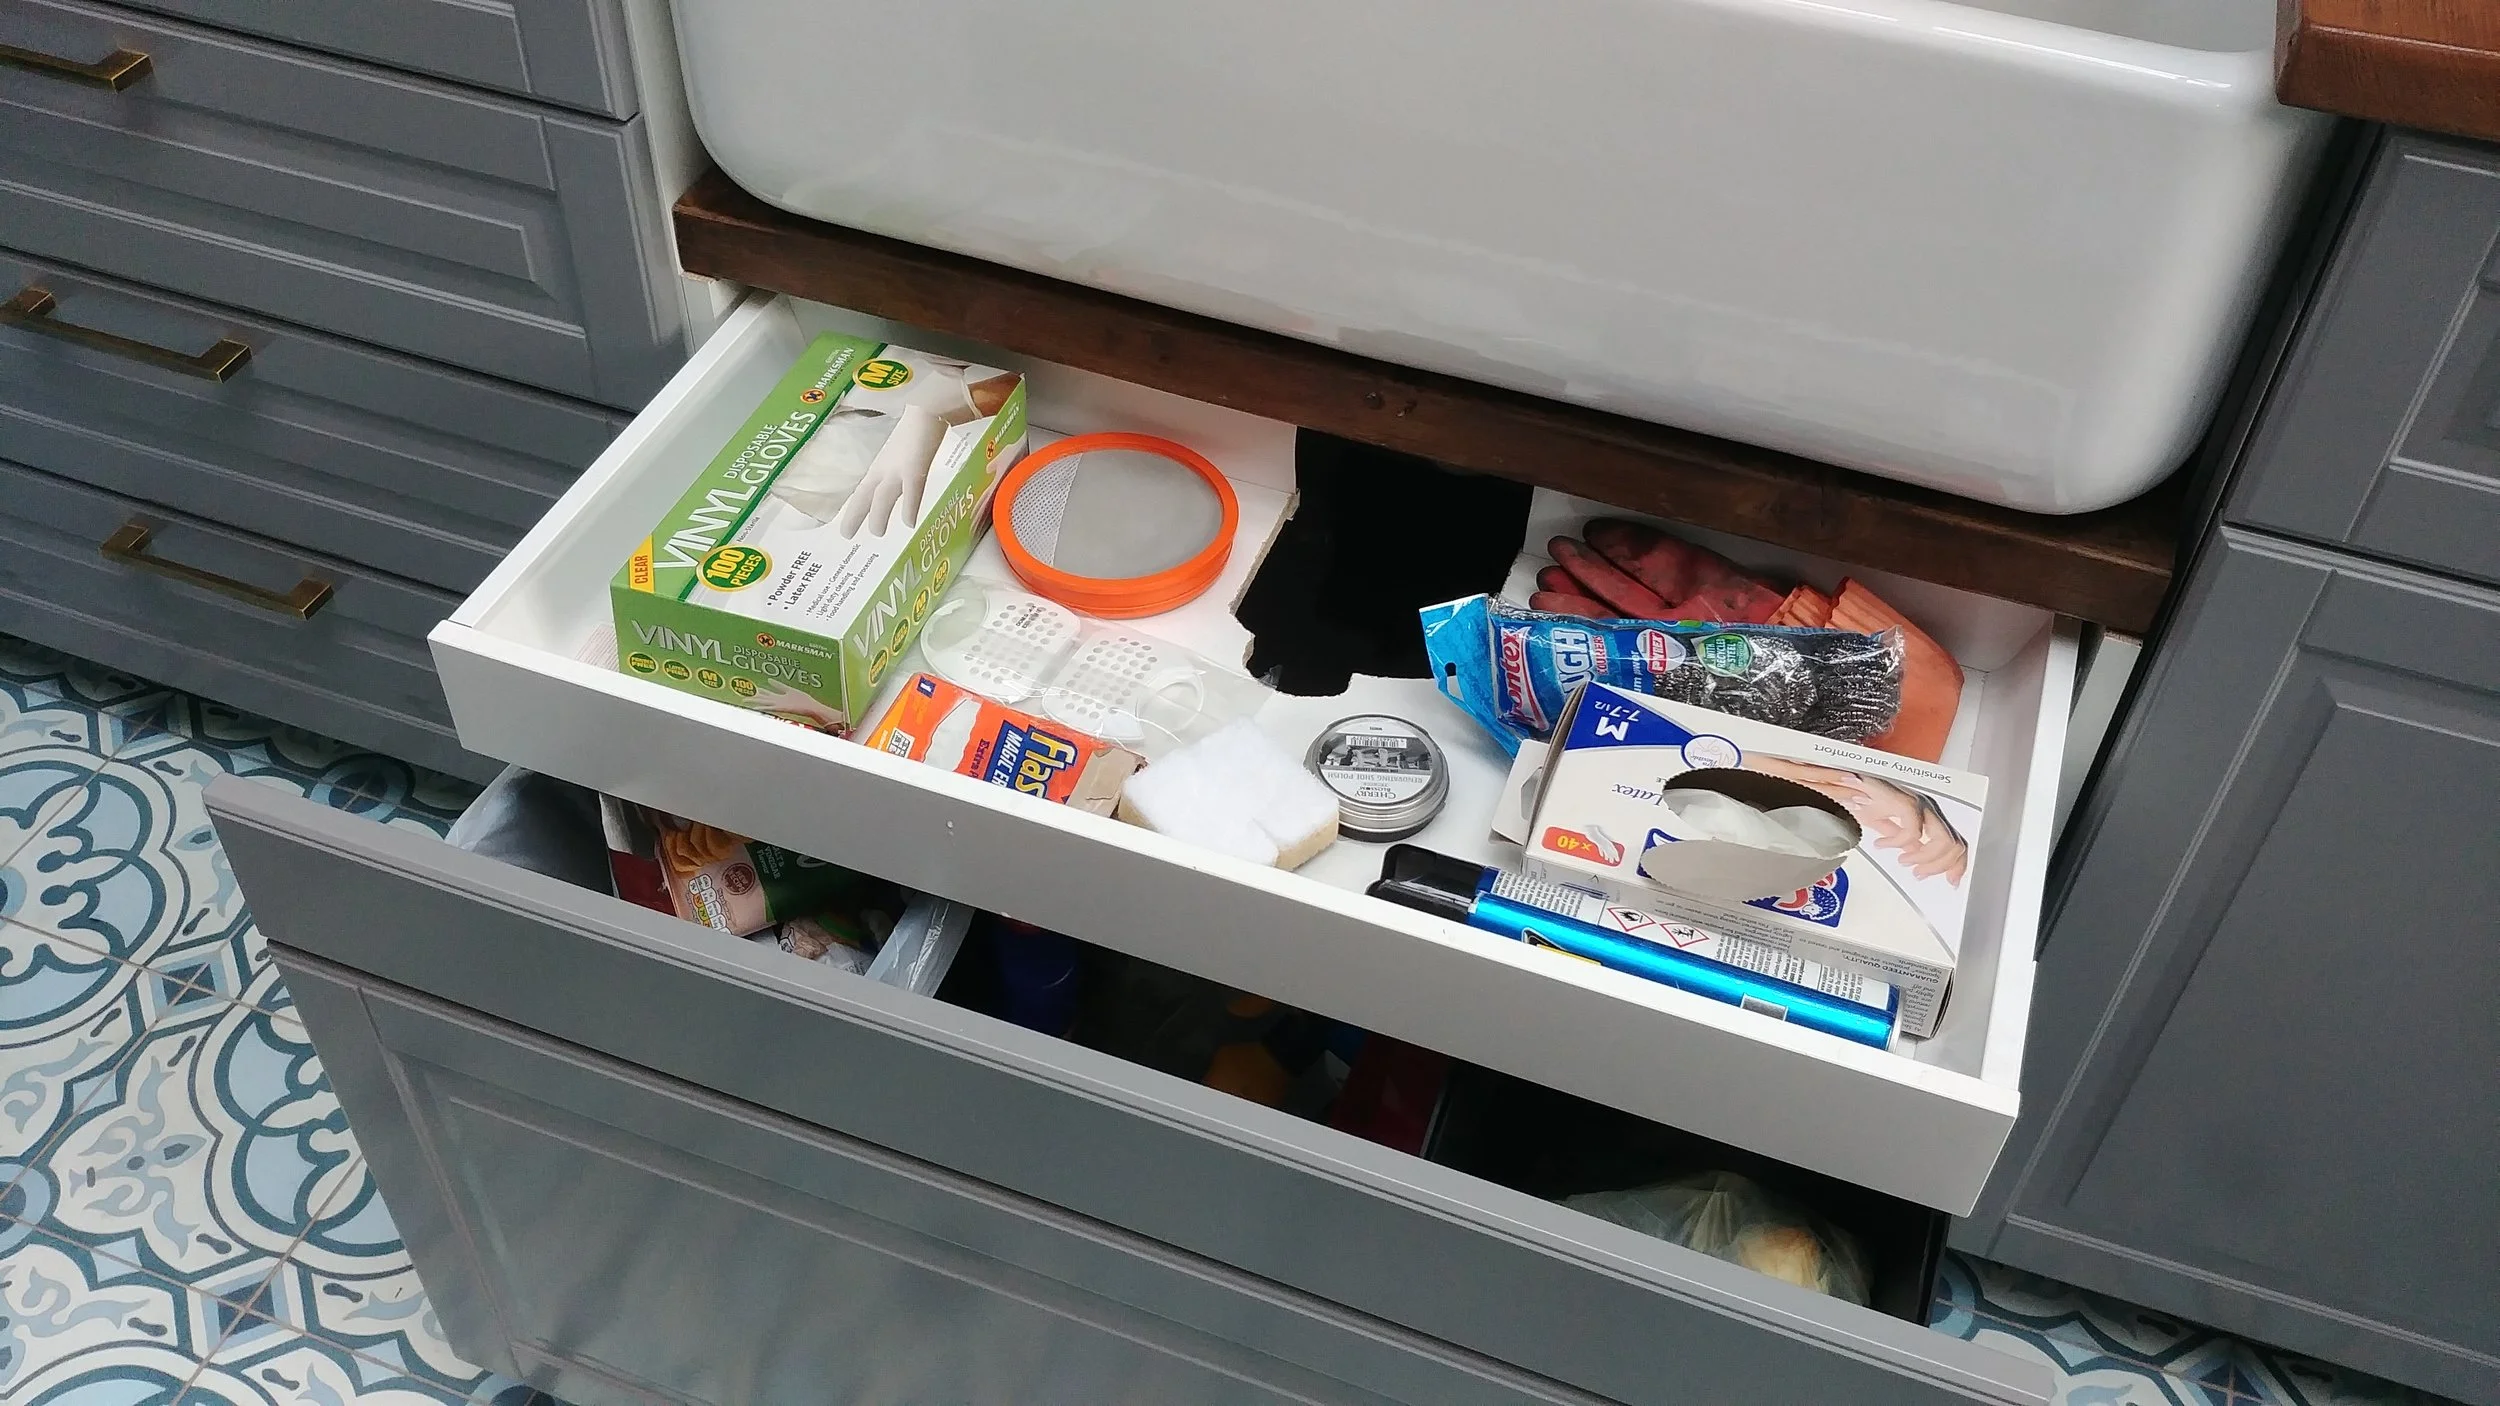
We added a secret drawer to our sink cabinet and cut a crazy hole out of the middle of it to accommodate the sink waste.
Custom appliances
We used non-standard Ikea ovens, hob and warming drawer. I can't speak for all brands, but Neff ovens certainly fit in to the tall Ikea cabinet. Ikea offer a double oven high cabinet, and an oven/microwave option. I can't remember which one we chose, but we visited the store to measure the internal cupboard space to make sure the appliances we wanted to use would fit in height-wise.
Tall cabinet for oven and microwave on the left, oven cabinet with extra drawer in the middle.
The grey strip between the two ovens is a cover strip.
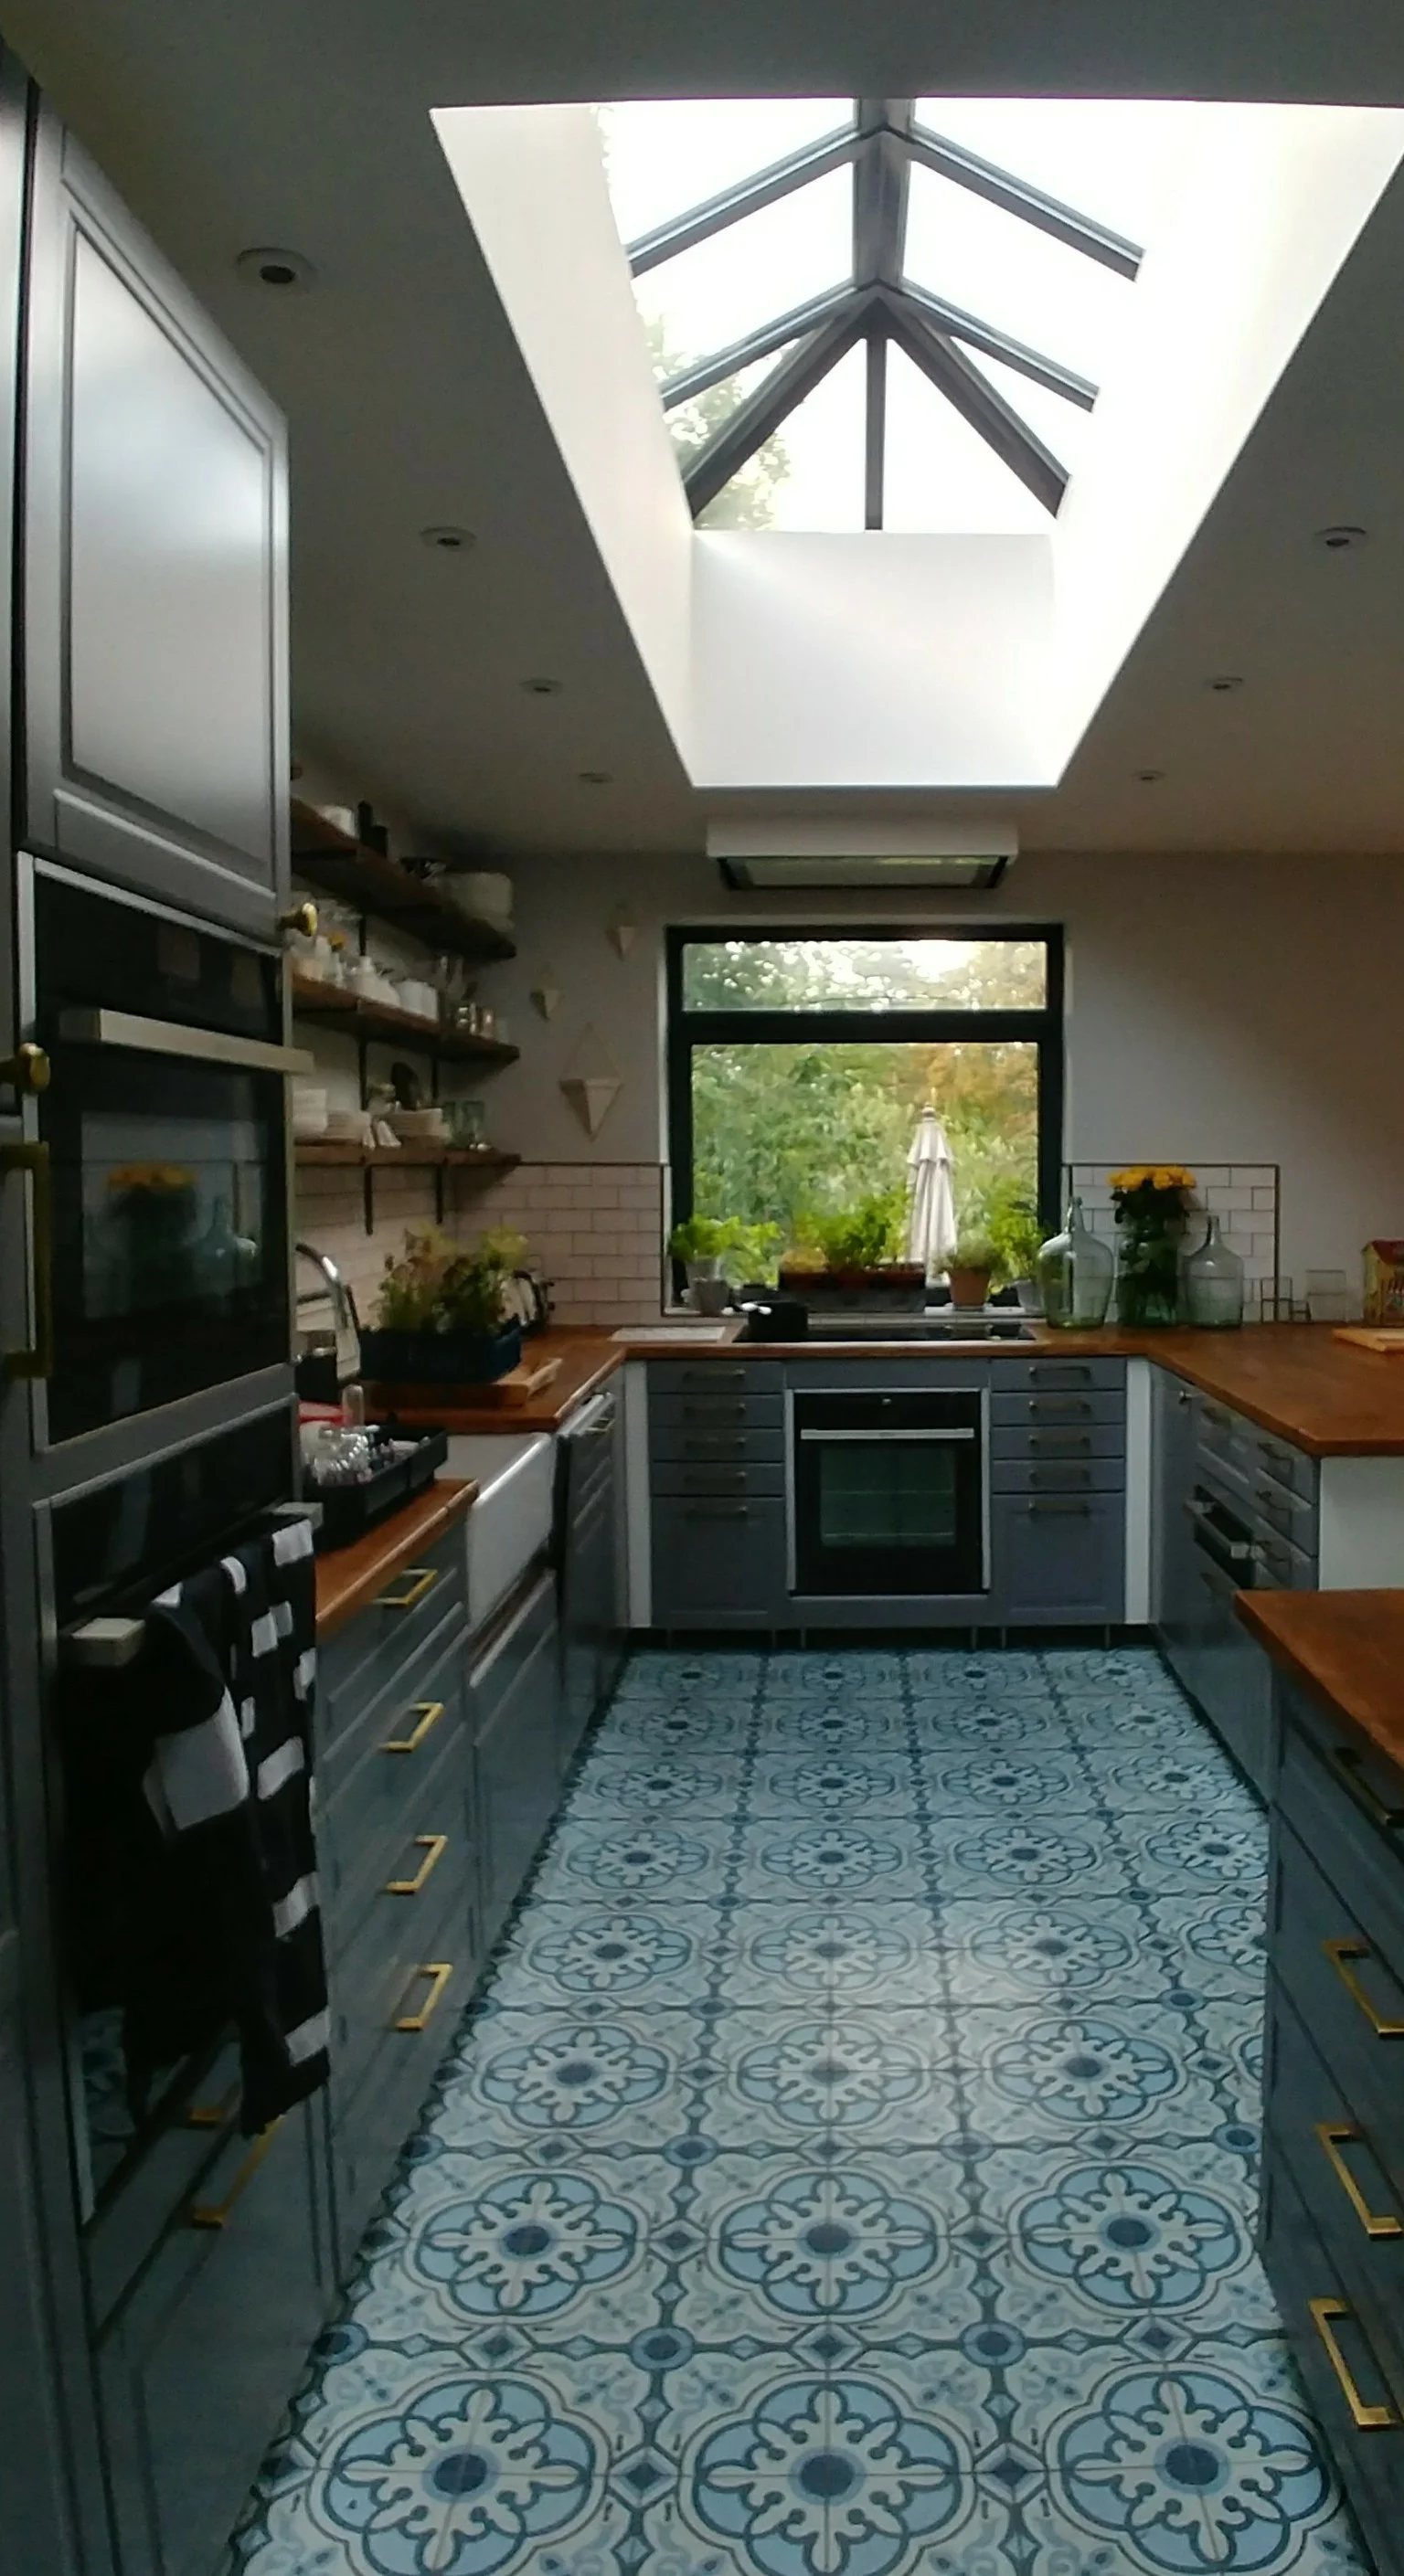
Kitchen lighting
When we bought our kitchen, Ikea had a great variety of kitchen lighting, but it all came on plugs. We'd already had the wiring done for hard-wired kitchen lighting operated by a light switch, so rather than choosing Ikea lighting, we bought these amazing LED ribbons which are super-easy to install and are very discreet. I really recommend them for underneath cabinets, shelves, and inside cupboards.
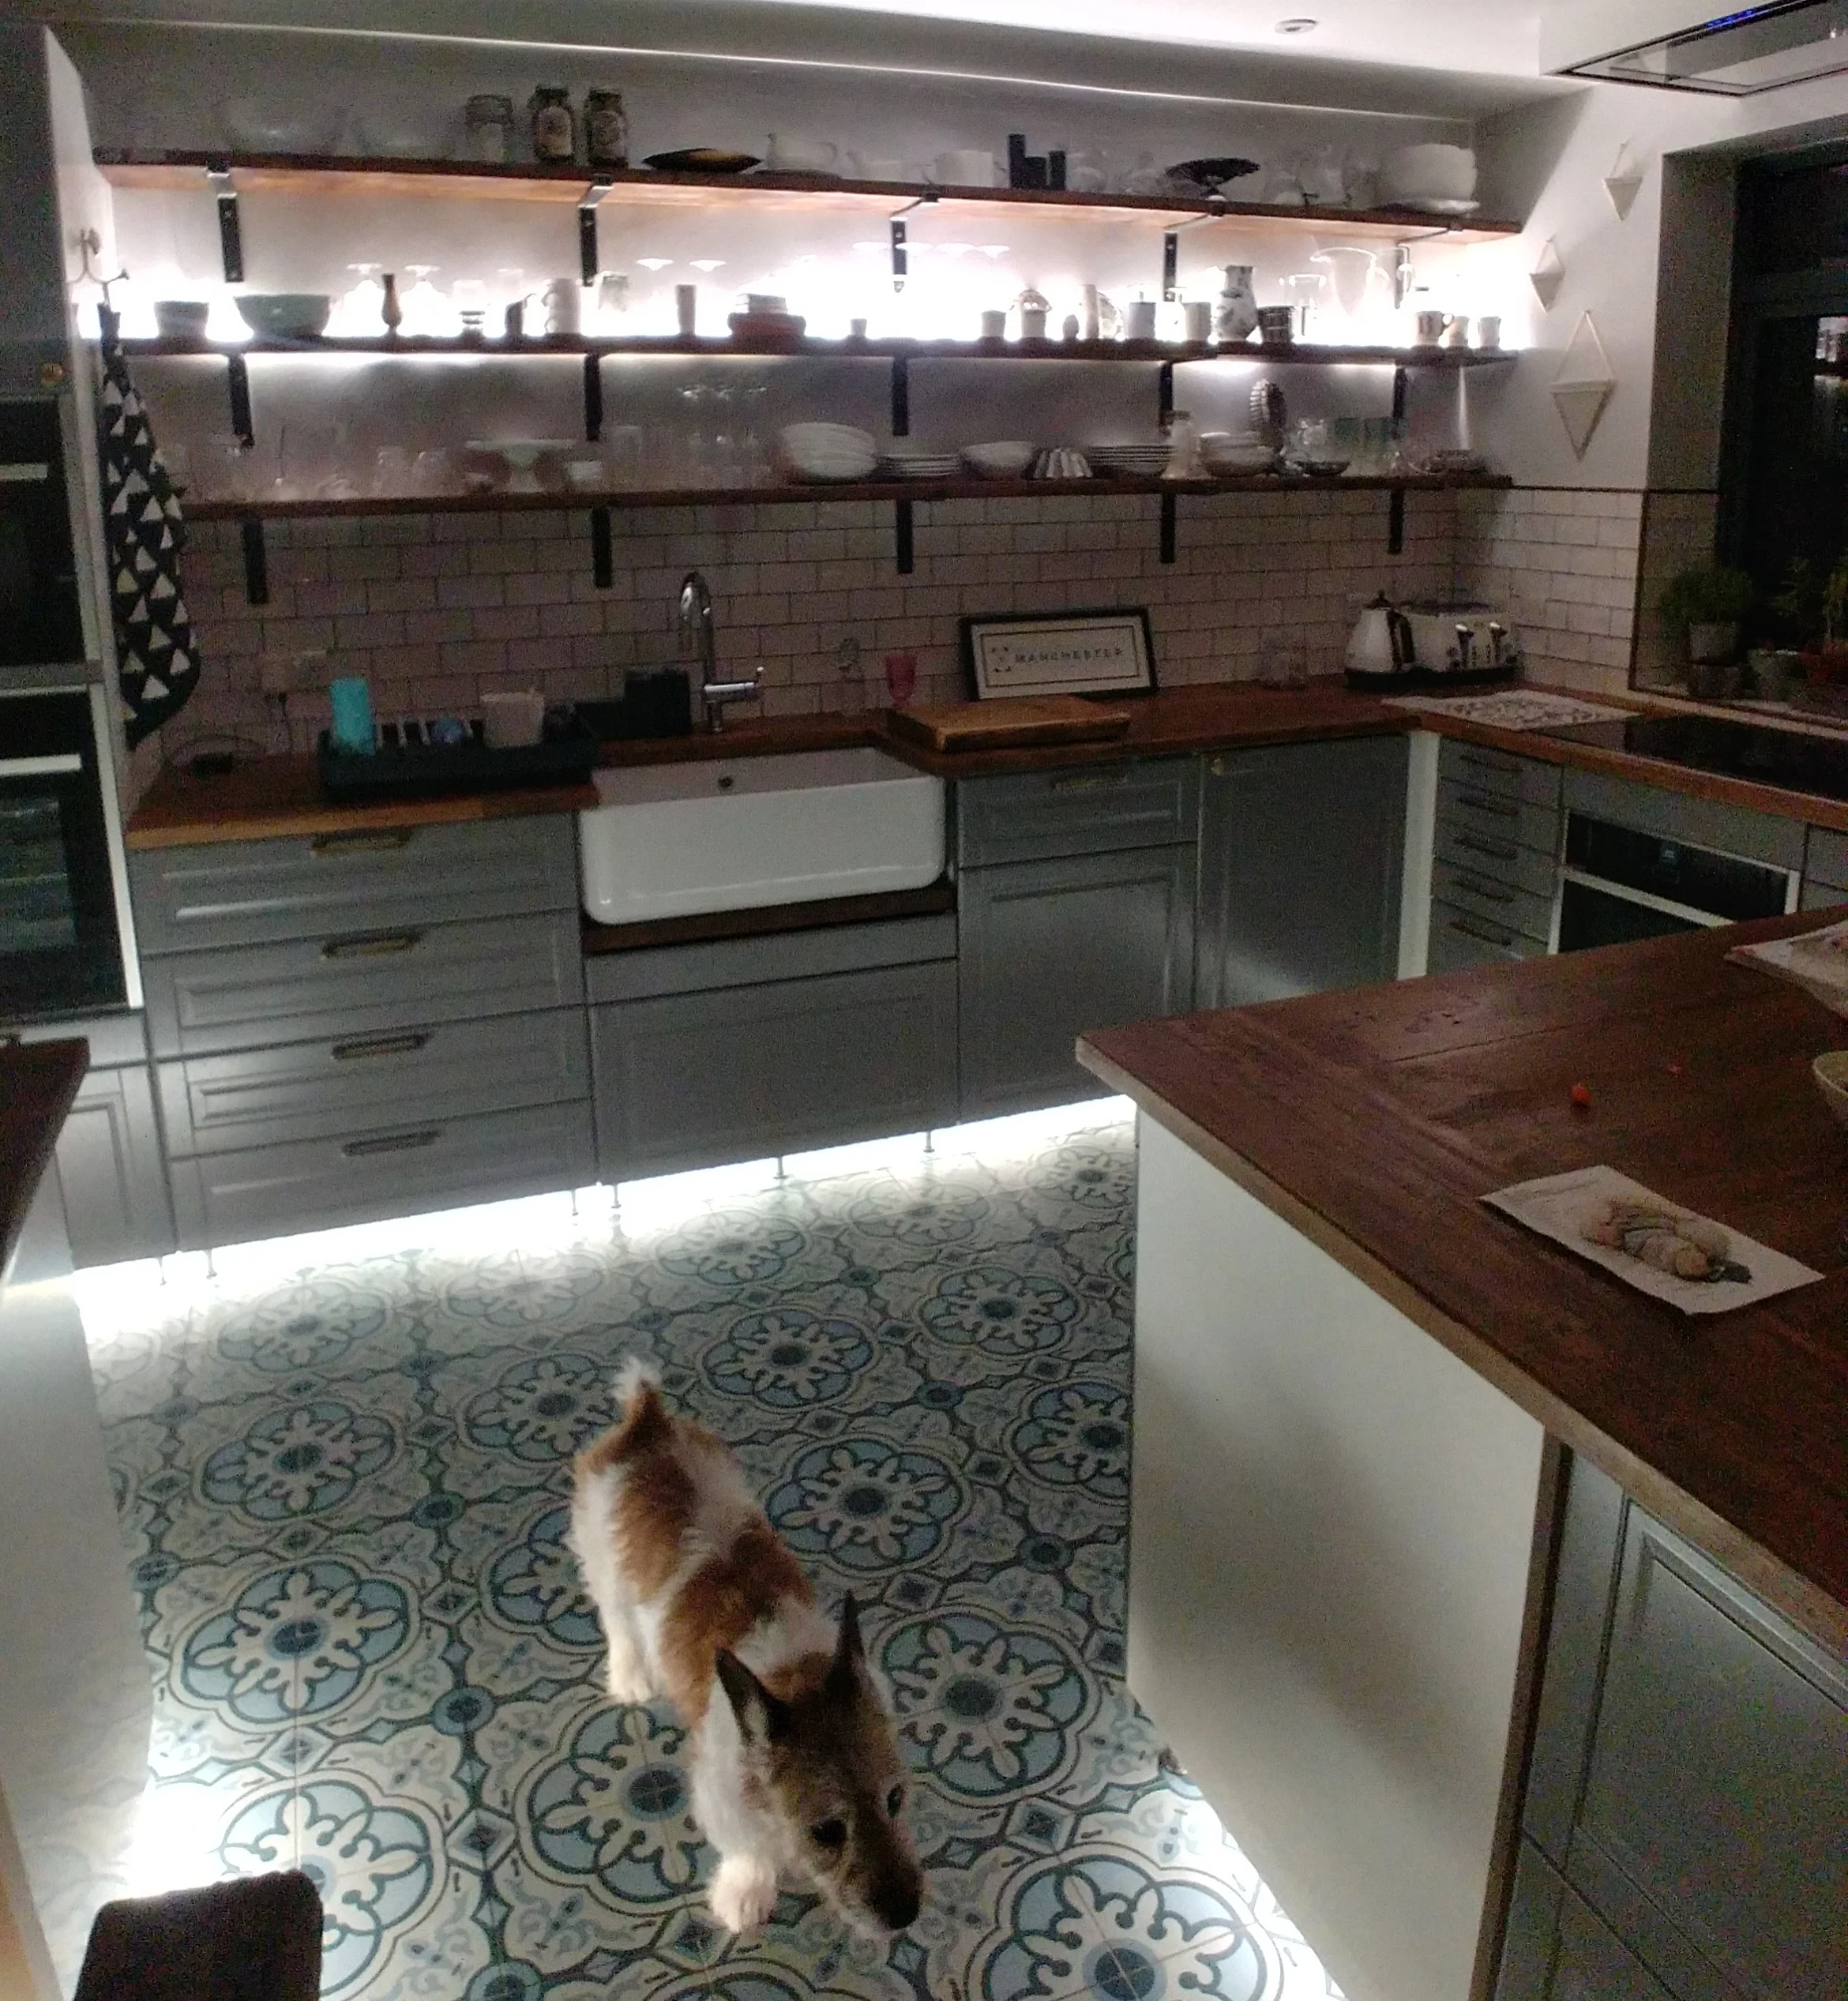
Dreadful photo but you get the general idea :-)
Finishing strips
You can get metal-effect finishing strips that cover the gap between stacked ovens. Ikea also sell pieces of finishing trim, moulded trim to go underneath wall cabinets, and end panels that can be cut to size. We still haven't got round to adding our finishing strips a year later, but when we do, my plan is to use our own wood, cut to size, sanded, and painted with satin woodpaint colour-matched to the grey Bodbyn panels. The problem with the Ikea finishing strips is that unless they're exactly the right width, you'll have to cut it down to size and will end up with a rough(ish) edge. Depending on what you want the strip for, you may be able to conceal the rough edge, but using your own wood colour matched to the cabinets is probably the neatest solution. I might also paint the wooden trim in a contrast metallic finish such as bronze or copper, or wax it to match the scaffold board shelves. Who says kitchens have to be the same colour :-)
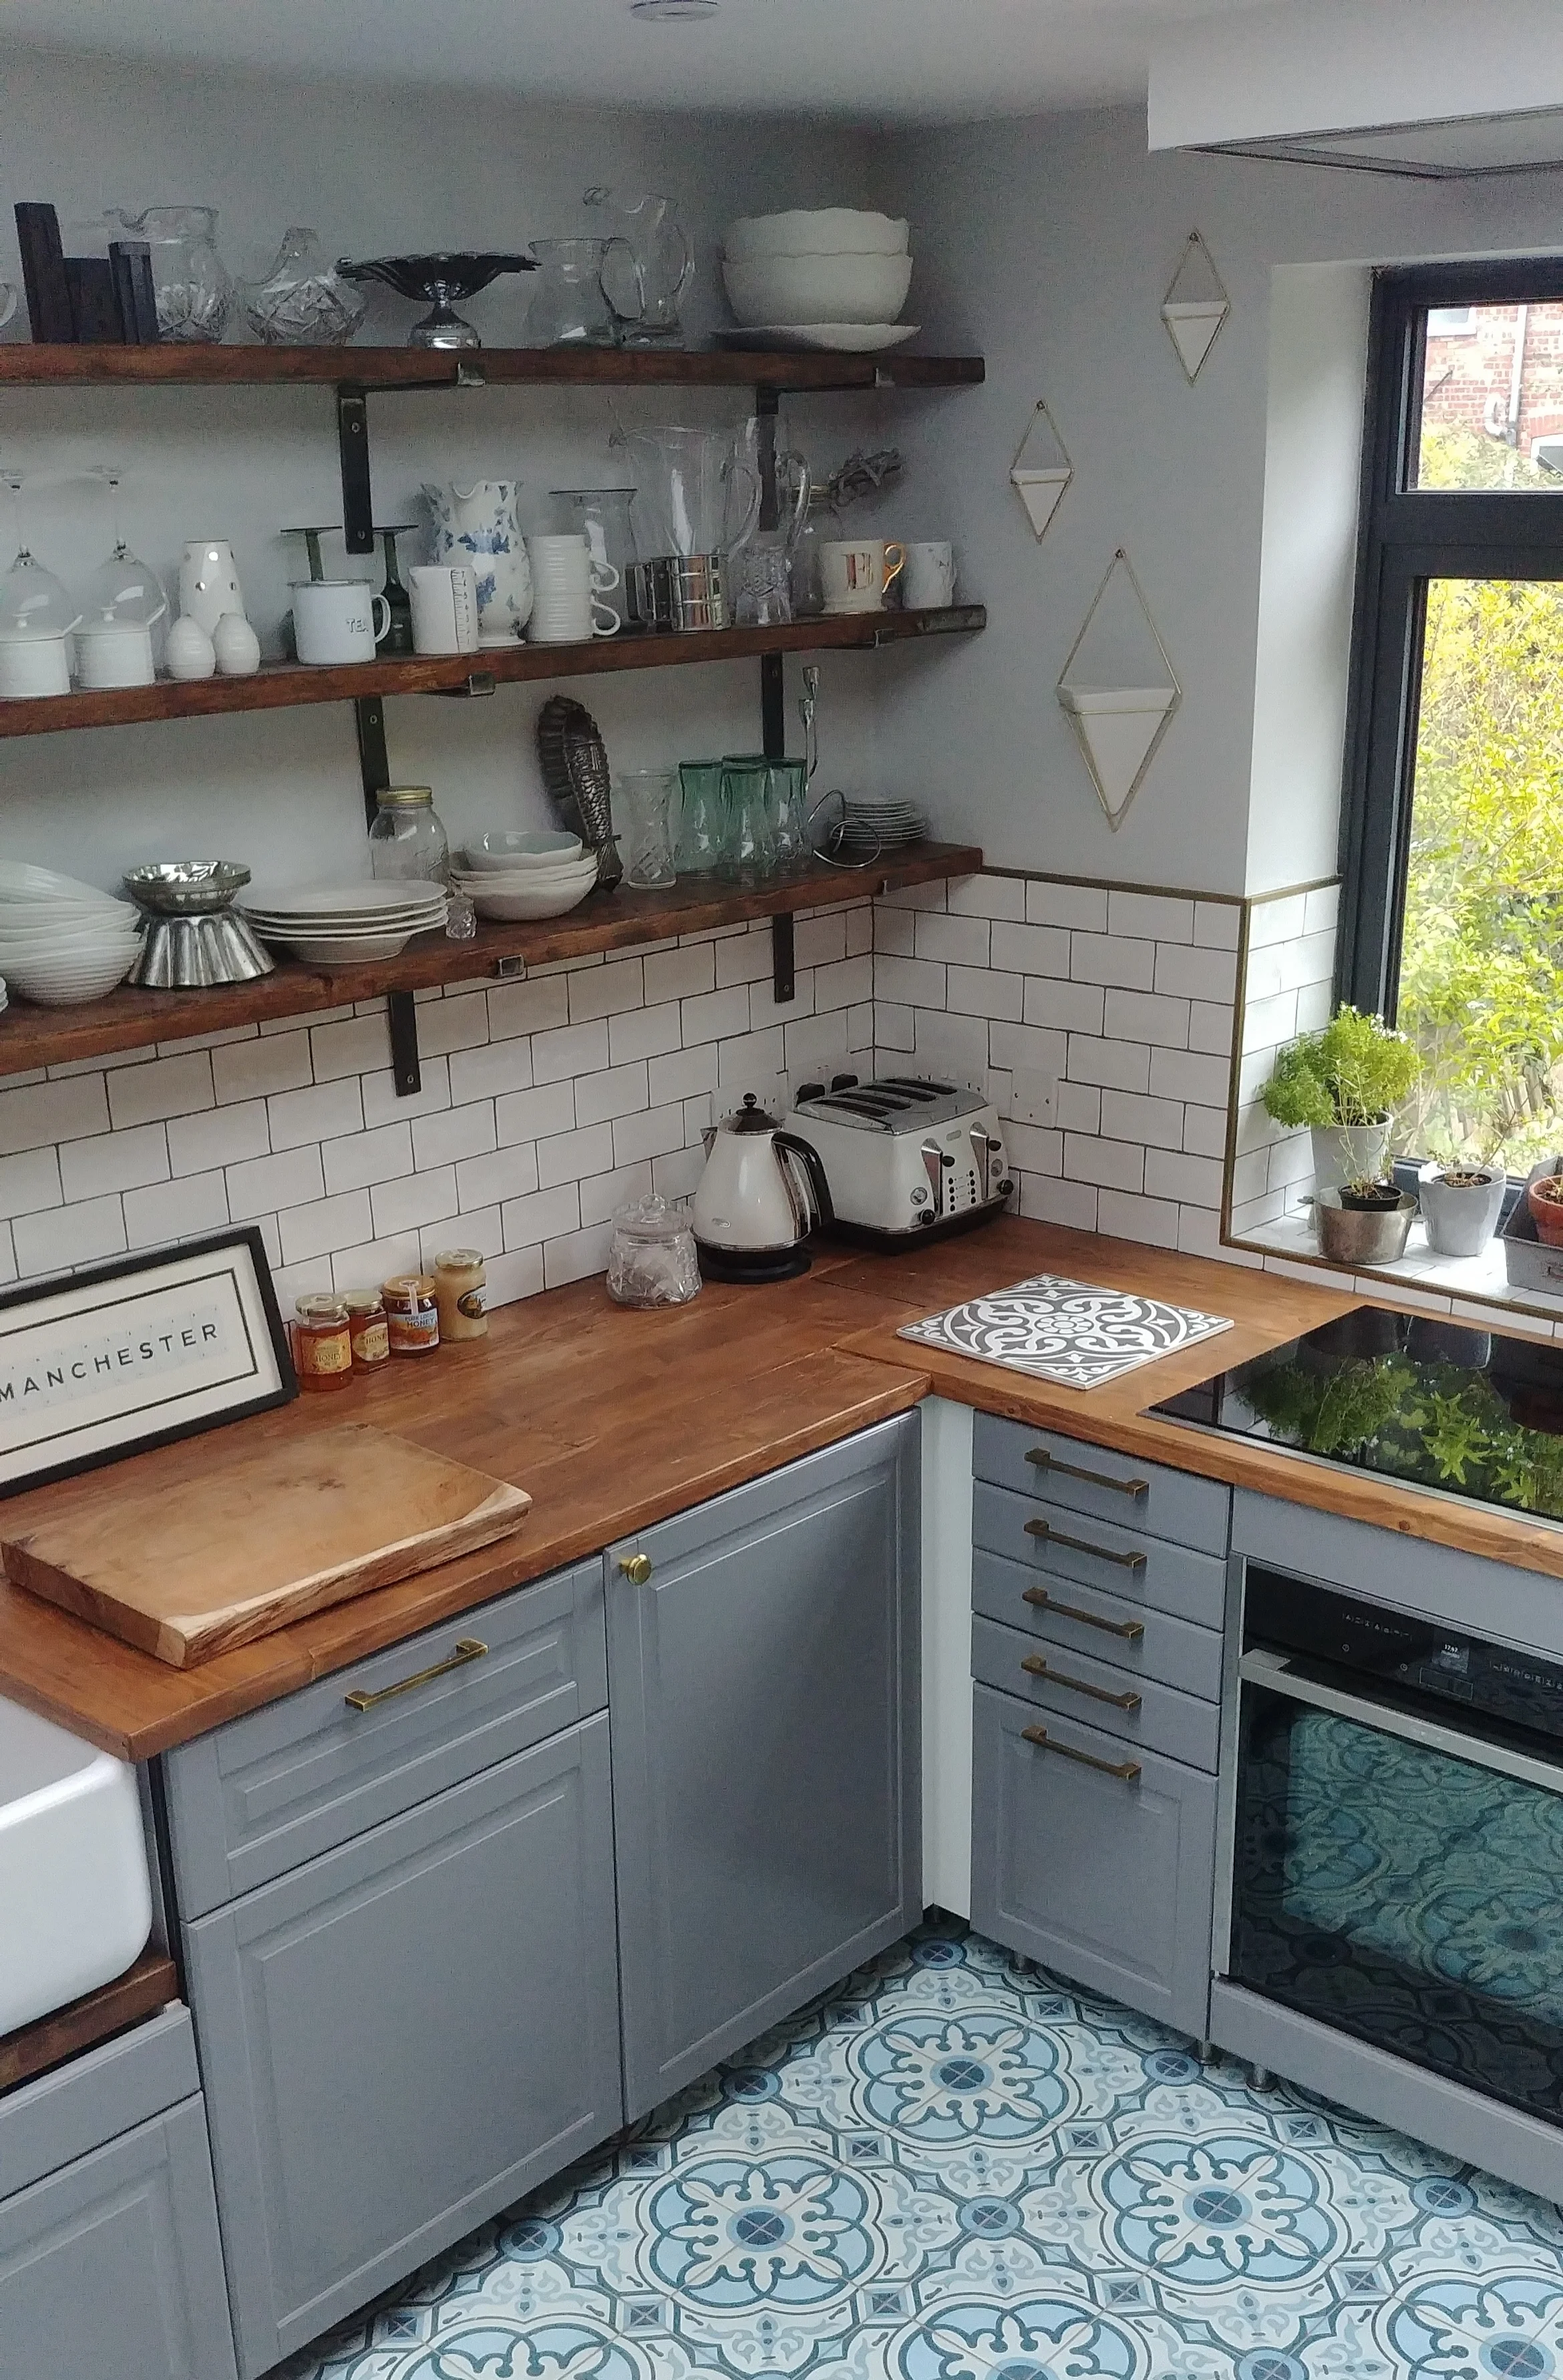
Every time I share a picture of this part of the kitchen on Instagram, someone asks me why we left the white pieces in the corners. Err, because we're lazy and haven't got round to installing the cover strips yet.
I think that's about it! I hope this has encouraged you to have a crack at installing an Ikea kitchen. Any questions, comment below or drop me an email.