How to DIY Rustic Scaffold Board Shelves with Industrial Brackets
One of the questions I get asked most frequently is where we bought the rustic shelves and industrial metal supports in our kitchen, so here’s a post explaining where they came from and how we installed them.
We didn’t actually buy the shelves - we made them ourselves from old scaffold boards.
We bought the scaffold boards from Cheshire Scaffolding. You can’t order them online - you need to phone up and speak to someone to explain what you’re looking for. I requested boards that were nicely battered but not falling apart, and that’s exactly what was delivered. Scaffold boards come in different lengths - I ordered 3.6m boards, as the space for the shelves was 348cm wide.

Dirty old scaffold boards, dirty old rug, dirty old wallpaper. Utterly gorgeous romping six year old.
When we built the kitchen worktop from scaffold boards, we sanded them very smoothly. But for the shelves, I wanted to retain as much character as possible, so we sanded them to remove the general grime and any really rough patches, but generally tried to keep them as distressed looking as possible. We used our Makita belt sander to do the main sanding, and then finished off the battered bits by hand with normal sandpaper, as using the belt sander would have removed too much of the character of the wood.

You can see the top board has been sanded here, but we’ve retained some texture along the edge, which I sanded lightly by hand.
Scaffold boards come with metal strips at each end. You can choose to prise these off, or leave in place. If you prefer to keep them in order to contribute to the general effect, one option is to remove the strip at one end, cut the wood to size, and then screw the metal strip back on. For our shelves, I decided to keep the metal strip at one end only. We have three shelves - on the top and bottom shelves, we kept the strips on the left. On the middle shelf, we kept the strip on the right. No reason in particular for doing this; I just liked the artistic effect :-)
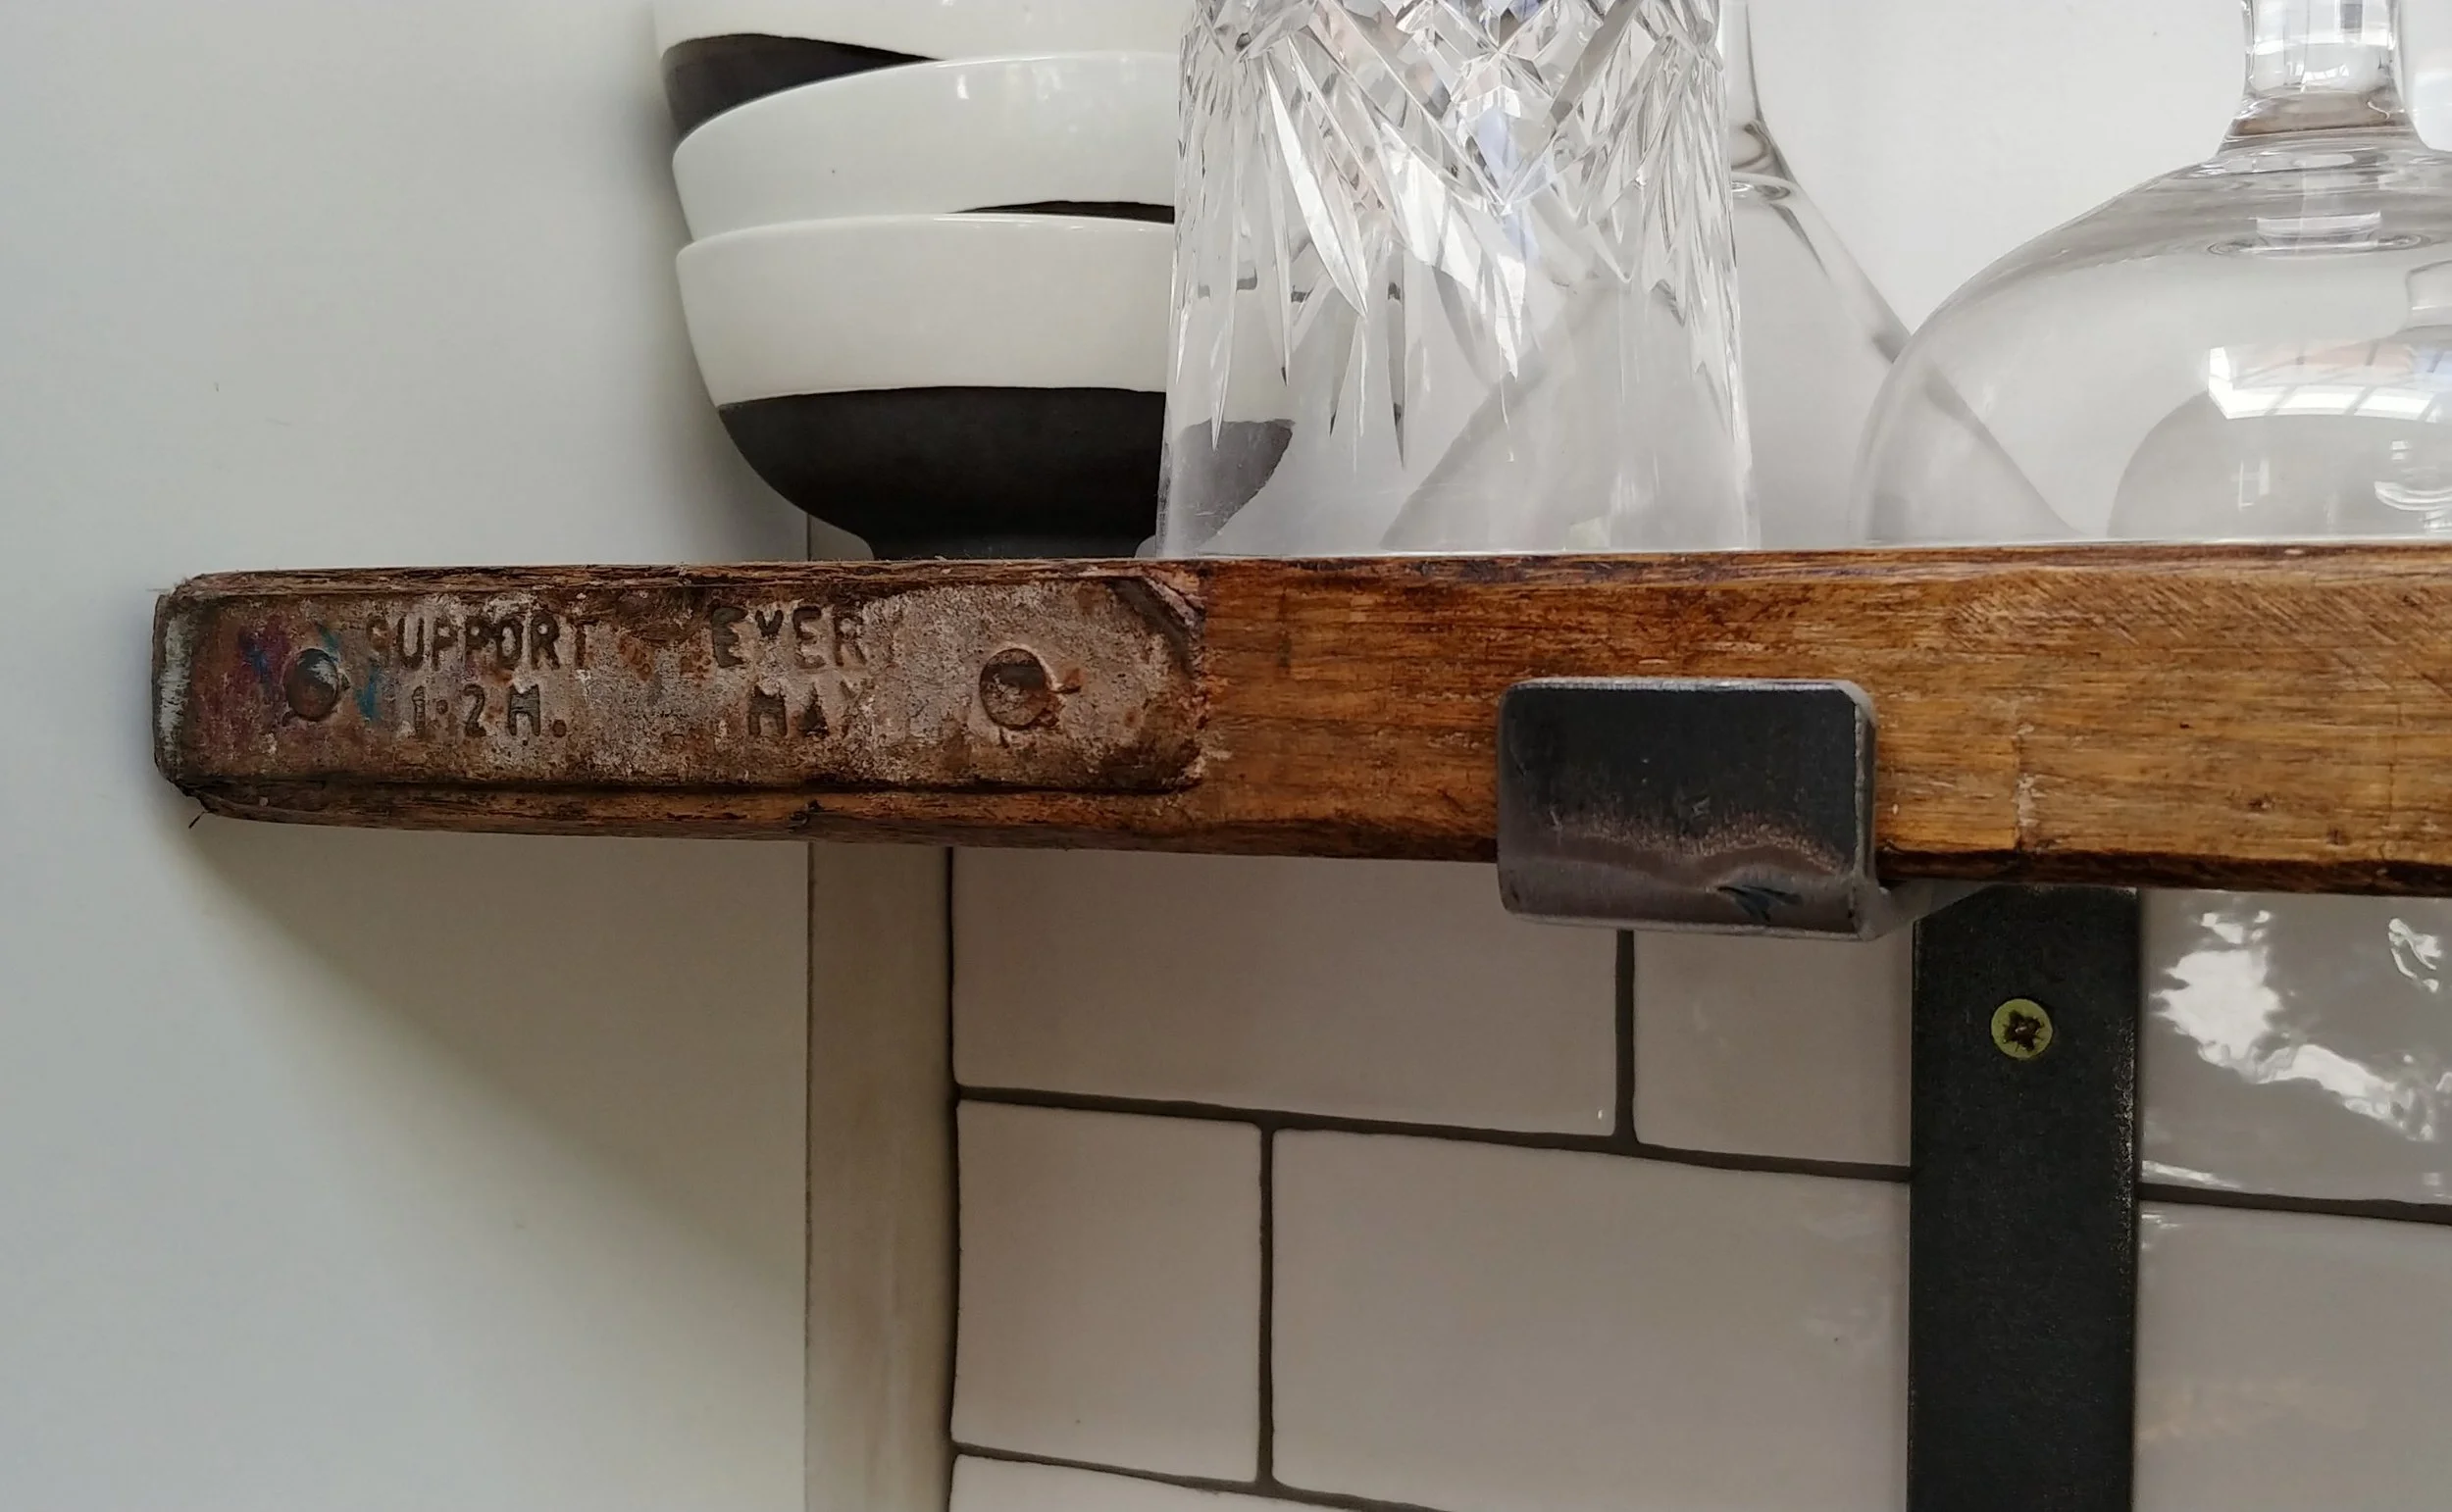
A close-up of the metal strip. They will more than likely have writing on them, so if you want the writing to be the right way up, check this before deciding what piece of board to use where.
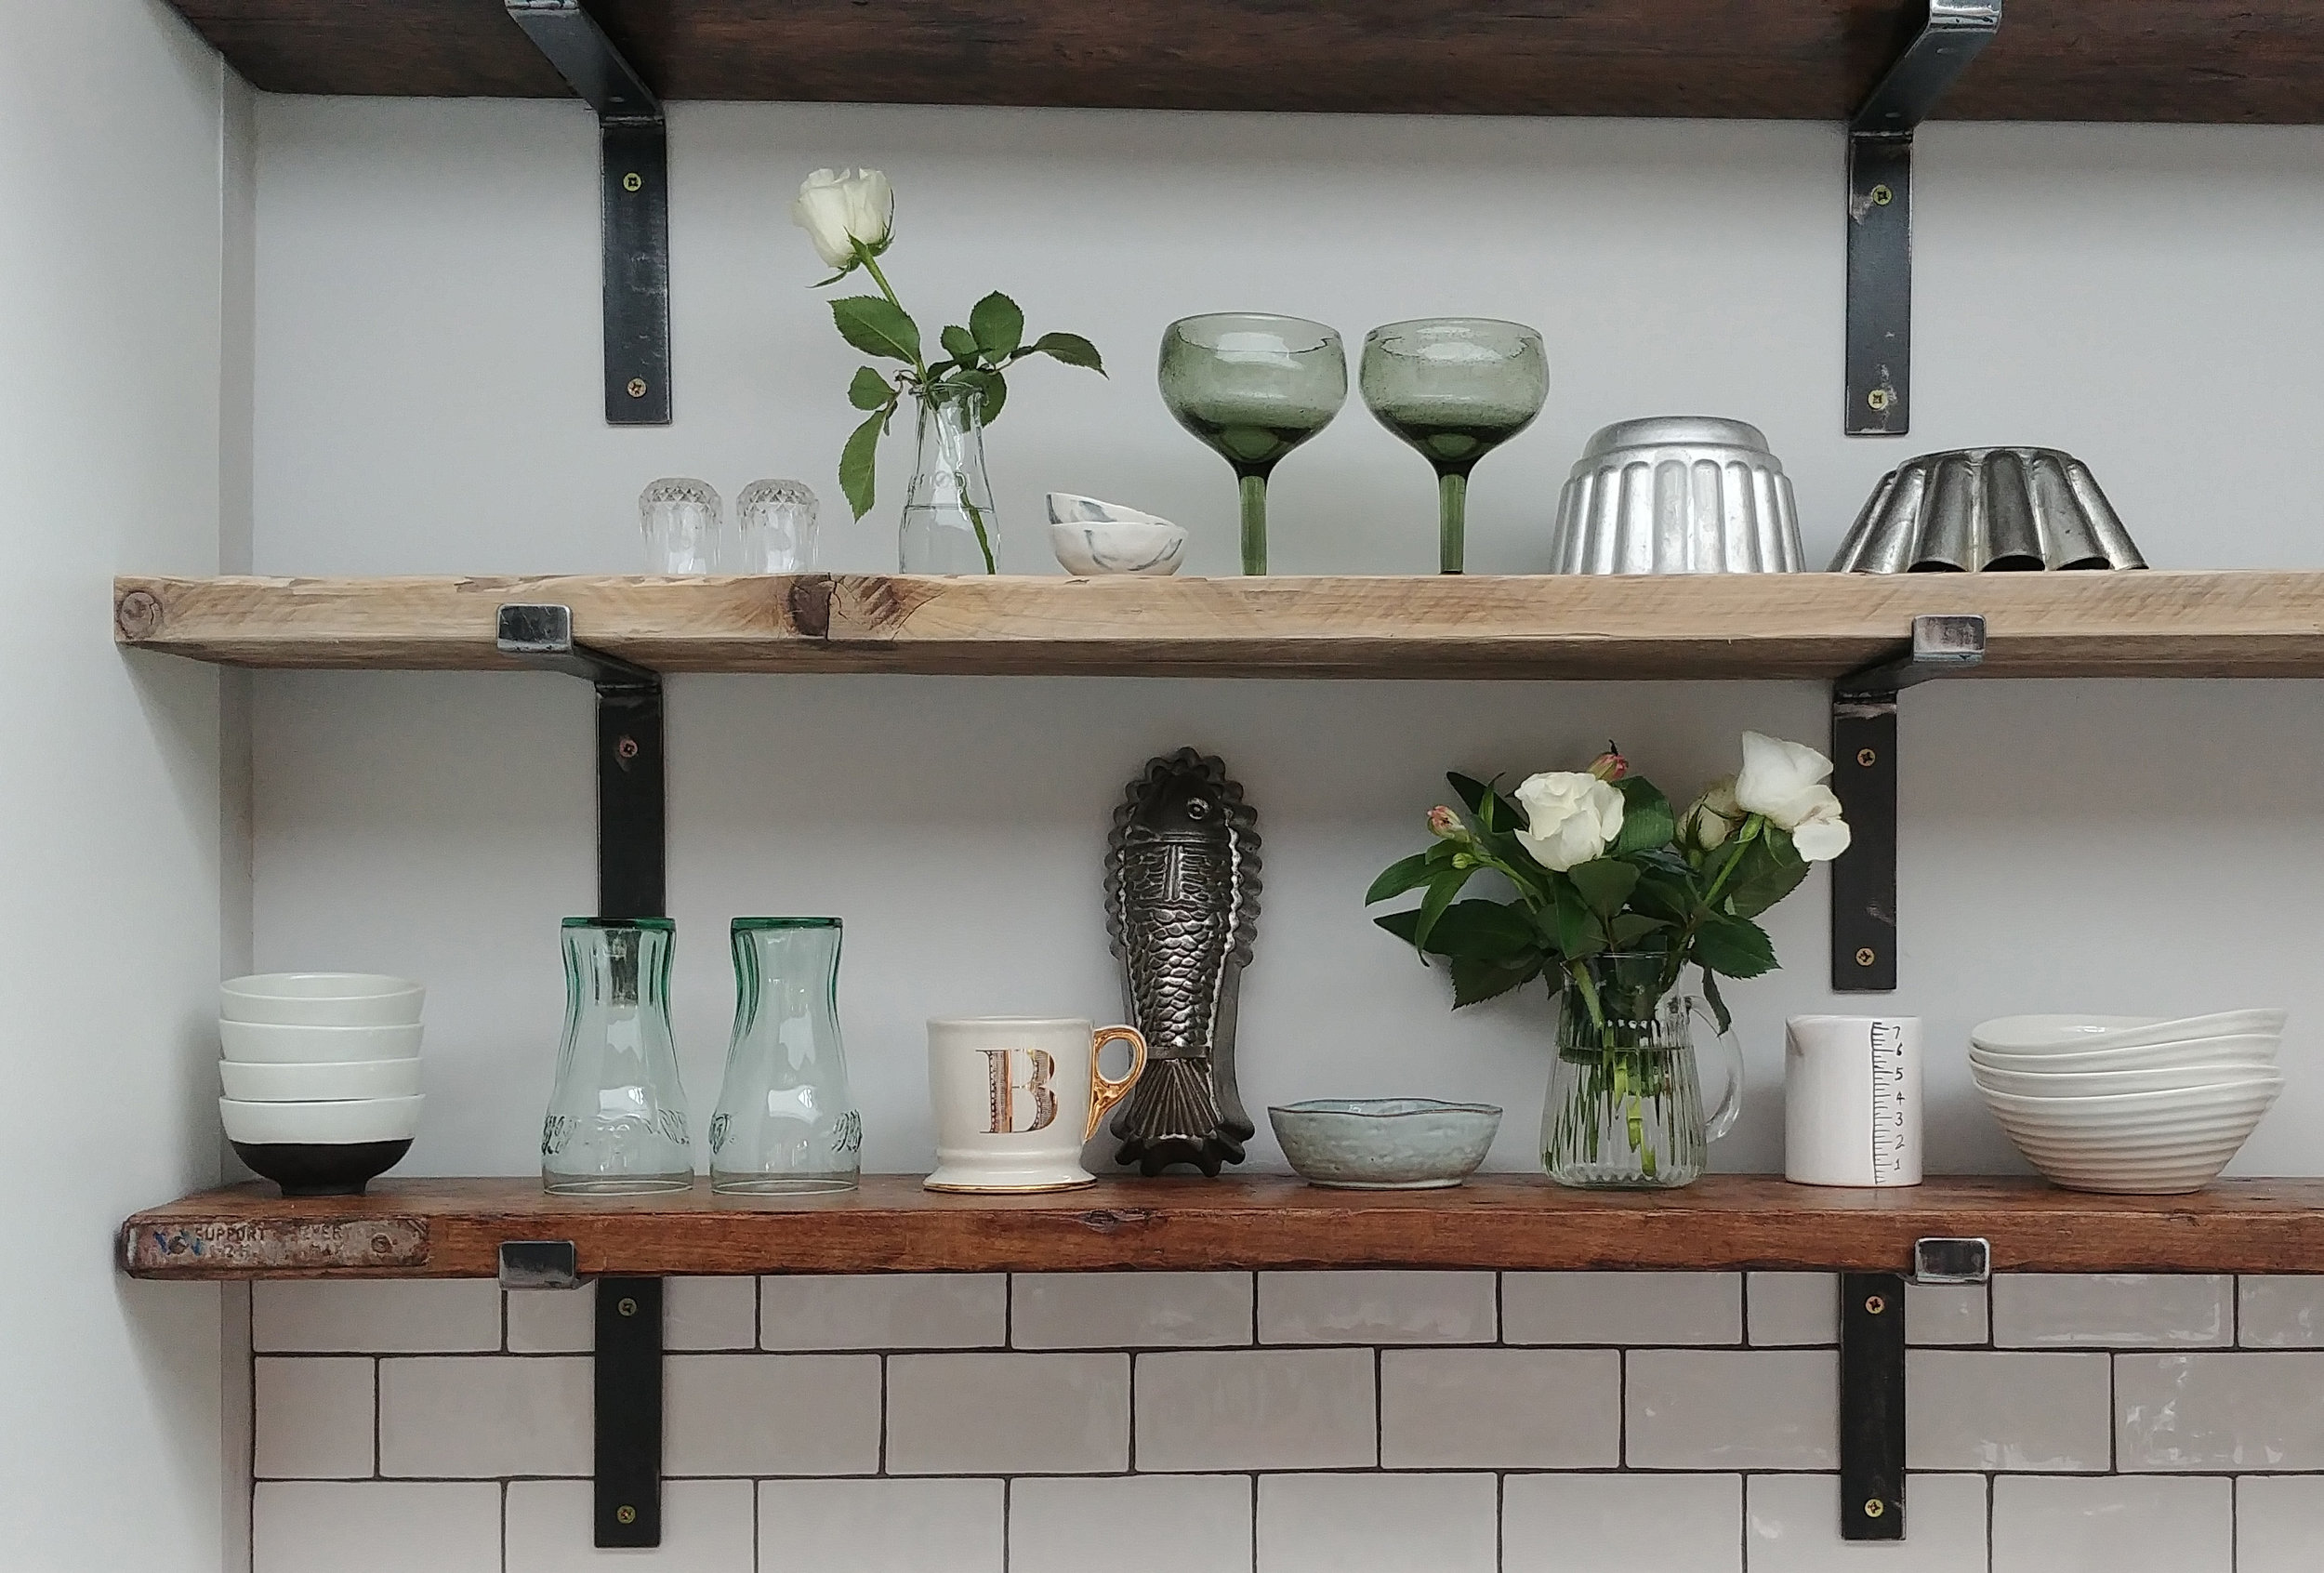
In this photo, you can see the metal strip on the left of the bottom shelf (it’s on the right on the middle shelf). The middle shelf hasn’t been waxed yet - and you can also see the texture along the edge.
Moving onto waxing. We used Osmo topcoat oil on the worktops, but chose to use Fiddes wax in Rugger Brown on the shelves to give a different finish. I like using wax on rustic wood because it accentuates the character. of the nooks and crannies. The general technique I use is to brush the wax on with a paintbrush, leave it to soak in for about 20 minutes, and then buff it off using a special attachment for our power drill. This creates a nice shiny surface to the wood.

In this picture I’m waxing and polishing the wood that we used underneath our sink - only the part at the front was visible, hence why the wax is only covering part of the wood.
Because we installed our kitchen ourselves, it was within our gift to design the shelf, tile and kitchen cabinet spacing in order to fit everything in. First, I measured the tallest item that I knew I wanted to include on the shelves (a glass water jug). This defined the minimum height of each shelf space. Next, I worked out where I wanted the lowest shelf to be placed, factoring in a) the distance between the shelf and the tap (I knew we would be including lighting under the shelf, so needed to meet building regulations requirements on distance from water source to lighting) and b) my design requirement to use whole metro tiles only between the worktop and the bottom of the shelf.
My calculations therefore went like this:
Height of cabinets (flexible from 8-10cm)
Height of cabinets (fixed)
Height of worktop (fixed)
Number of rows of tiles (10cm each plus 2mm of grout)
Height of each shelf (34mm - was 36mm before sanding)
Ideal shelf space to accommodate water jug (30cm)
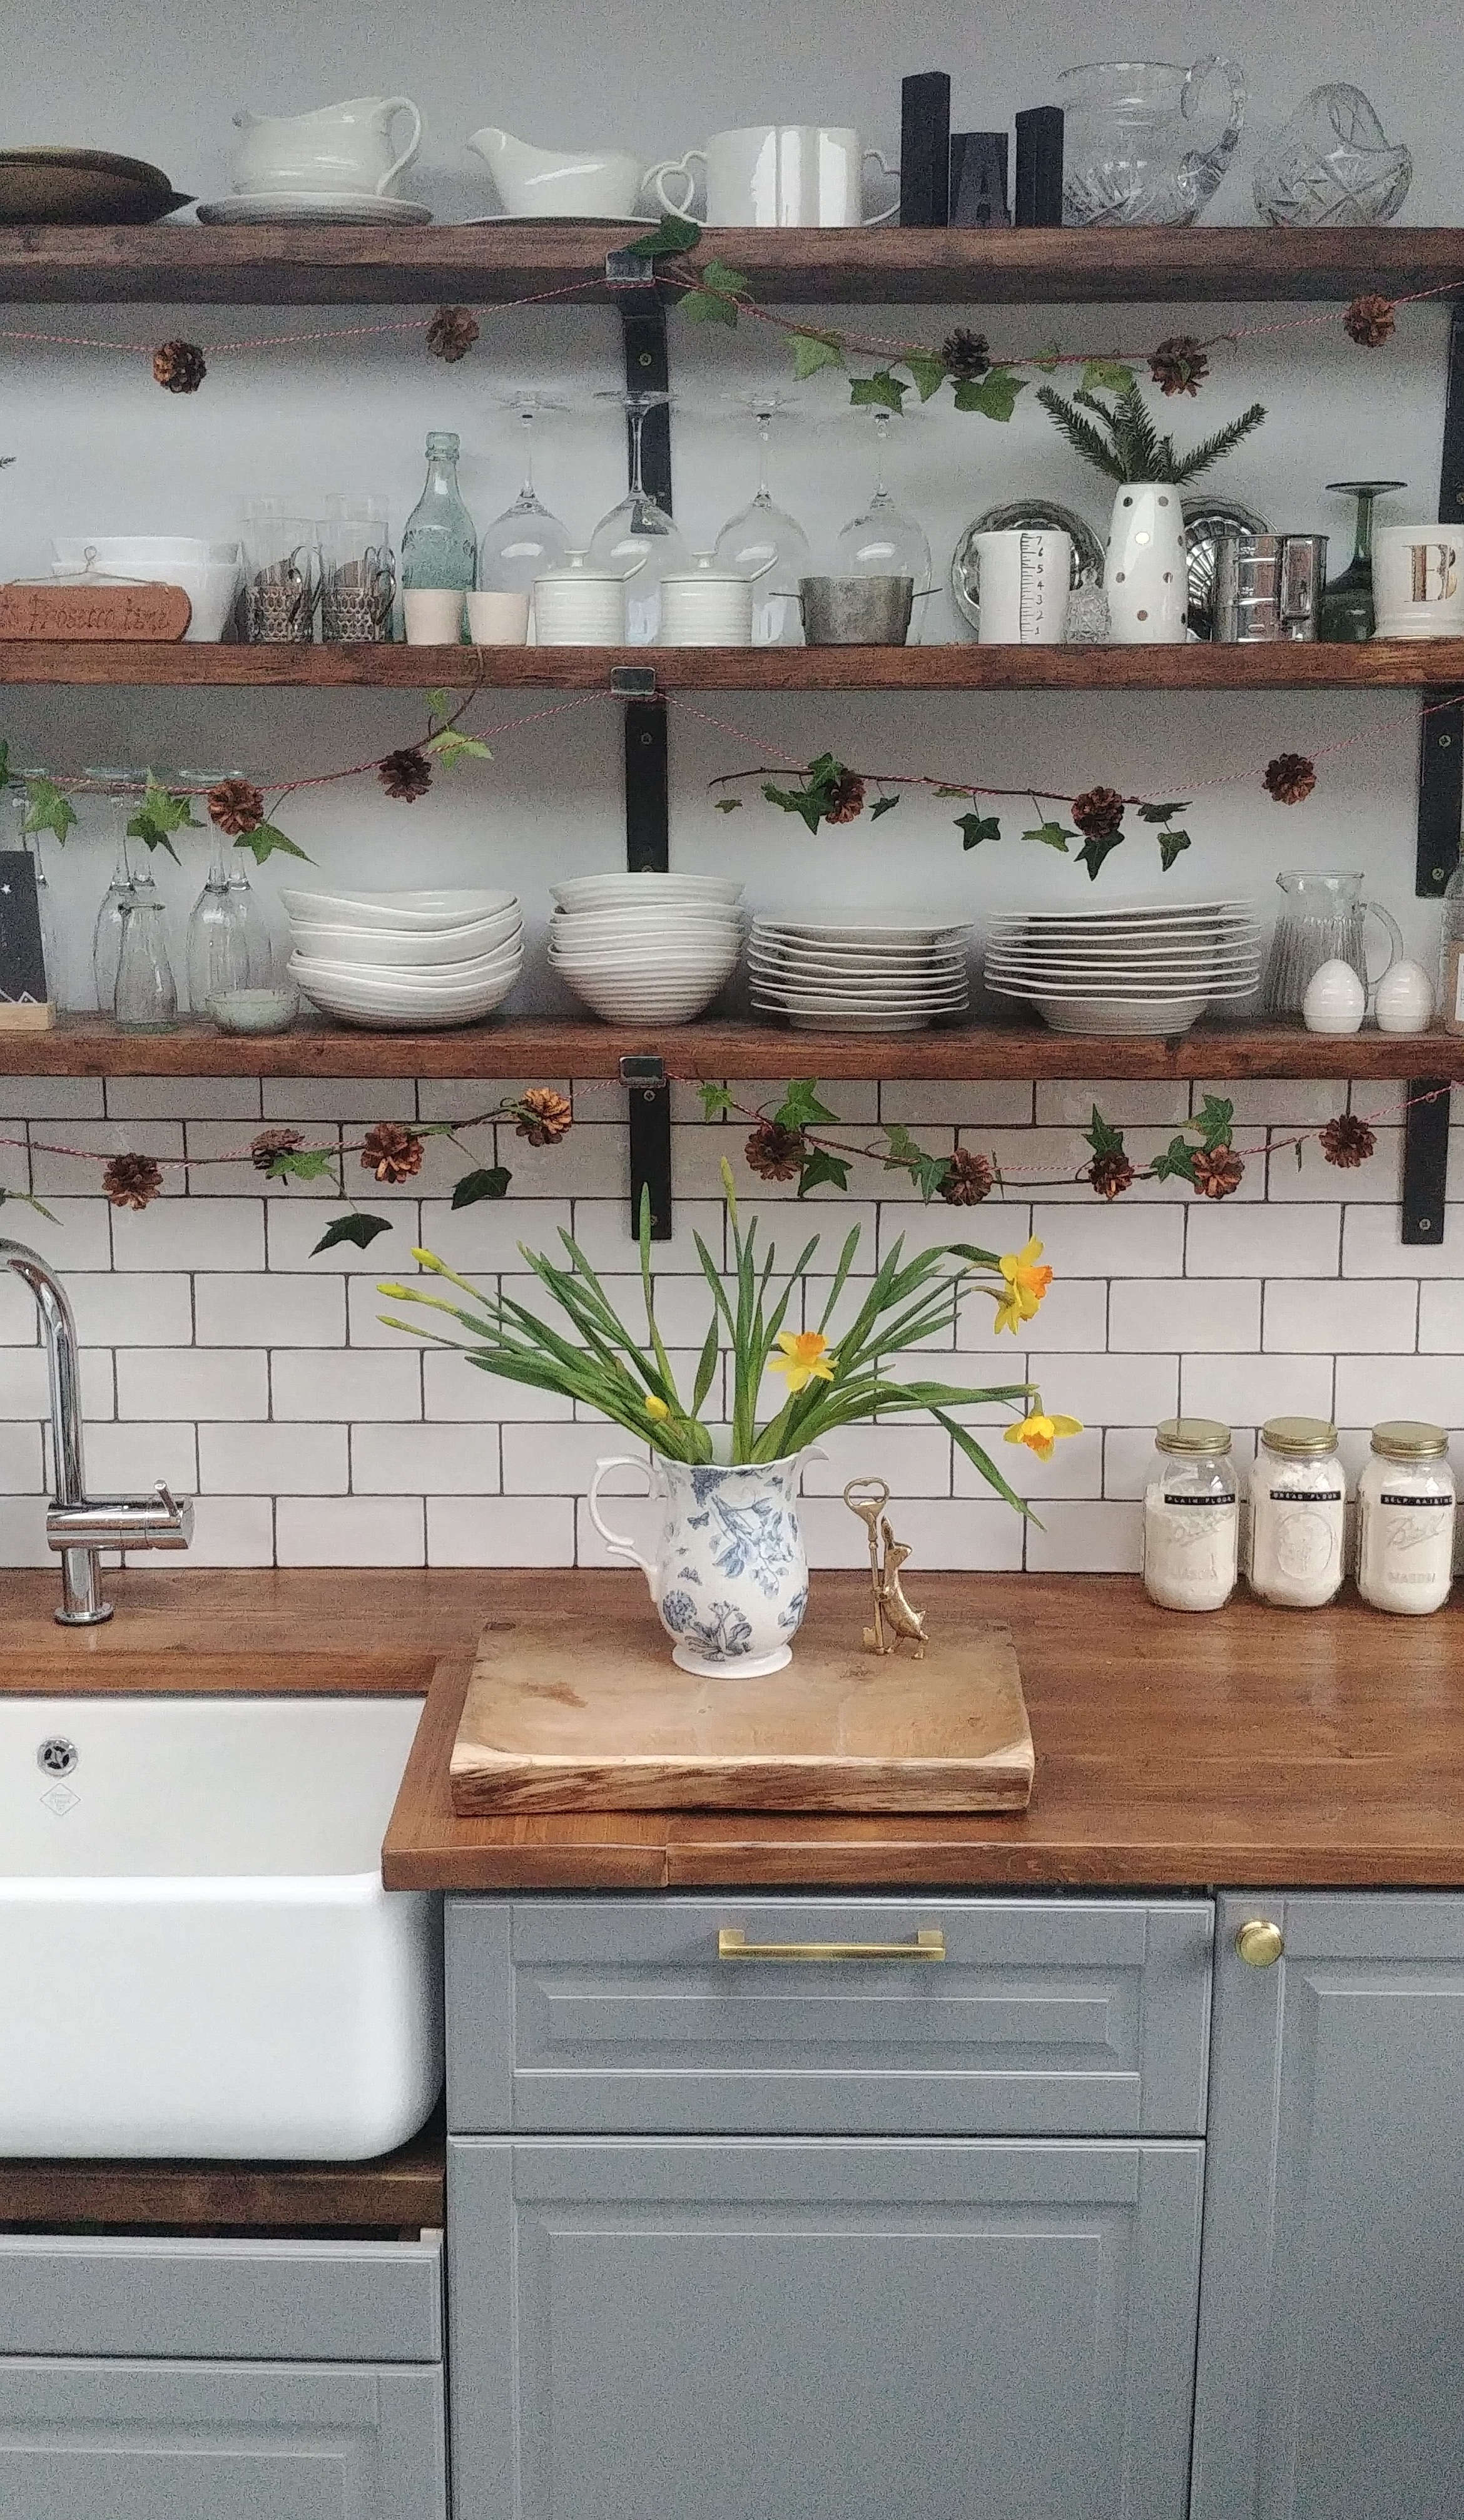
All this lead to the decision that we would have seven rows of metro tiles and then three shelves, and very pretty it all looks too :-)
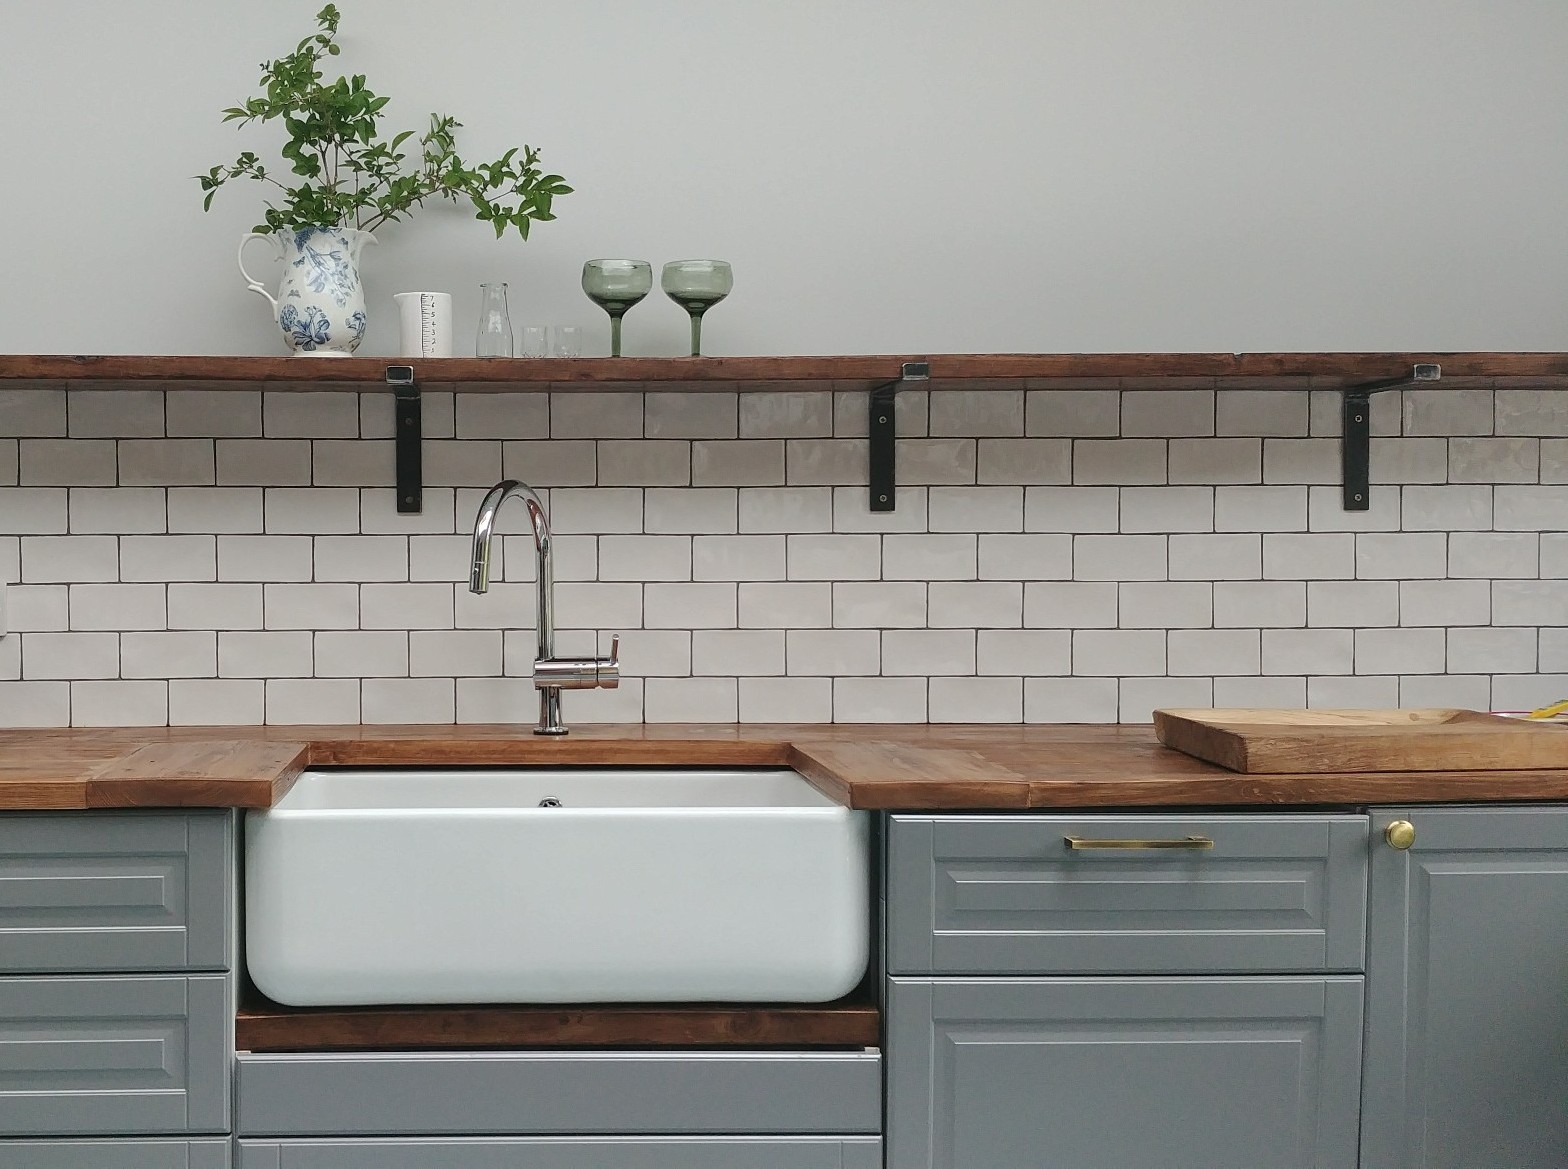
You can see seven whole rows of metro tiles here. This gap not only looks neat, but is big enough to accommodate the minimum distance required by building regulations between water source (the tap) and lighting (LED strips that will run underneath the shelves).
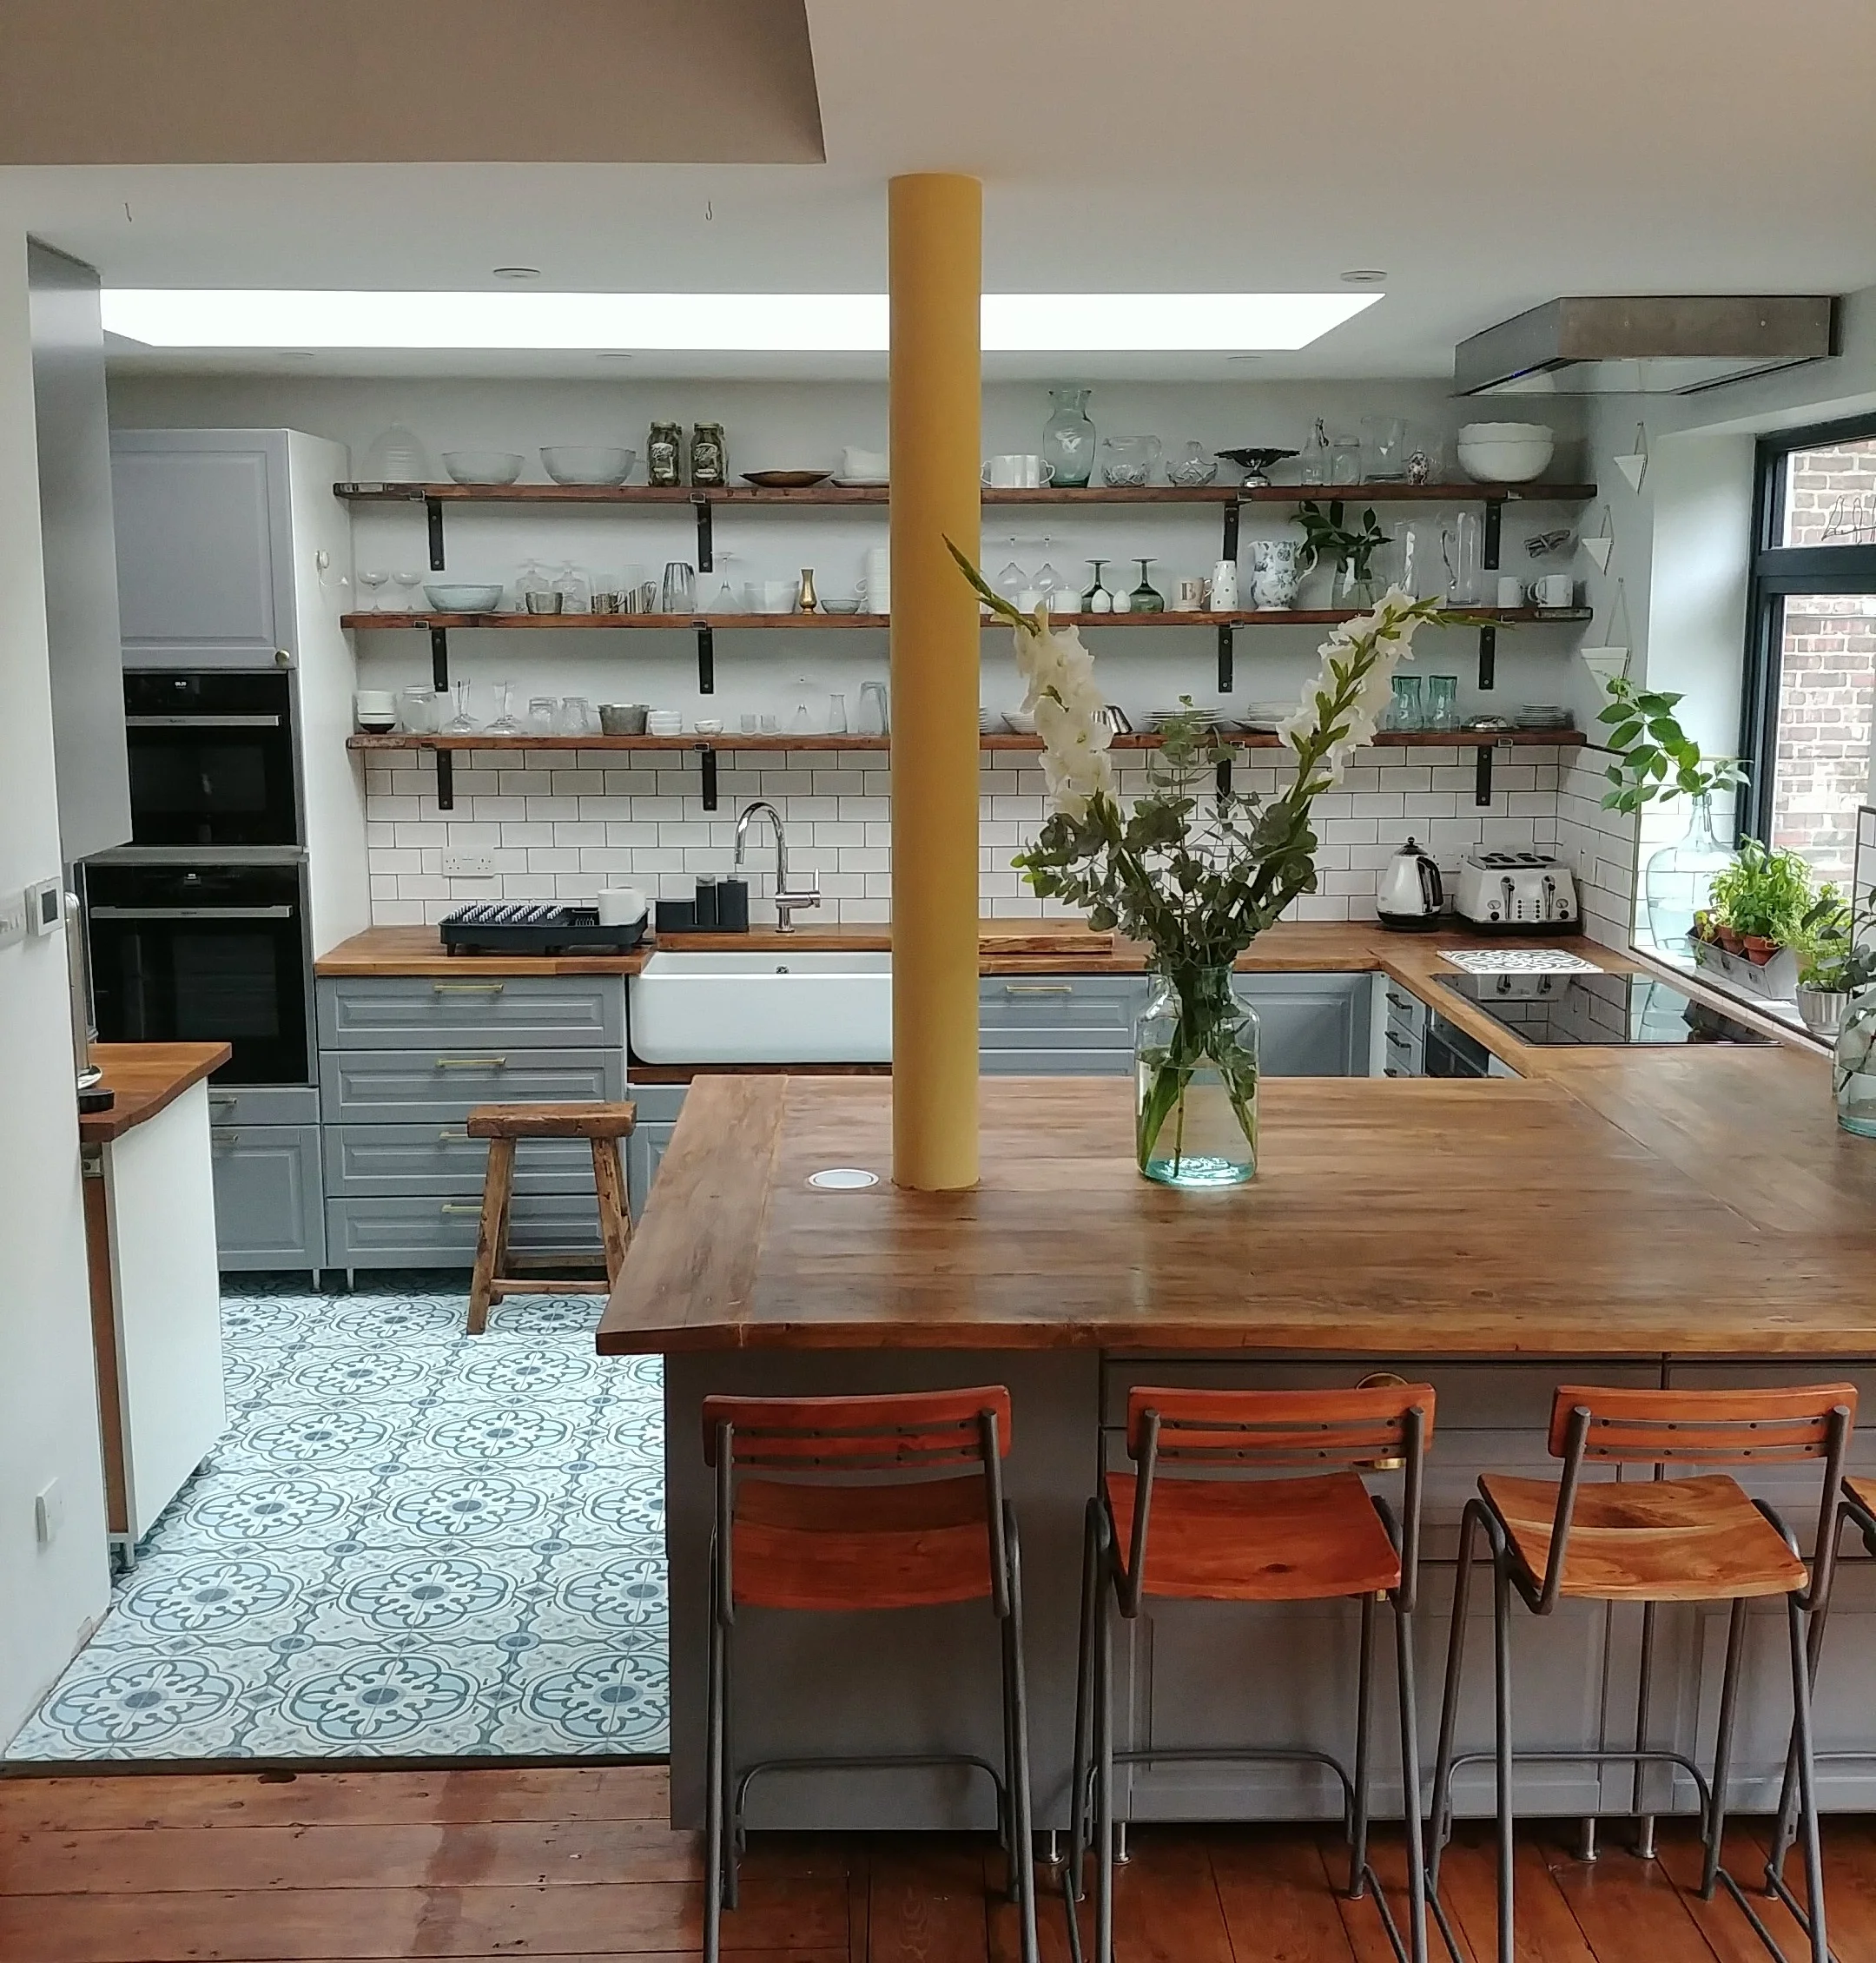
Something to bear in mind is that often it’s more important to please the eye than go by the tape measure. The space between our bottom and middle shelf, and top shelf and ceiling, is exactly the same (30cm). The gap between the middle shelf and the top shelf is about 32cm, but perspective tricks the eye into thinking the shelves are all spaced exactly. I experimented with the best place to include the slightly larger gap (which was needed to neatly accommodate whole metro tiles underneath) by drawing various lines on the wall to see what look best to the eye.
Let’s move on to the brackets. After some research on different types, I settled on brackets with lips to hold the shelf in place, made from single pieces of metal. We bought ours from Omnia Redivivus on Etsy.
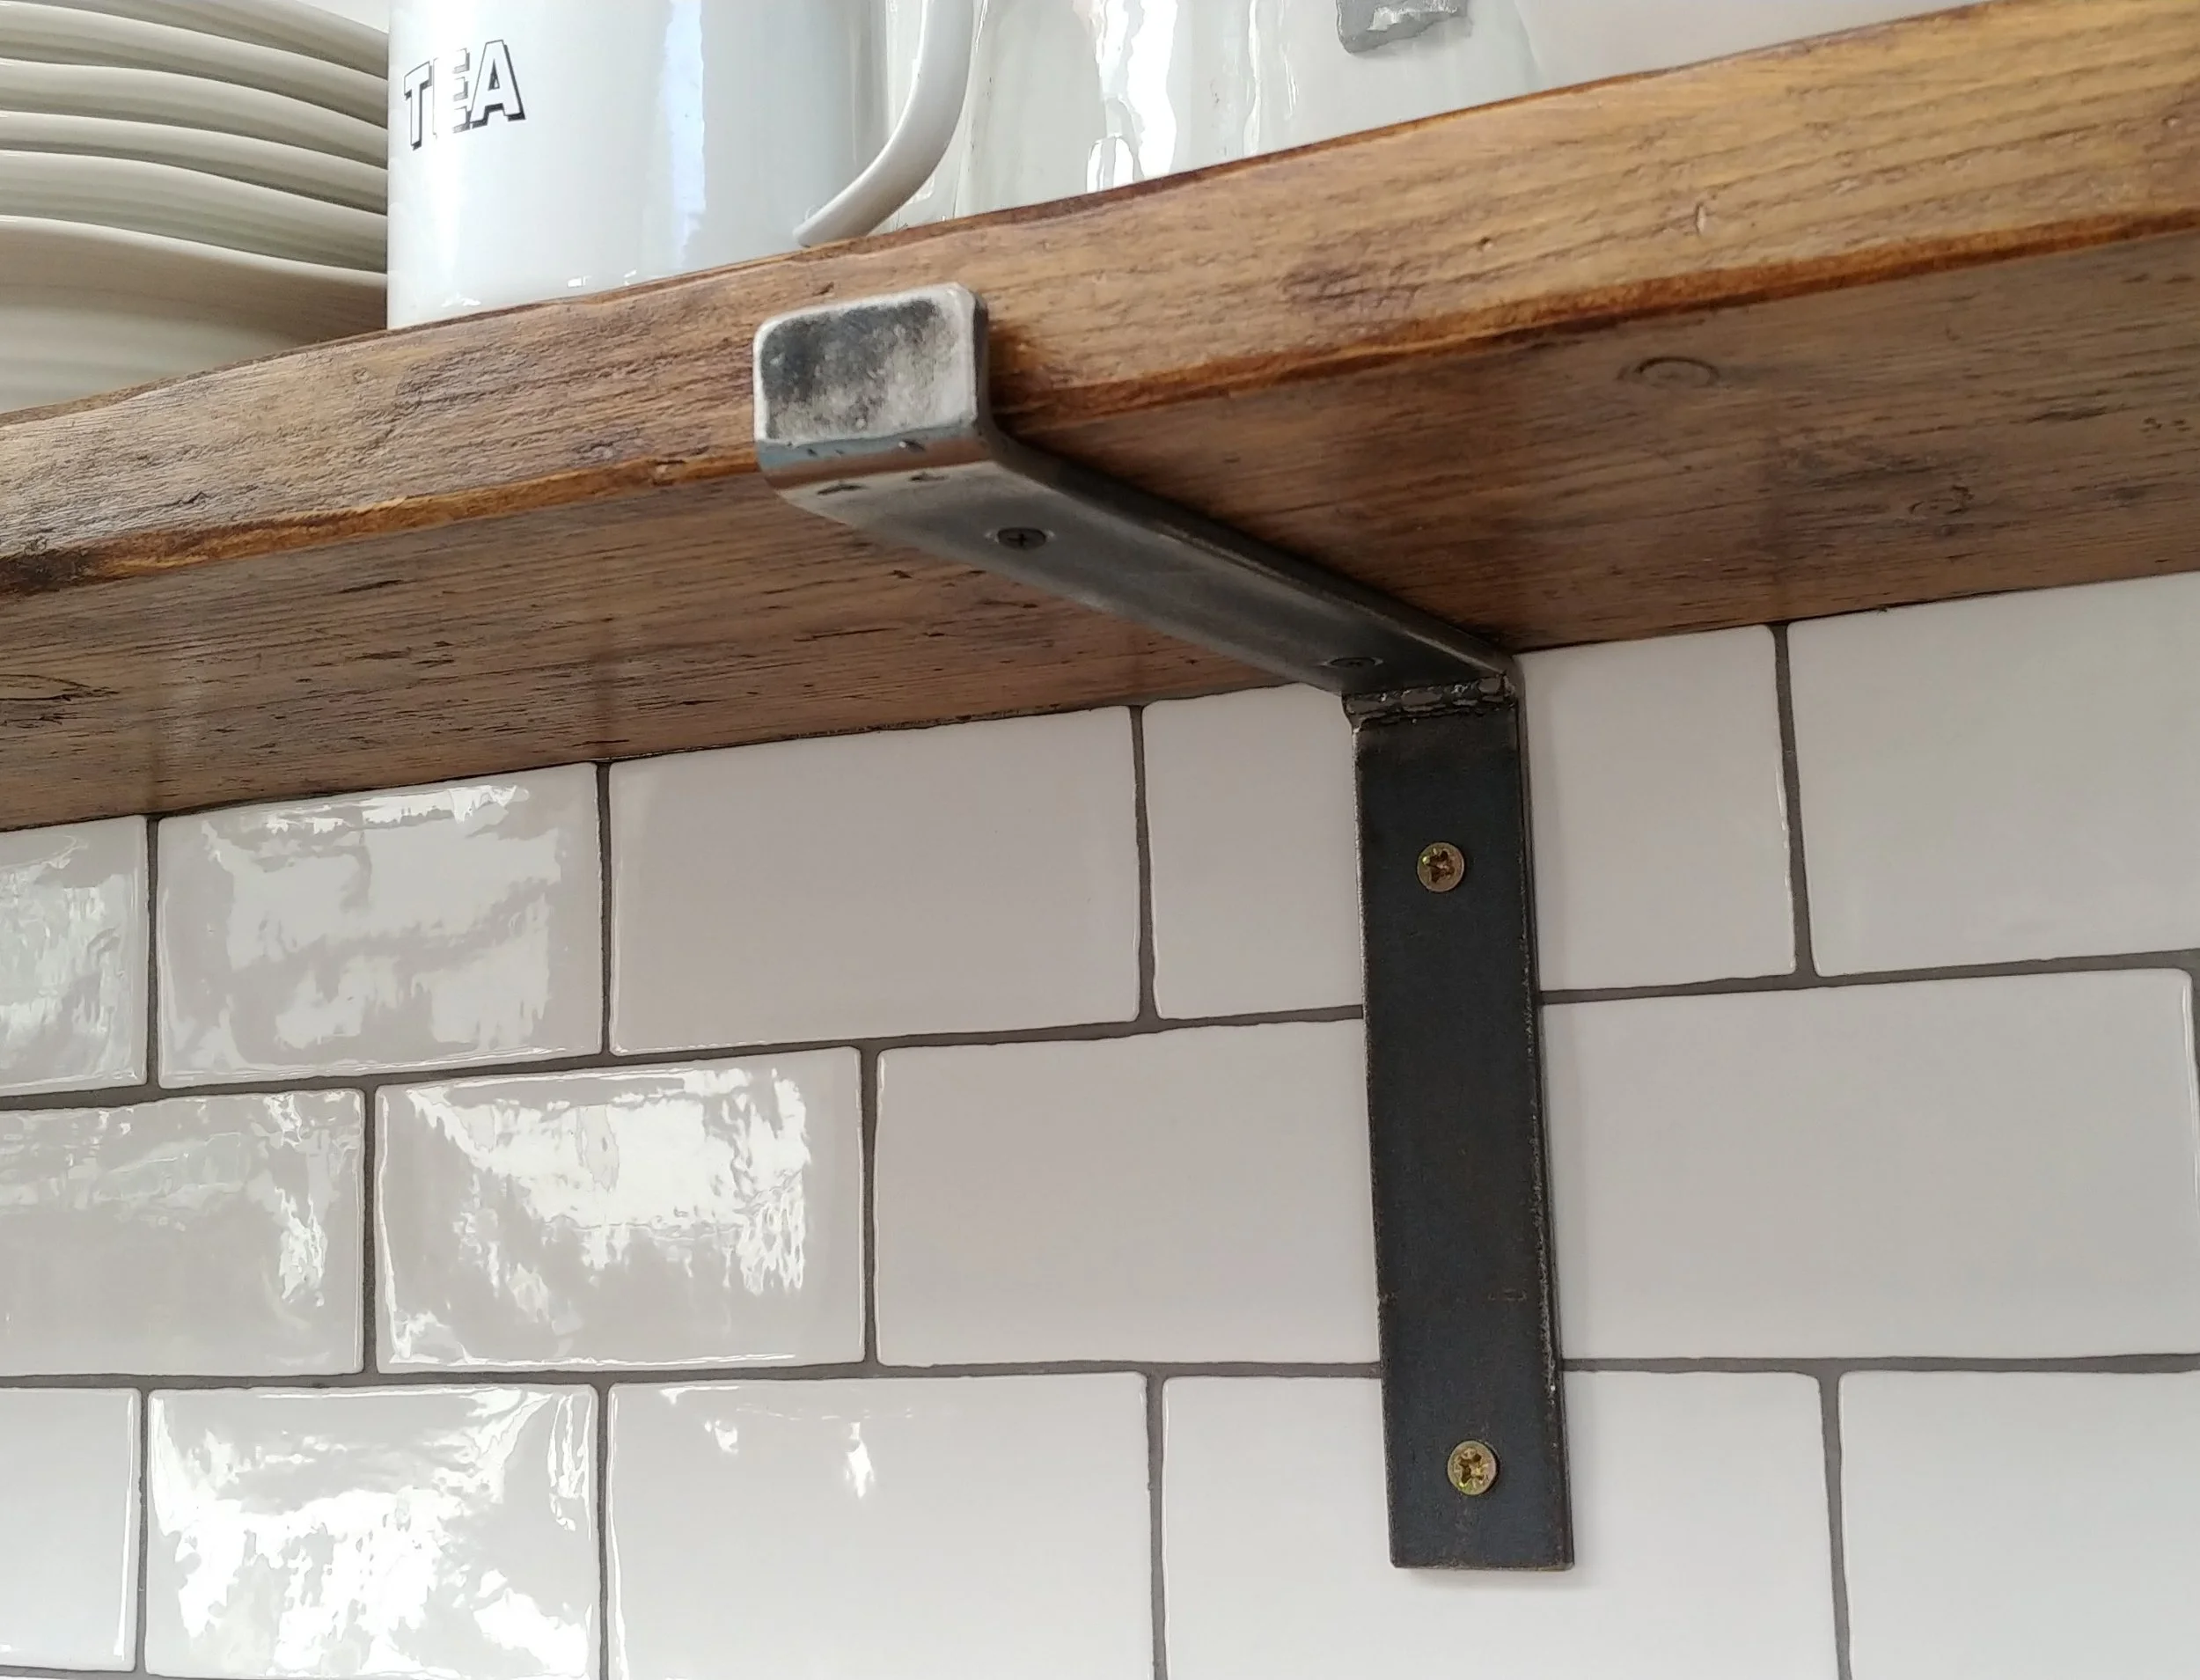
We chose to use five brackets per shelf, so 15 in total. I spaced them (as you can see above) so they were fastened in place in the middle of a metro tile rather than randomly. I’m sure we could have gotten away with using 4 or even 3 brackets, but we wanted to feel really confident that shelves would be fully supported.
We screwed the brackets straight through the plasterboard into the breezeblock of the new extension using very long, very strong screws. When you’re putting up heavy shelves that you expect to hold heavy items, I recommend always screwing through into the brick.

I always dress like this to screw in shelf brackets, don’t you?

Our shelves looking pretty in the morning sunshine.
If you have any questions, please comment below or contact me.