Master Bedroom Update - Before, During and After
When we moved into our house, we inherited a large master bedroom with incredible proportions. Three metre high ceilings, a huge bay window, a second sash window for good measure, and the original skirting board, coving, picture rail and floorboards. The previous owners apparently called the room the ‘ballroom’, and held their wedding celebration party in there. Of course it was decorated to the max with a burgundy carpet, walls and ceiling, and mustard trim, but we would never let a small question of now-unfashionable decor choices dissuade us from taking on a project…

This was how it looked after we moved our furniture in. Grim.
We renovated our eldest girl’s bedroom as soon as we moved in (she was 18 months old at the time, so teeny), along with the spare bedroom. Our bedroom came a couple of years later - we stripped off the wallpaper, replastered the walls, repaired, sanded and oiled the floor, and painted all the woodwork including the large windows. All DIY, of course. We thought about replacing the windows with new replica sashes, but the old glass is so beautiful, and the room doesn’t seem to get cold, so we’ve left them for now.

Taking the wallpaper off, along with most of the plaster underneath.

This is the stage where I want to scream PUT IT BACK, PUT IT BAAACK!

A typical shot of the state of the plaster. The vast majority of plasterers would have plasterboarded over the top, but we didn’t want to do this, because then you cover up part of the coving or cornice, and risk damaging the skirting board when you pull them off. It’s also not always ideal for older properties as it can cause damp problems. Instead, we carefully repaired the dodgy parts, skimmed some of the other parts, and left the rest of it as it was good enough.

You’re obviously supposed to strip the old paint off before painting, but I knew the lower layers would be lead-based, so instead I used a Zinsser primer as usual on top of the old yellow, and then Dulux satinwood straight over the top of the primer.
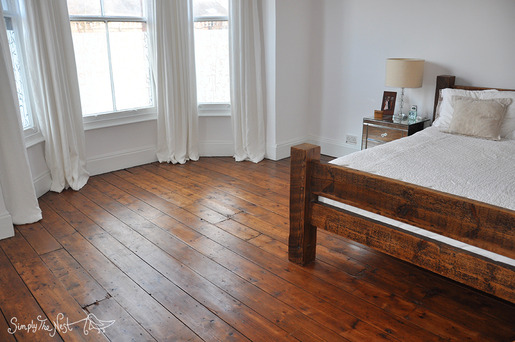
Eventually we got it all finished, and the result was much improved.

I made slightly oversized curtains to puddle on the floor using lovely linen fabric.
The next project was our custom fitted wardrobes. We built the shell using timber lengths and MDF to fit Ikea Pax interior fittings (shelves, drawers, rails, pull-outs and lighting), which in turn were chosen to fit our clothes (I measured the height of my shoes, the length of my dresses, and so on). We used carved Indian screens as the doors, cutting them down to size, and using the ornate top pieces to create an undulating effect on the very top of the wardrobe. Finally, we added an eclectic mix of door handles. I look back on projects like this, which took hours and hours and hours of design, calculation and procurement, let alone installation, and marvel at how on earth we found the time (and quite frankly the inclination).

Note the small bear watching TV.

Wardrobes with Indian screen doors attached.
To fit the wardrobes in, we moved our bed to the opposite wall. We had a large wooden desk in front of the bay window, which we had custom made for our old house at a time when we worked from home together and needed space for two PCs (crikey, that link is to a post that I wrote in 2010! I’m basically a grandma blogger). Technology has moved on since, and we now work from wherever with our laptops, so a monolithic desk was no longer particularly practical. It was too big to move though, so we just left it there as the easiest option.

Whoops.
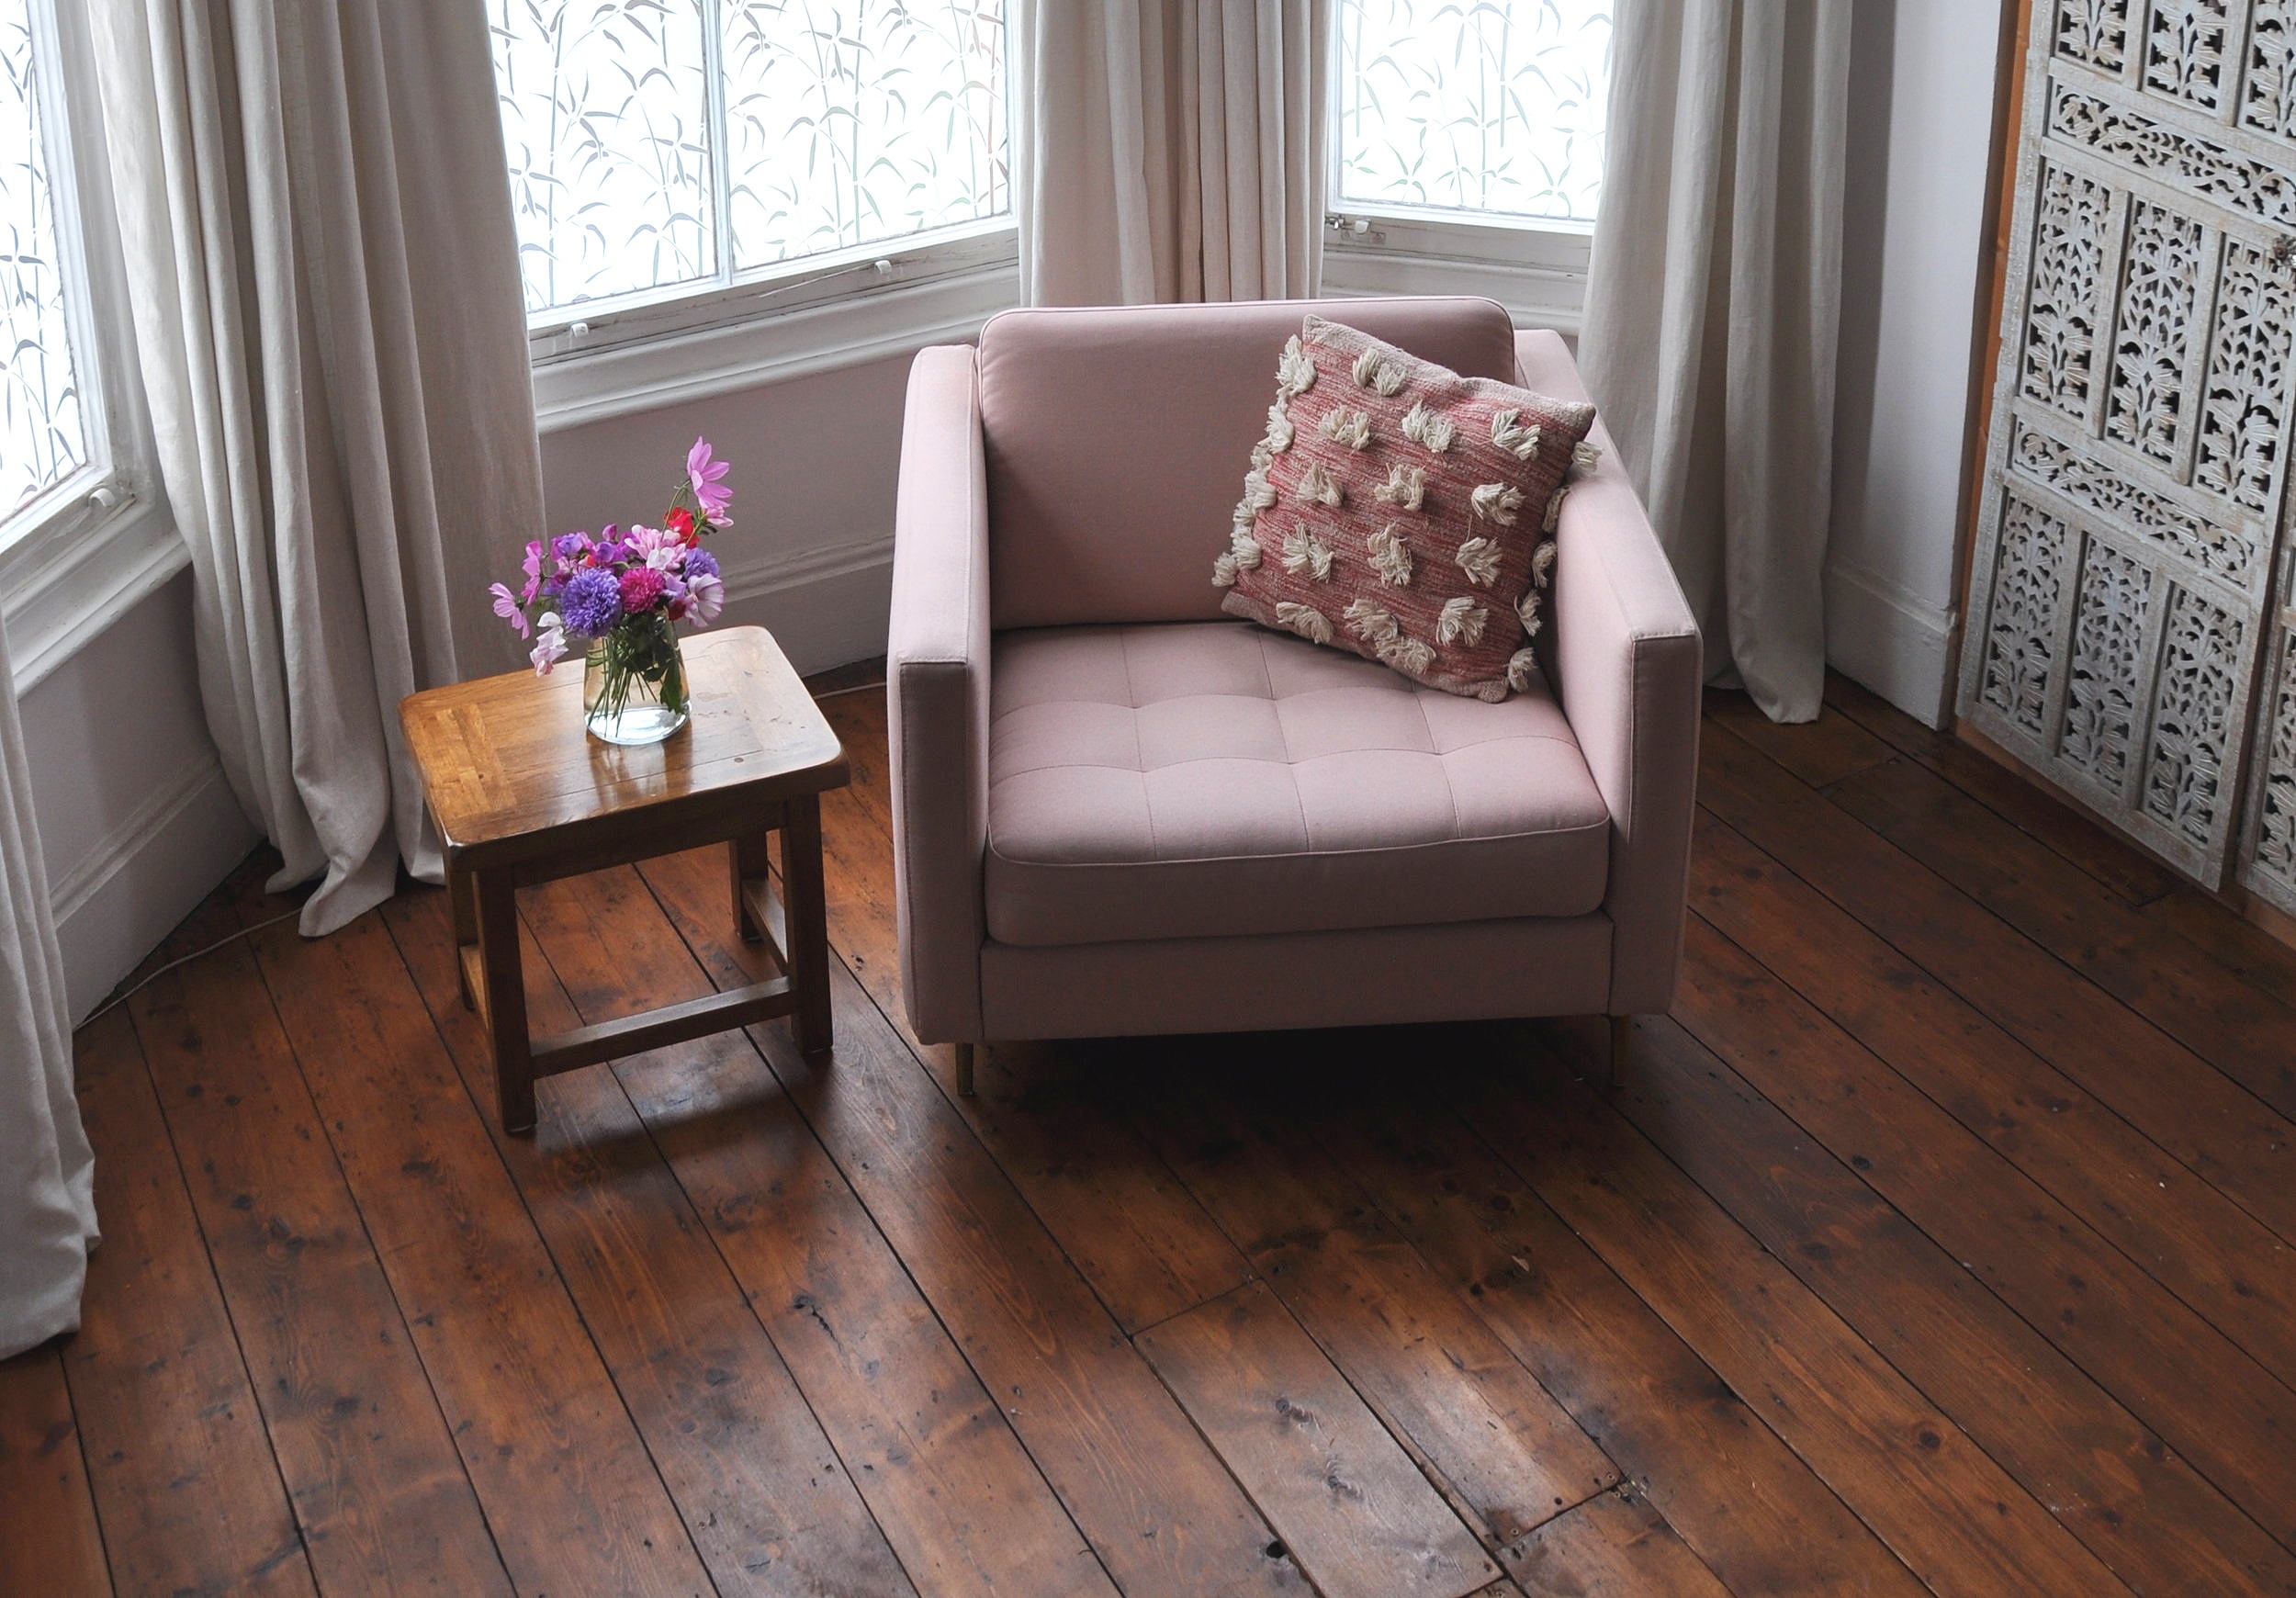
Upon returning home from Portugal, I had a sudden burst of energy. “Let’s move the desk down to the cellar”, I said, “and move the pink armchair upstairs.” The windows are so beautiful, and for some reason I wanted to see them revealed immediately if not sooner. My husband is fortunately the kind of man who readily agrees to this kind of plan, even though it meant a couple of hours underground, moving things around in the cellar to accommodate the desk.

Well that looks better.

The picture on the floor isn’t a styling option, I just haven’t added it to the gallery wall yet. Equally the missing strips on the wardrobe (the face frame) isn’t a design choice, we just haven’t got round to adding them. Or fixing the wonky doors :-)

Sweetpeas grown from seed by my parents, and grown on by me.
I think this story epitomises two of the universal truths that all renovators have in common:
1) It’s so easy to get used to looking at something ugly to the extent that you no longer even notice how ugly it is; and
2) The more of the house you renovate, the more the parts you renovated first appear to be in need of renovation in comparison to the shiny new parts.
A renovator’s work is never done, obviously!